When making deliveries, Amazon uses these totes to haul packages:
I don’t know if they’re common enough for people to recognize what they are. They collapse flat and I think they could be converted to a magic prop. It wouldn’t be hard to make one into a tip over trunk. You would also simply put a panel that flips up on the bottom and put it on a mirror base and you’re good to go.
The challenge is that I don’t think they’re quite super common knowledge like a milk crate was. Maybe in a couple of years…
The “need a penny” tray that I’ve been playing with for a little while has been getting good reactions. It was time to tweak the design to make it look better and slightly more deceptive. The new one (on the right) is next to the old one:
The two main changes that I made was that I beveled the edges of the tray and I printed the bottom portion in black. Here’s a few more views of it:
The beveled edged and black bottom make it look soo much thinner. This is a great example of why you should learn about all types of magic. Essentially I took some stage illusion principles and applied them to a close up magic prop to make it more deceptive. I guess reading Rand Woodbury’s Illusionworks book when I was a teenager finally paid off!
Whenever I get any product that comes in the fancy box that has a magnetic flap in it, I always rip out the magnets and metal shims before I recycle the boxes.
The magnets and shims are very thin, which makes them great for magic!
The round shims are perfect for adding t playing cards or dollar bills!
Look around you at product packaging that you would normally just get rid of. There’s tons of useful things, like clear, rigid plastic. I used that to make the gimmick for my signed cracker routine. The round shims are perfect for adding t playing cards or dollar bills!
Look around you at product packaging that you would normally just get rid of. There’s tons of useful things, like clear, rigid plastic. I used that to make the gimmick for my signed cracker routine.
Once again my 3d printer saves me a big headache in getting something made! I need a holder for two Flic Buttons that someone from the audience will use to run a music cue for me during a comedy escape. I spent about 5 minutes designing a simple holder and then hit print!
Here’s what the finished prop looks like:
The piece on the left is the cover, however after putting the Flic Buttons into it, they pressure fit into it, so I don’t need the cover as they won’t fall out.
It’s really worth your time to learn to use basic 3d design software like TinkerCad even if you don’t have a 3d printer. You can design things and then email the file to someone else to print.
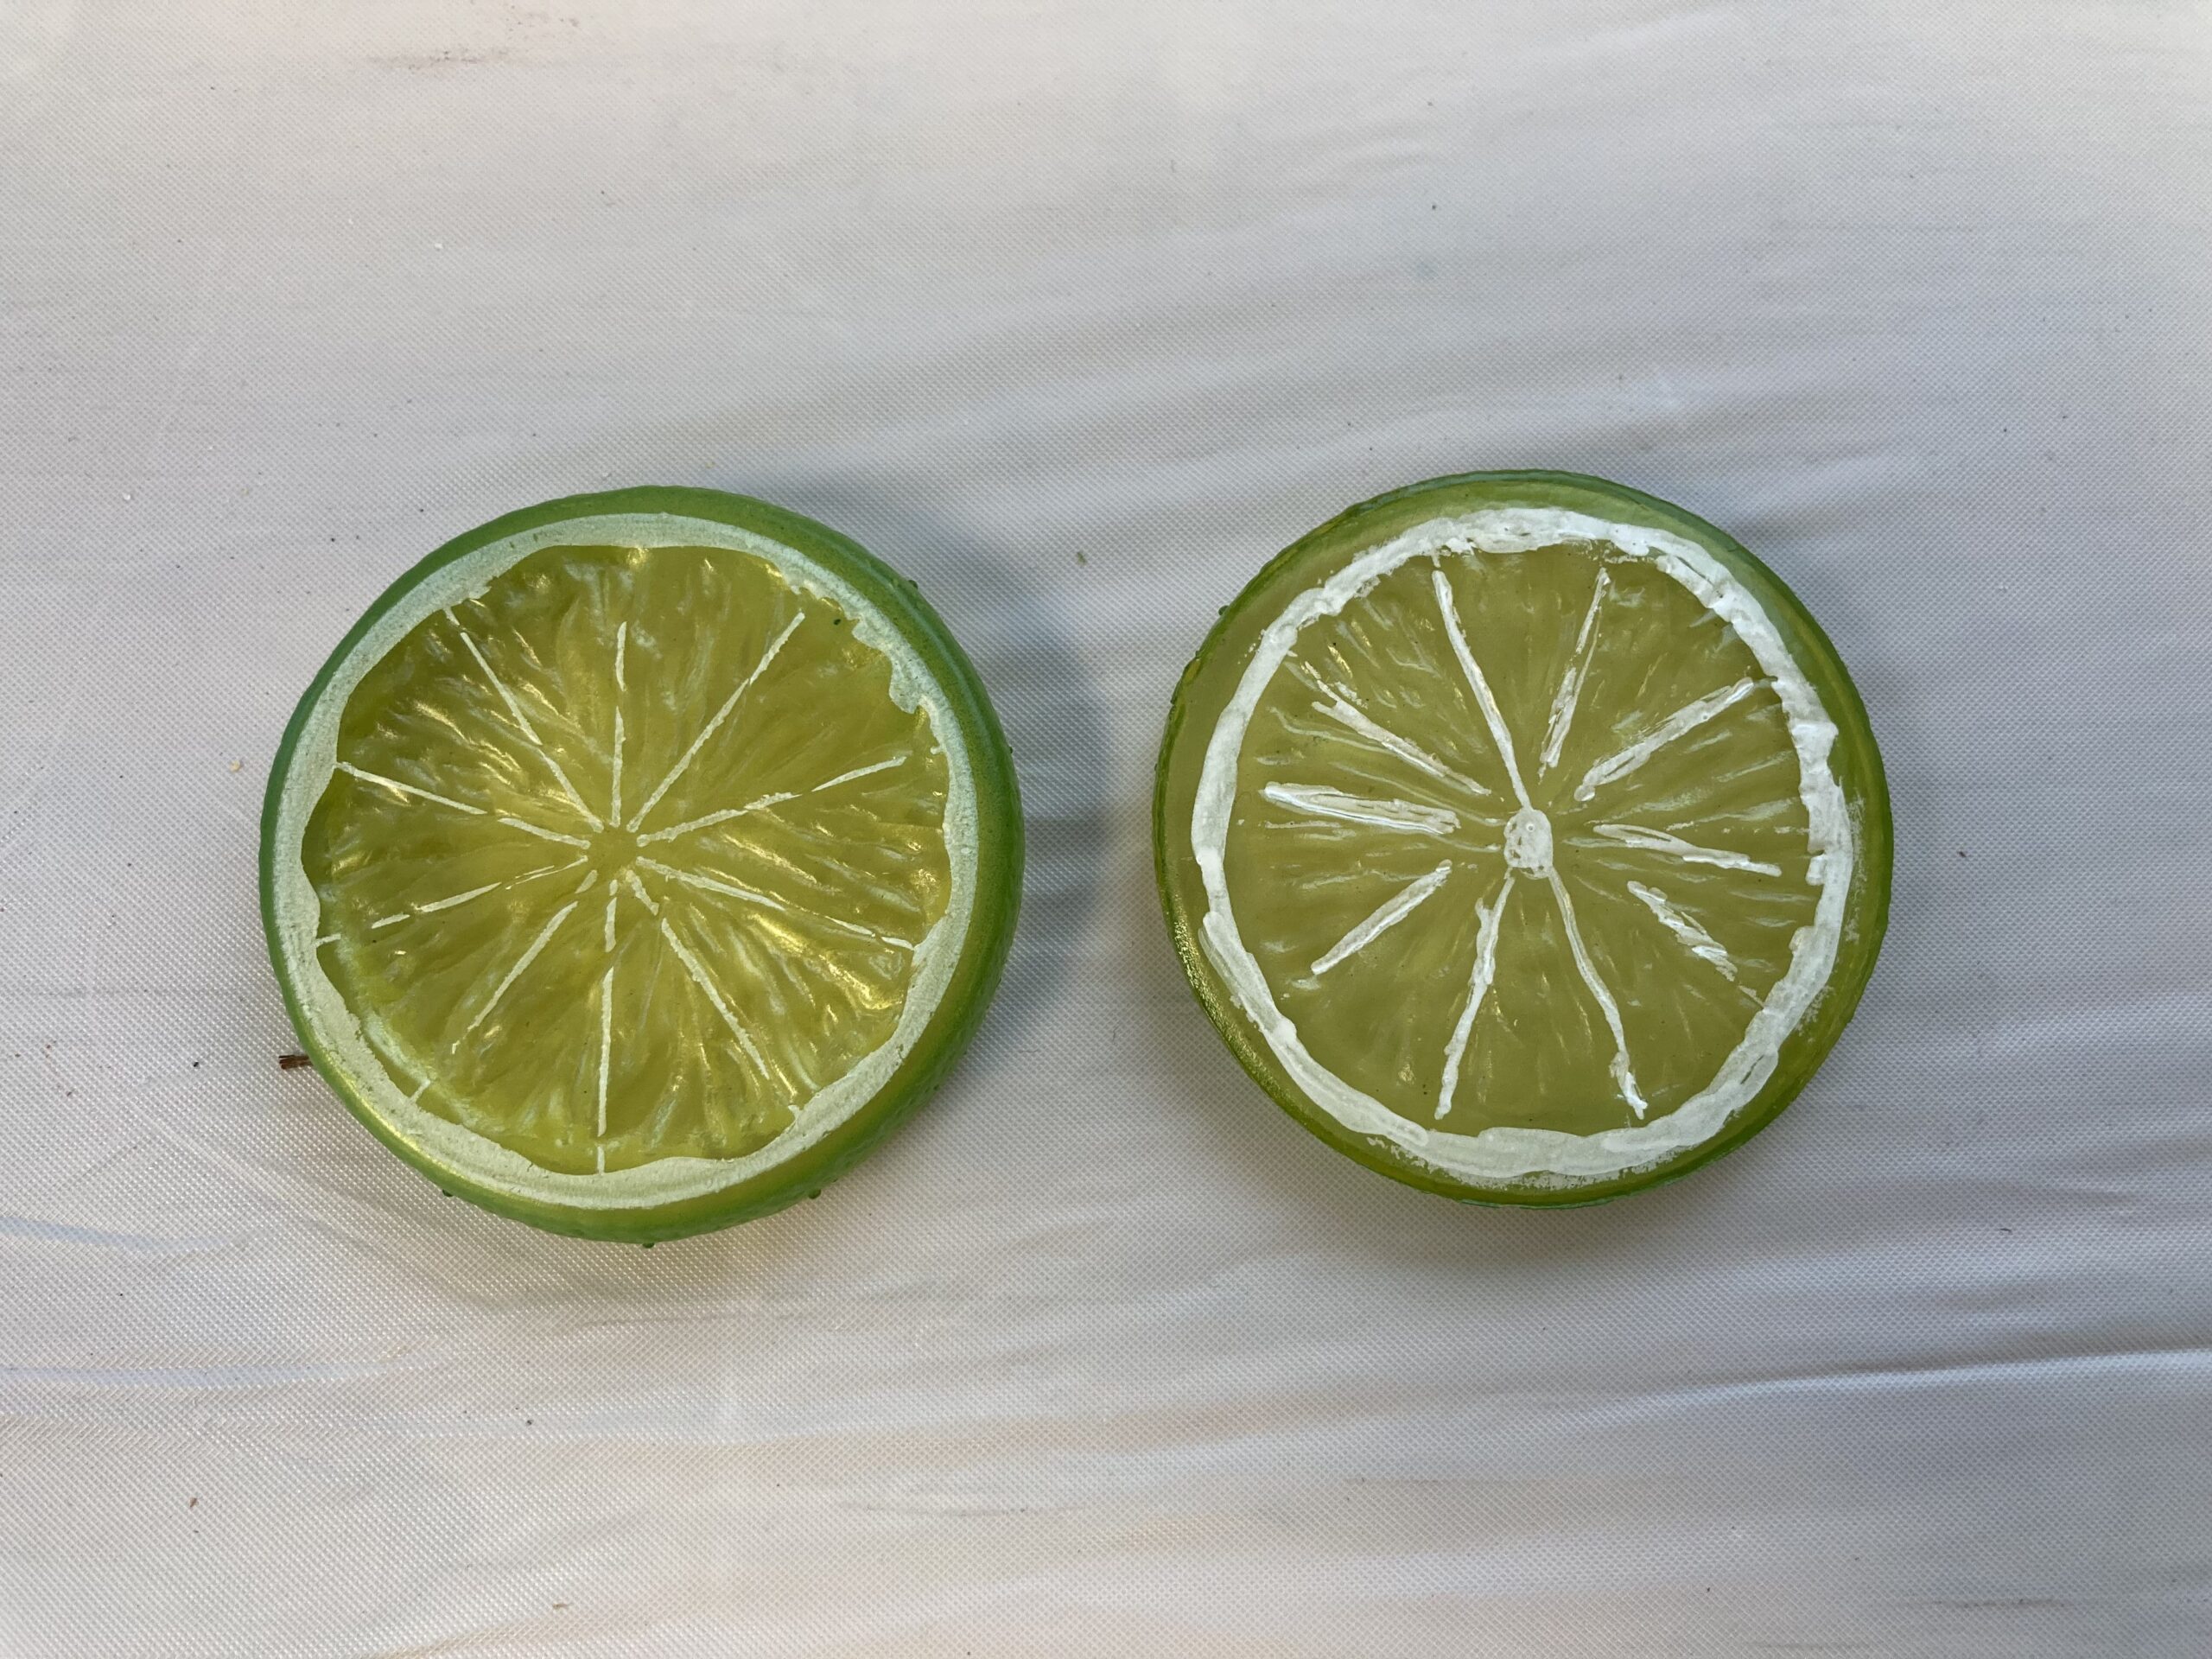
One of the tricks I’m working on uses a fake lime slice. The one on the left is how I get them. It looks good, however the white rubs off fairly quickly and from a short distance it’s not obviously a lime.
For the one on the right I went to an art store and the lady there helped me pick out a paint to use that should be more permanent. So far the new white paint is holding up a lot better than the original paint.
Sometimes it’s the little things like white paint on a fake lime that makes a huge difference in the trick!
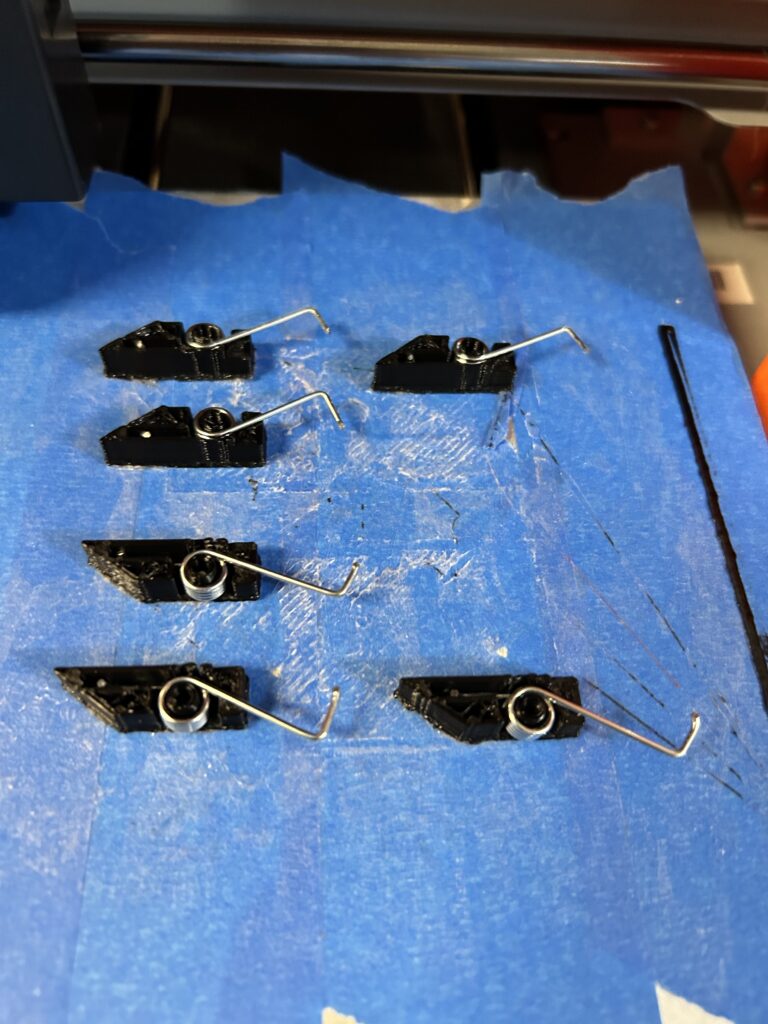
I can’t imagine life without my 3D printer! There’s many props that would have neve seen the light of day without it. Right now I’m working on a batch of my Take Up Reels.
These are the the first lock of the Take Up Reel that locks the string long. These would have been impossible to make without a 3D printer, or at least impossible to have at a reasonable price!
If you haven’t played with 3D printing, you can play with design software and try to make something without having a 3d printer. Websites like Tinkercad.com are easy to use. If you’ve never played with making your own designs, go to one of these sight and play with them, you’ll be surprised at what you can make!
One of the things that I’m trying to figure out for the Giant Linking Pin / Thumb Tie routine that I’m working on is what is the presentation hook. It’s the why am I showing this to the audience. This is usually the hardest piece of the puzzle to figure out when creating a routine.
I’d been doing it as “the first trick I ever learned“, but artistically, that’s pretty lazy. That premise is a good placeholder to get the routine onstage, but it’s now a good long term one (usually).
It hit me the other night, I personally have a needle phobia (in a medical setting). I could use that as the hook by saying that I did “exposure therapy” starting with carrying around safety pins in my pocket and eventually moved up to the giant pins. That tells the audience something real about me, and gets an unusual prop (the giant safety pins) into play.
I need to play with it more, but I think it’s a good idea…
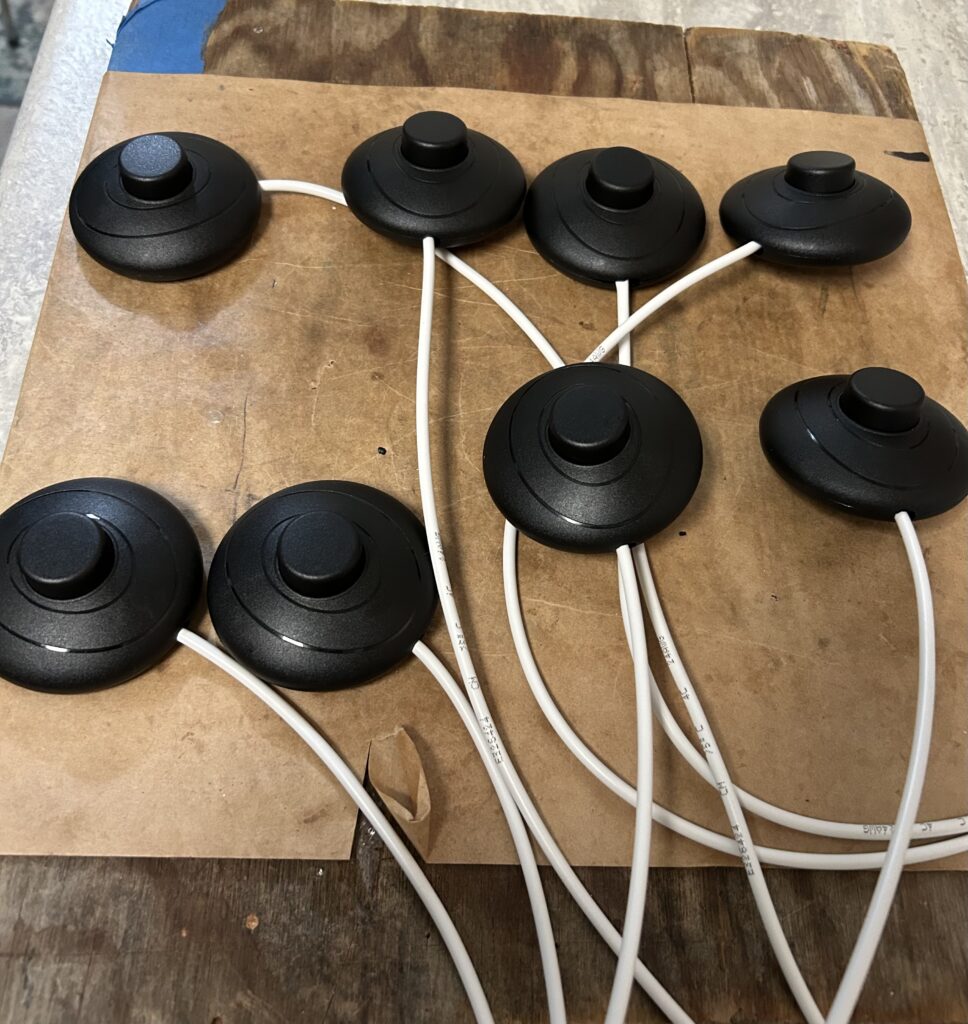
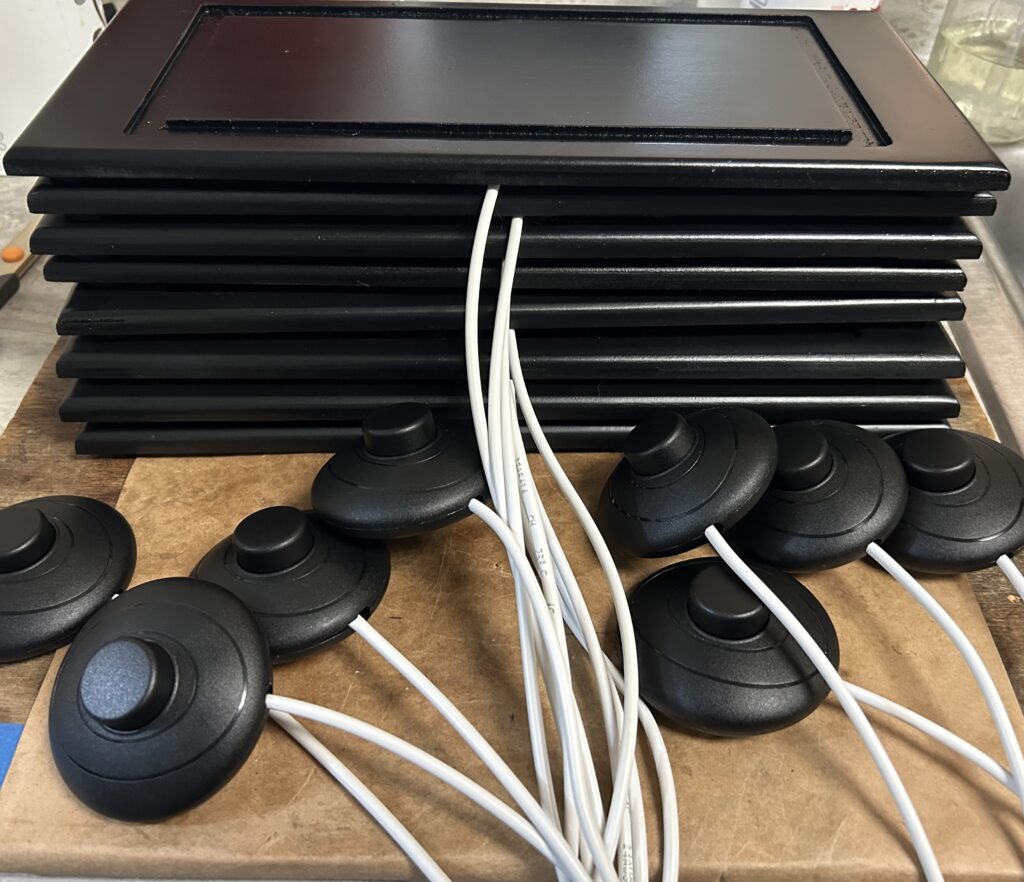
Yesterday I started work on the current batch of Applause Please 2. This is the prop used for my “object in lightbulb” routines. The base and outer shell of the applause sign are made by Brian overat Magic Crafter and look amazing!
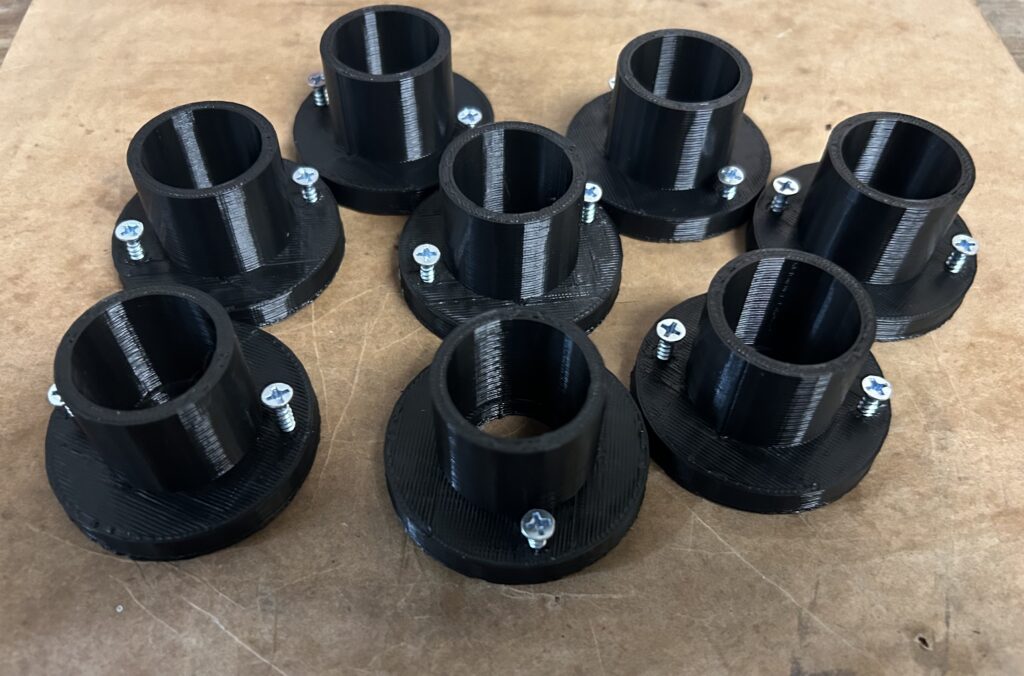
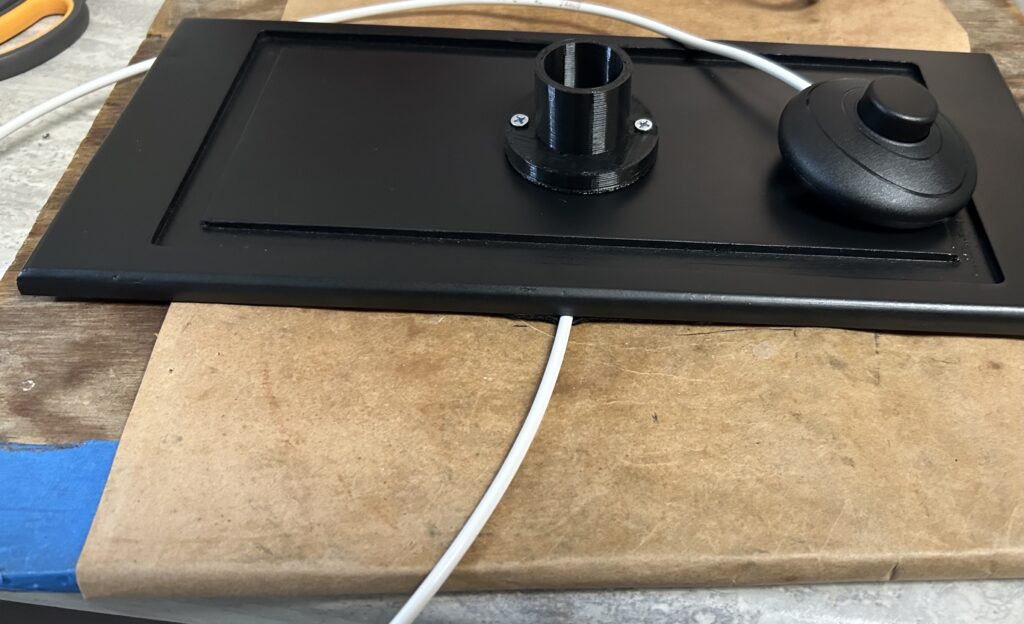
Yesterday I added the switch and lightbulb holder to the bases.
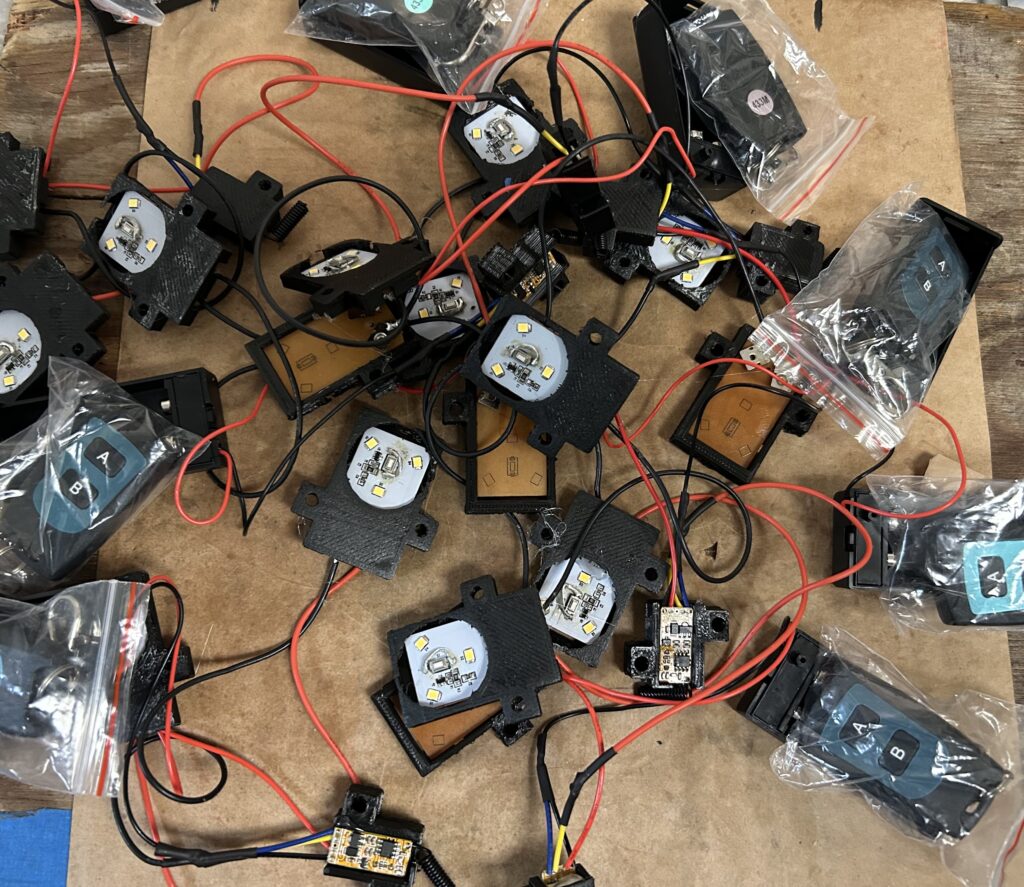
I also made all of the electronic parts and added the remote controls.
Today I’ll be adding the electronics to the boxes and packing everything up. Hopefully I can get all of my preorders out in the mail tomorrow!
I only have one left if you want to order the Applause Please 2 from me, however four of these are going to Hocus-Pocus.com, so they’ll have them in a few days.
One of the things with marketing magic trick is figuring out the most efficient ways to make them in bulk. Making a single prop is pretty straight forward, you go step by step. When making in bulk the challenge is how many steps per unit do you do before you move onto the next unit.
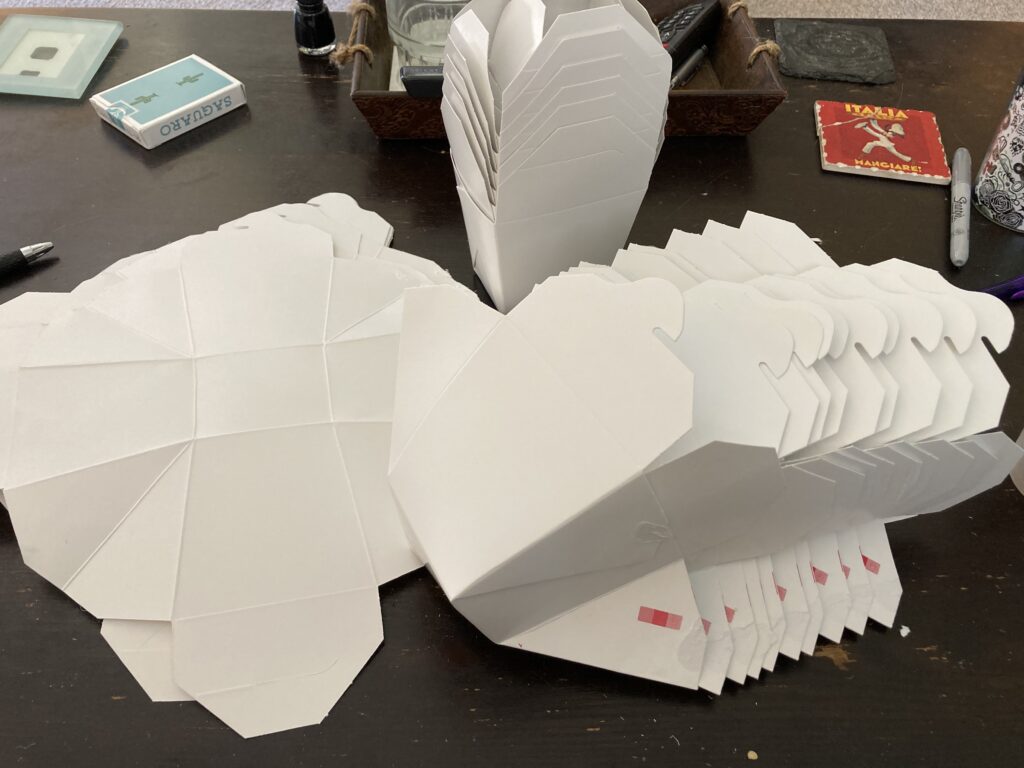
For something as simple as opening up these Chinese food take out boxes for my Take Out Box trick, I found that doing it in two steps was the fastest and easiest for me. This all goes back to sleight of hand, and the idea of economy of motions.
What’s the most efficient way to move a card to the top of the deck? Is it a pass where you’re moving half the deck or the side steal where you’re only moving one card? A lot of times the situation, your skill level and confidence with the move will dictate which is more efficient.
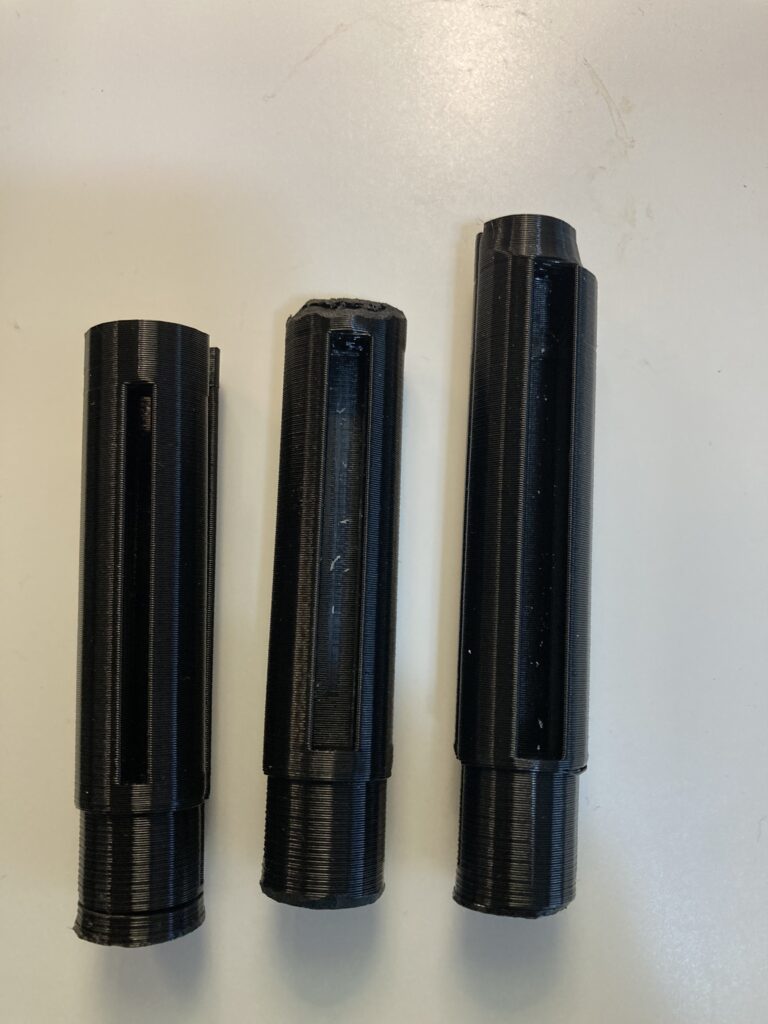
I just wrapped up building a custom prop for another magician. I don’t know if people know what goes into creating props. Below are the first three attempts at making part of the prop, I forgot to take a picture of the forth and final version.
The first version which is on the left, was kinda my “proof of concept” version and it let me know that the idea was solid.
The middle version was a slight tweak, where the slot is bigger, but that brought me to a second challenge, the top needed to taper in. I also realized I has a little more room to play with with the prop, so I extended the gimmick.
The third version on the right, fit great, but internally I discovered there was a “pinch point”, so I had to go back and to a quick redesign, which led me to the fourth and final version (not pictured).
Looking back, the second version was clunky, but functional. The third version didn’t really work, but the final version worked soo much better than second version. I’m glad I pushed forward to get it to the final version!
If you’ve got a custom prop you are looking to get made, contact me and we can chat about it!