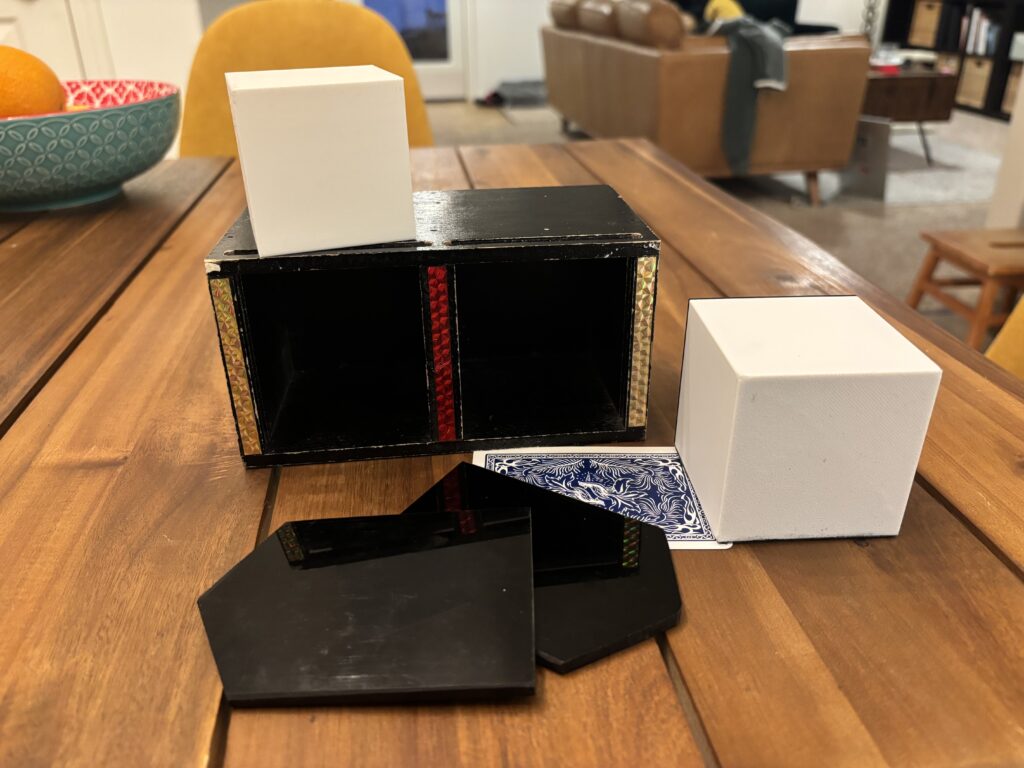
I’m working on a trick where I need to make a postcard disappear from one stack and reappear in another stack. Here’s what I came up with:
The reason I’m going with a gravity flap instead of an elastic flap is that I don’t need a visual change of the card. Also, with gravity, there’s less to break. There’s nothing worse than restringing an elastic flap card has broken right before a show!
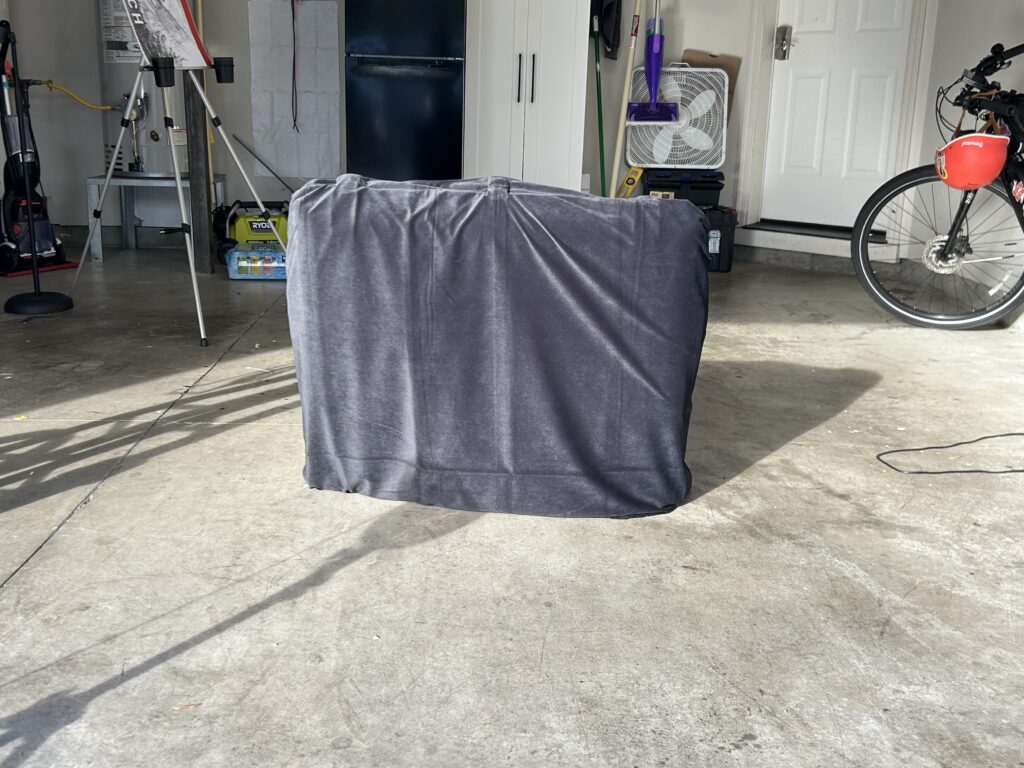
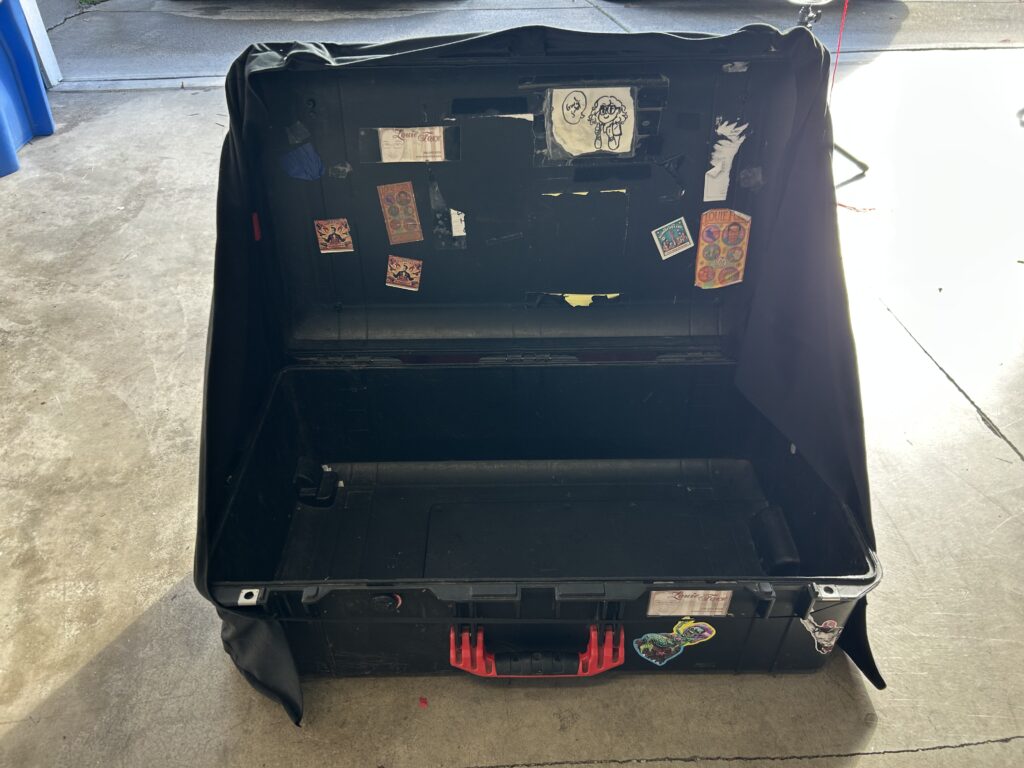
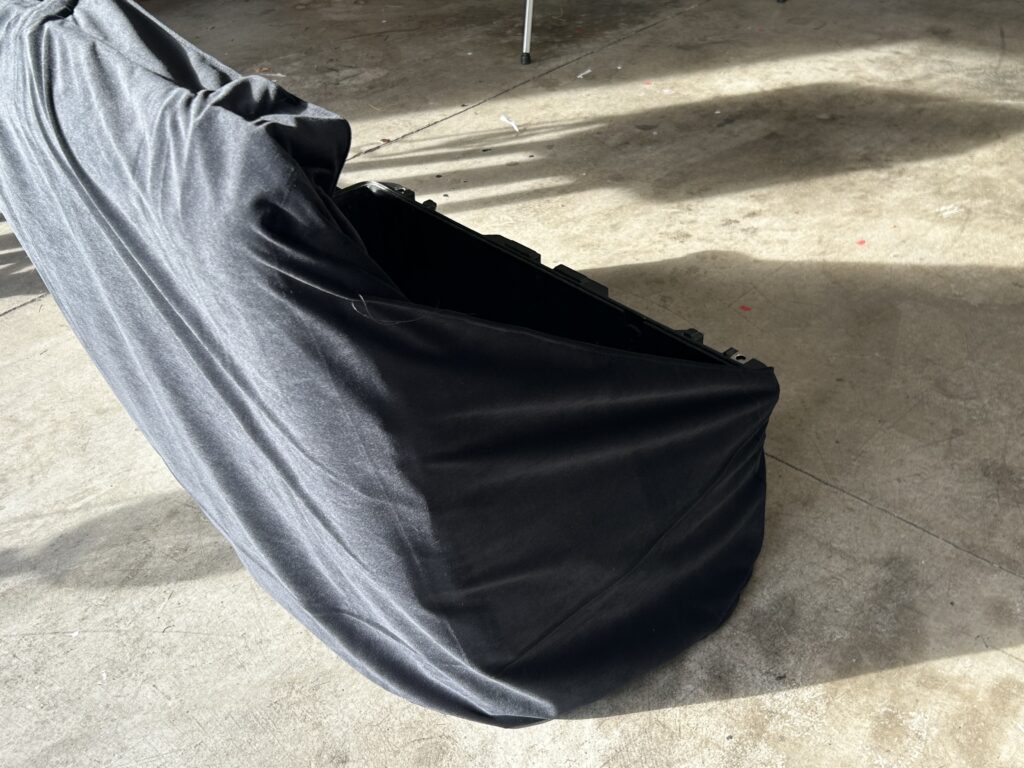
I needed a new prop case cover that would cover the front and sides of my case. I bought a few yards of fabric and got to sewing and this is what I made:
It turned out fine and will get the job done. I think I’ll use this for a bit to see if there are any design changes that need to happen.
For my show this summer that I’ll be doing at libraries and summer camps, I wanted to dedicated prop box for it. I found this old RC Cola box at a junk shop. The guy wanted way too much for it, but I talked him down to where it made sense as I didn’t want it as an advertising collectible, I just wanted it as a box.
Once I got the box home I covered it with black fabric, added metal corners and changed the hinges. Here’s what it looks like now:
This was a quick, easy way to make a prop box for the summer magic show. It doesn’t need to last for years, just 3 months!
Another prop for my summer library show is a breakaway flower. This is like the old breakaway wand comedy prop, but it’s flower.
It does have one other bonus bit to it, the top flower separates from the stem. They are attached by a magnet. The idea for the routine will be that the flower is going to disappear. It breaks and it put it back together a few times. Then the flower separates from the stem. I toss the flower in the air and it disappear, but the kids notice it’s stuck to my butt. The flower finally disappears (in a devils hank?) and reappears somewhere else.
Nothing super crazy here, but a way to theme the breakaway wand from a comedy prop that’s added to a routine, to it being one of the main props for the routine.
One of my favorite stores is in Tacoma, WA, it’s called Tinkertopia. It’s a reclaimed material store that resells this stuff for art.
They have soo much cool stuff, and I always find things that I can use as a part of a magic prop or for some other project.
One of the things that I found were some hinged plastic circles. You can see them on the counter in the above picture. They are 4 segments that are hinged to make circles. I’m thinking I’m going to use them for something similar to the hinged ruler figures that magicians used to do.
The challenge with a store like this is that once they sell out of something, you many never find it again. They had these hinged circles in three colors, so I bought two of each color for a total of six of them. I’m kinda regretting not buying them out of all of them, I have a strange feeling I’ll either need more for whatever idea I come up with, or I’ll fall in with whatever my idea is and want to make a backup and I won’t be able to find more.
Then there’s the possibility that I don’t come up with anything I like with them and end up throwing them away. That’s the gamble.
When making deliveries, Amazon uses these totes to haul packages:
I don’t know if they’re common enough for people to recognize what they are. They collapse flat and I think they could be converted to a magic prop. It wouldn’t be hard to make one into a tip over trunk. You would also simply put a panel that flips up on the bottom and put it on a mirror base and you’re good to go.
The challenge is that I don’t think they’re quite super common knowledge like a milk crate was. Maybe in a couple of years…
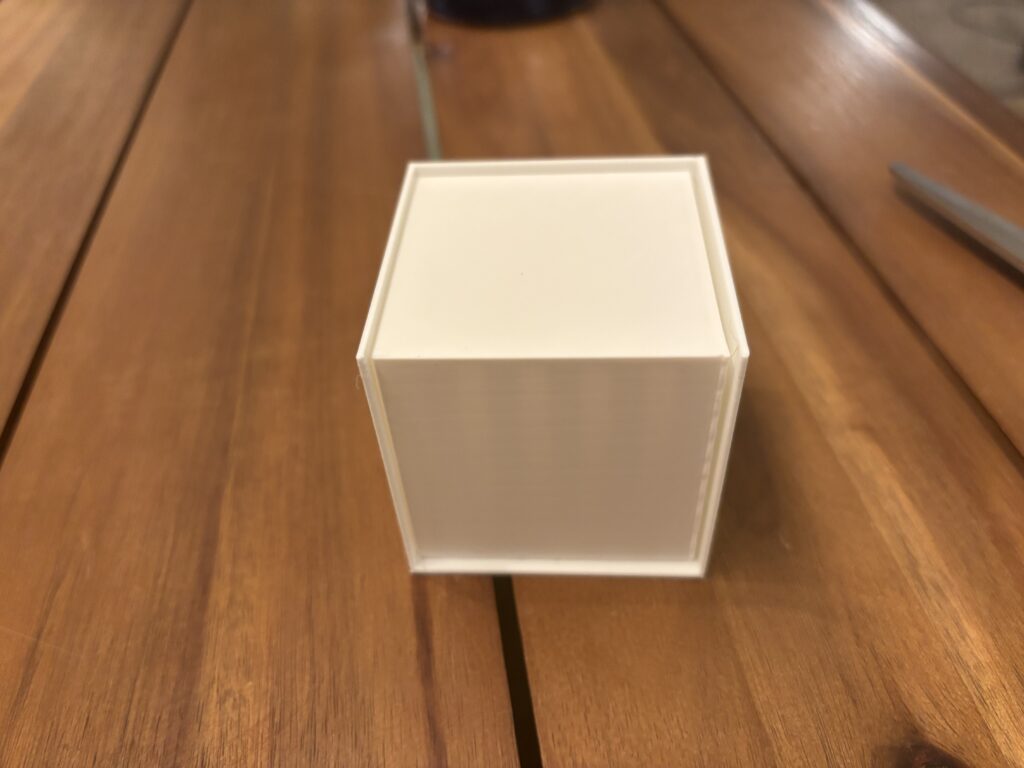
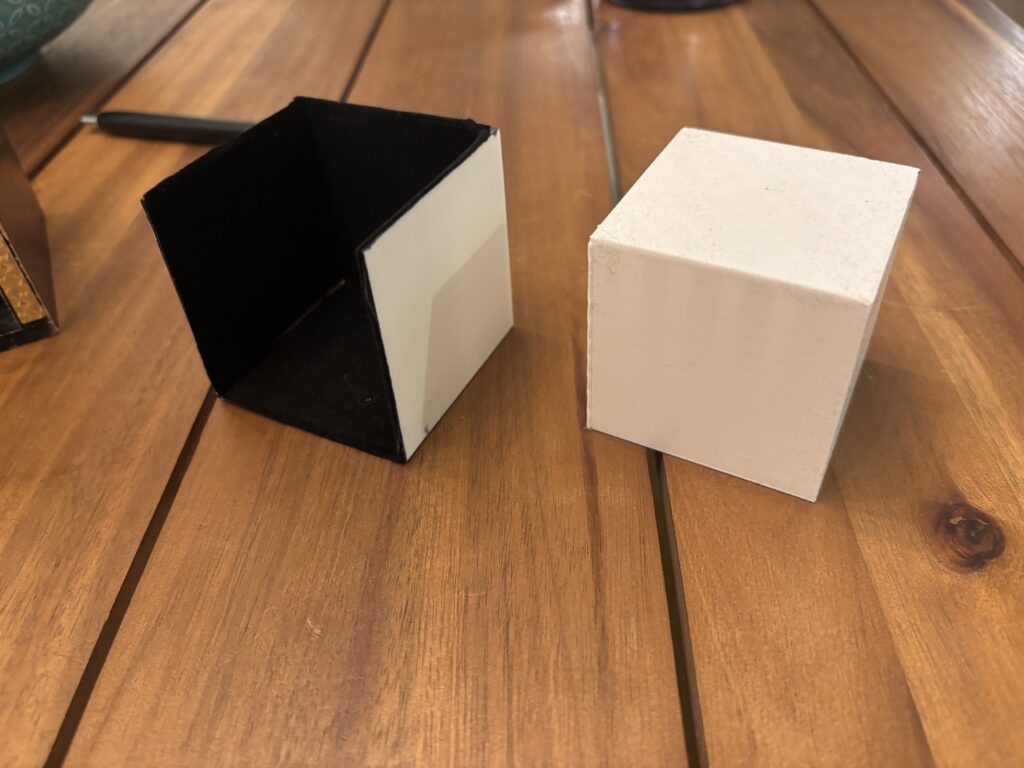
The “need a penny” tray that I’ve been playing with for a little while has been getting good reactions. It was time to tweak the design to make it look better and slightly more deceptive. The new one (on the right) is next to the old one:
The two main changes that I made was that I beveled the edges of the tray and I printed the bottom portion in black. Here’s a few more views of it:
The beveled edged and black bottom make it look soo much thinner. This is a great example of why you should learn about all types of magic. Essentially I took some stage illusion principles and applied them to a close up magic prop to make it more deceptive. I guess reading Rand Woodbury’s Illusionworks book when I was a teenager finally paid off!
Whenever I get any product that comes in the fancy box that has a magnetic flap in it, I always rip out the magnets and metal shims before I recycle the boxes.
The magnets and shims are very thin, which makes them great for magic!
The round shims are perfect for adding t playing cards or dollar bills!
Look around you at product packaging that you would normally just get rid of. There’s tons of useful things, like clear, rigid plastic. I used that to make the gimmick for my signed cracker routine. The round shims are perfect for adding t playing cards or dollar bills!
Look around you at product packaging that you would normally just get rid of. There’s tons of useful things, like clear, rigid plastic. I used that to make the gimmick for my signed cracker routine.
Once again my 3d printer saves me a big headache in getting something made! I need a holder for two Flic Buttons that someone from the audience will use to run a music cue for me during a comedy escape. I spent about 5 minutes designing a simple holder and then hit print!
Here’s what the finished prop looks like:
The piece on the left is the cover, however after putting the Flic Buttons into it, they pressure fit into it, so I don’t need the cover as they won’t fall out.
It’s really worth your time to learn to use basic 3d design software like TinkerCad even if you don’t have a 3d printer. You can design things and then email the file to someone else to print.