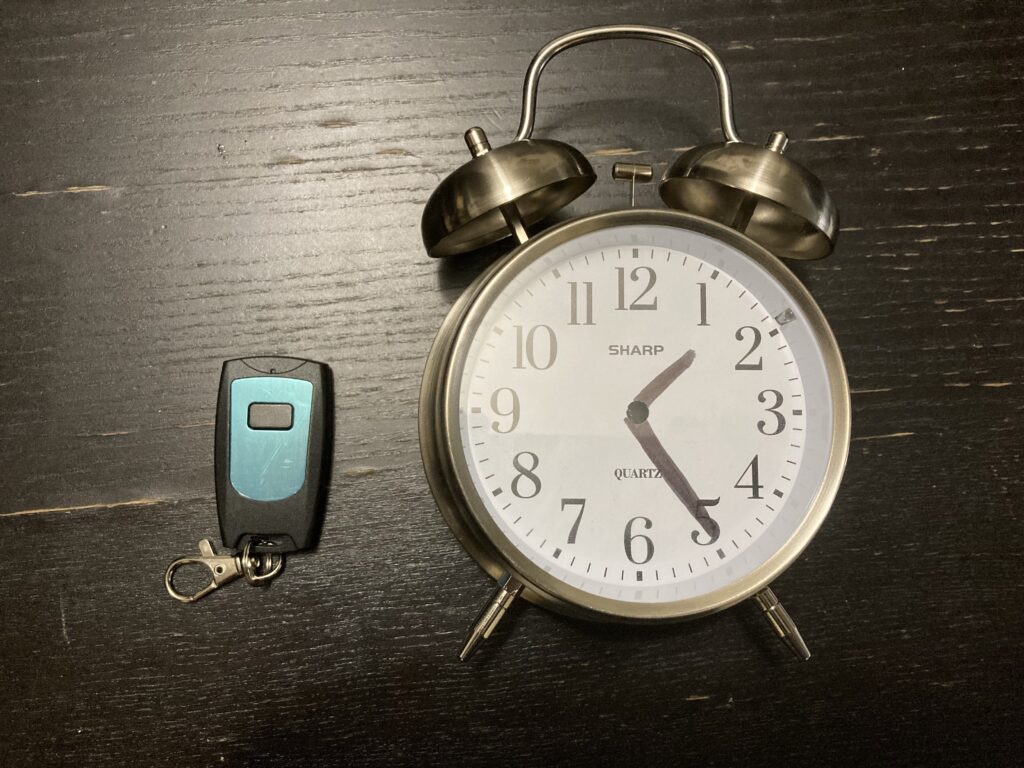
A couple of months ago I got a lot of vintage magic at a garage sale and one of the things was a vanishing alarm clock stand (no clocks). I also have a lot of remote control units here, so I made a remote control alarm clock:
When you push the button the alarm rings
I’m not sure how I’m going to do this in the show. Traditionally you cover the clock and hang it from the stand. When you hang it, it starts ringing and you pull away the cloth and the alarm clock is gone. Then the alarm clock reappears somewhere else. I think I’ll use the remote control alarm clock as the one that reappears and the ringing is how it will announce it’s reappearance.
One of the things that a lot of magicians use are magic tricks that use electronics. They are fun and you can do a lot of really impossible things with them, but the hard part is finding an “out” if the electronics fail. And they will fail at some point if you are out there working.
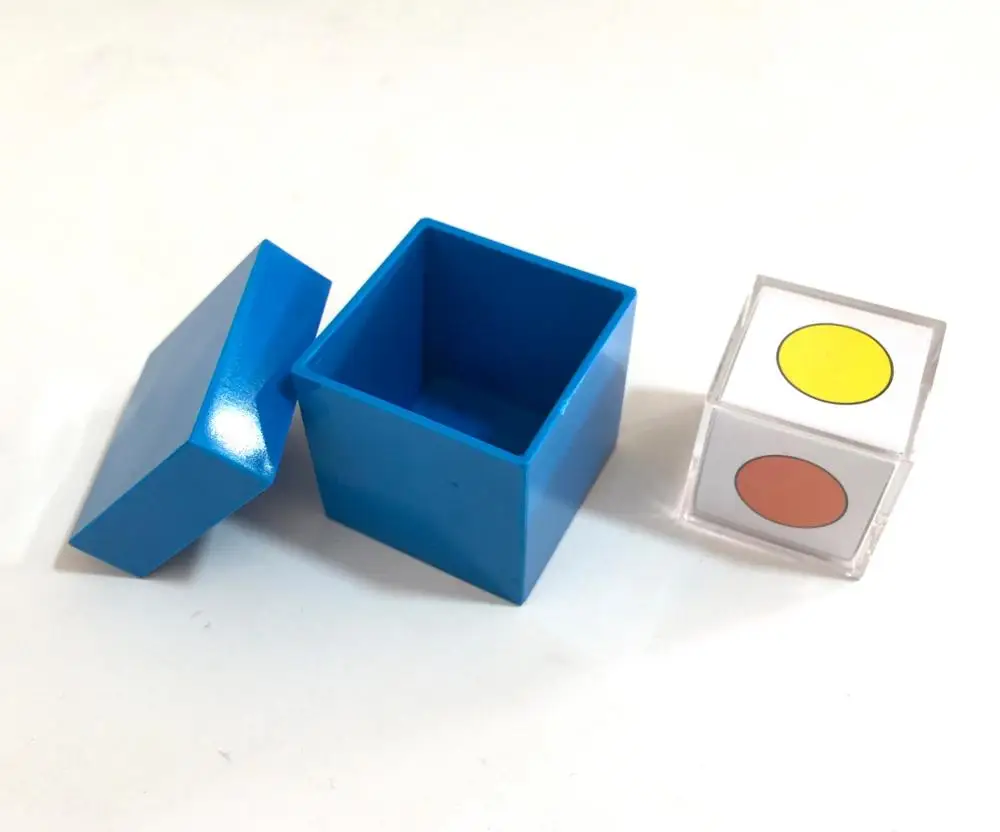
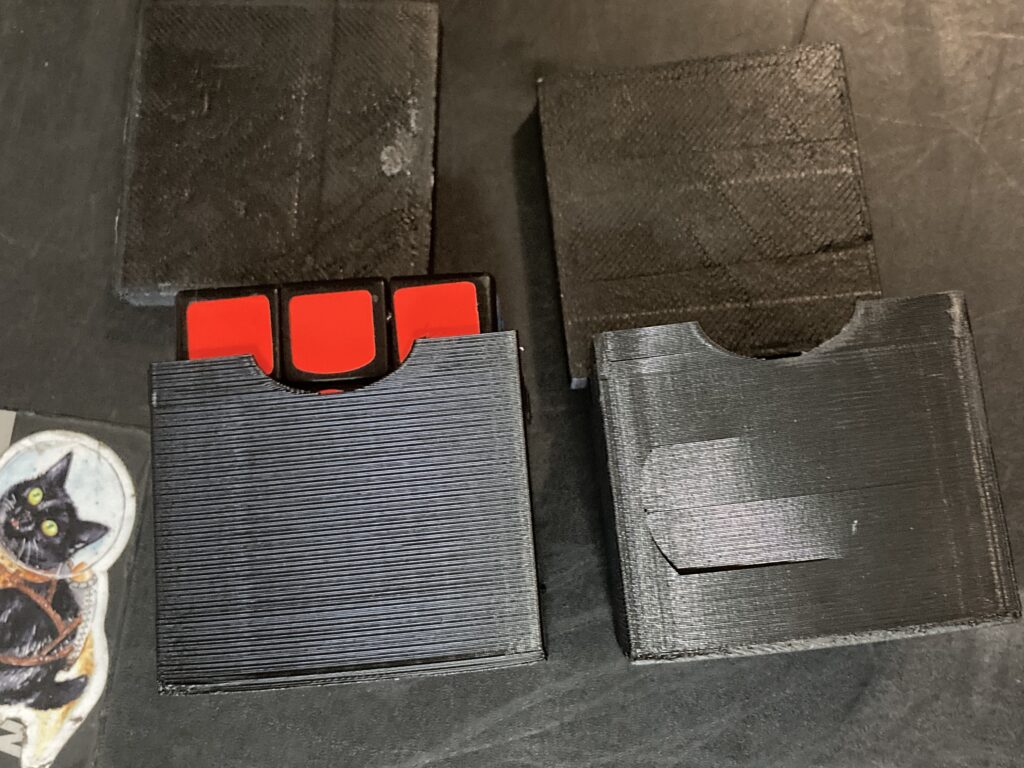
In my show I use a Rubik’s Cube that a special something inside and if that ever fails, in most routines you’re really screwed. Awhile ago I 3D printed a box for it, so if it does fail, I can use the box like the old color vision box. The color vision trick is a pretty good trick on it’s own, so having that as my back up method isn’t the worst out in the world.
I’ve been using the 3d printed box for a little over a year and wore it out!
I think a combination of me working outside a lot in the heat and it just getting banged around during travel shortened the box’s life. Luckily with 3d printing, it’s a very quick and easy fix. I just hit a couple of buttons and I had a new one with virtually no effort on my part!
A while ago I bought Measure for Measure by Iain Bailey which is a prediction using a tape measure. You pull out the tape and someone says stop and you’ve predicted where they say stop. Here’s the promo video for it:
I think it’s a great trick, but the method didn’t really work for me. There’s a move that needs to happen, and it’s not hard to do, but the move just didn’t work for me. I’m not saying it’s bad, because it’s not, it’s a great trick. The method didn’t work for me.
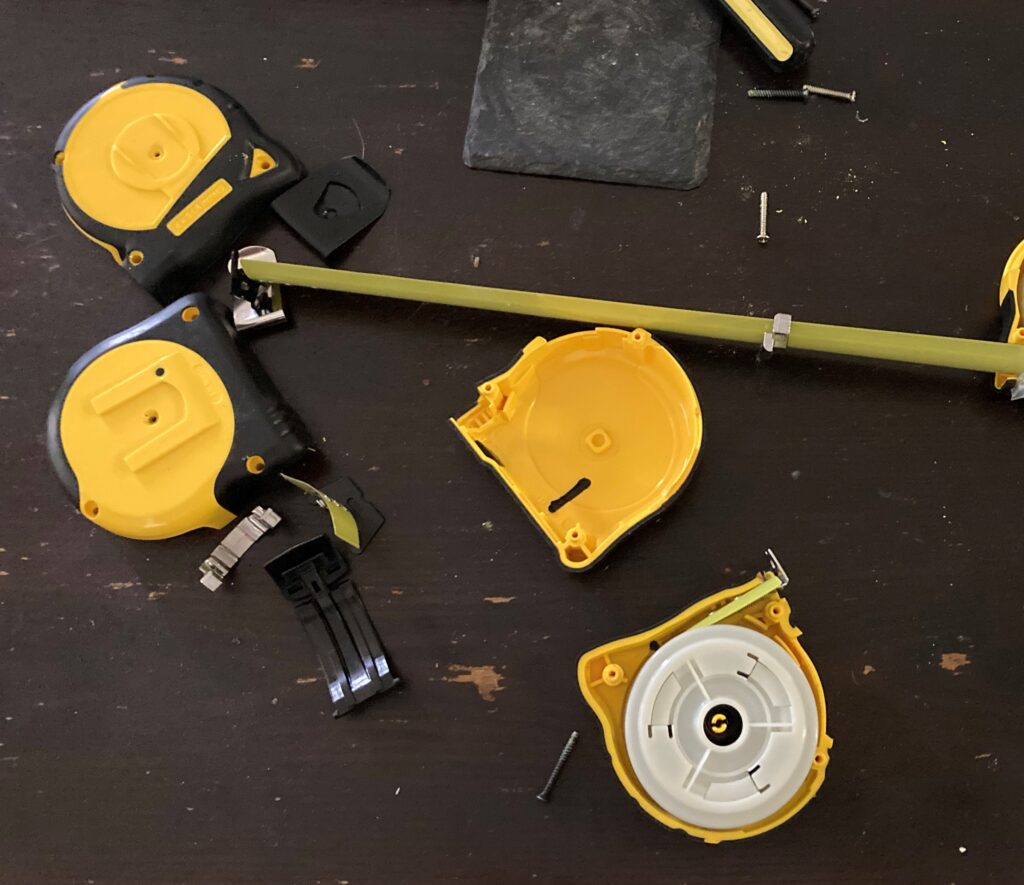
I ordered a few tape measures and got to playing around with altering Iain’s gimmick.
What I ended up with is a tape measure that starts legitimately closed, ends legitimately closed and is 100% self working, there’s no move. I also upped the width of the tape to the Stanley Fat Max tape measure, so it’ll play a little bit bigger. As a bonus, you can see the prediction retract with the tape as you close it.
Here’s a quick demo of what my solution looks like:
I want to be clear that I’m not knocking Iain’s release, it’s a great trick and I think it would work for most people out of the box. Also, the hard part of creating magic is the first 90%, from the initial idea to a finished product for how the creator wants it to work. The final 10% is easy, and my “improvement” was the easy part, since the idea and gimmick already existed.
Also when it comes to marketing magic, there are a lot of choices that have to be made. Sometimes a method won’t be the best, but more accessible to the majority of magicians, or something that may seem like a small, insignificant tweak will triple the cost per unit.
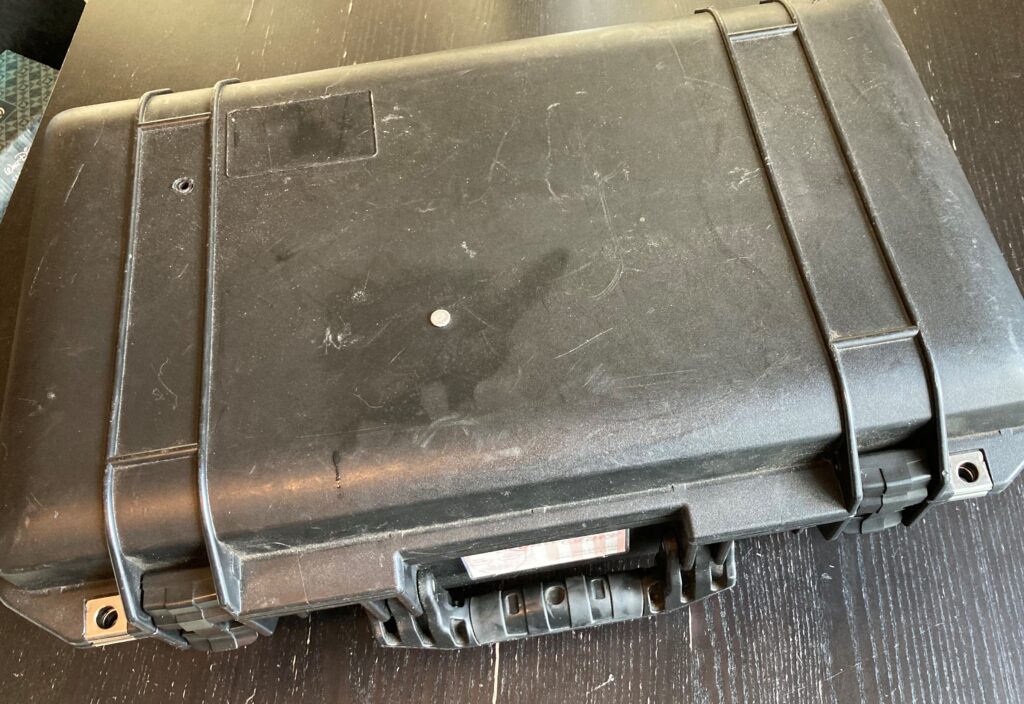
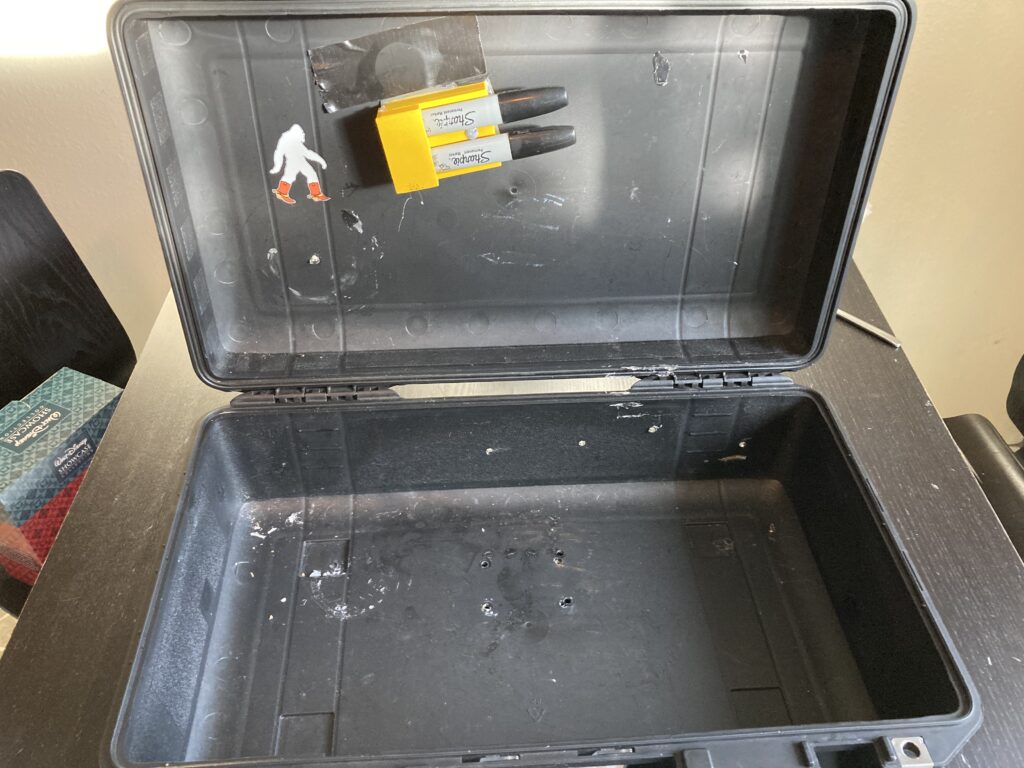
It’s taken forever, but I’m getting to work on assembling a briefcase magic show. I dug out of the shed an old Pelican 1525 case that I bought for a specific gig a while ago, then used for my outdoor kid shows in the summer of 2020.
This case had a flange on the bottom, and I took that off. It used to have a bunch of custom 3d printed holders in it, but I took them out when I started using the case for the kid shows. I did leave my Sharpie holder in the case. This is a pretty creative solution to keeping pens easily accessible. The yellow holder has magnets in it, and so do the pens. They will pretty securely in the holder, but are easy to reach in and remove.
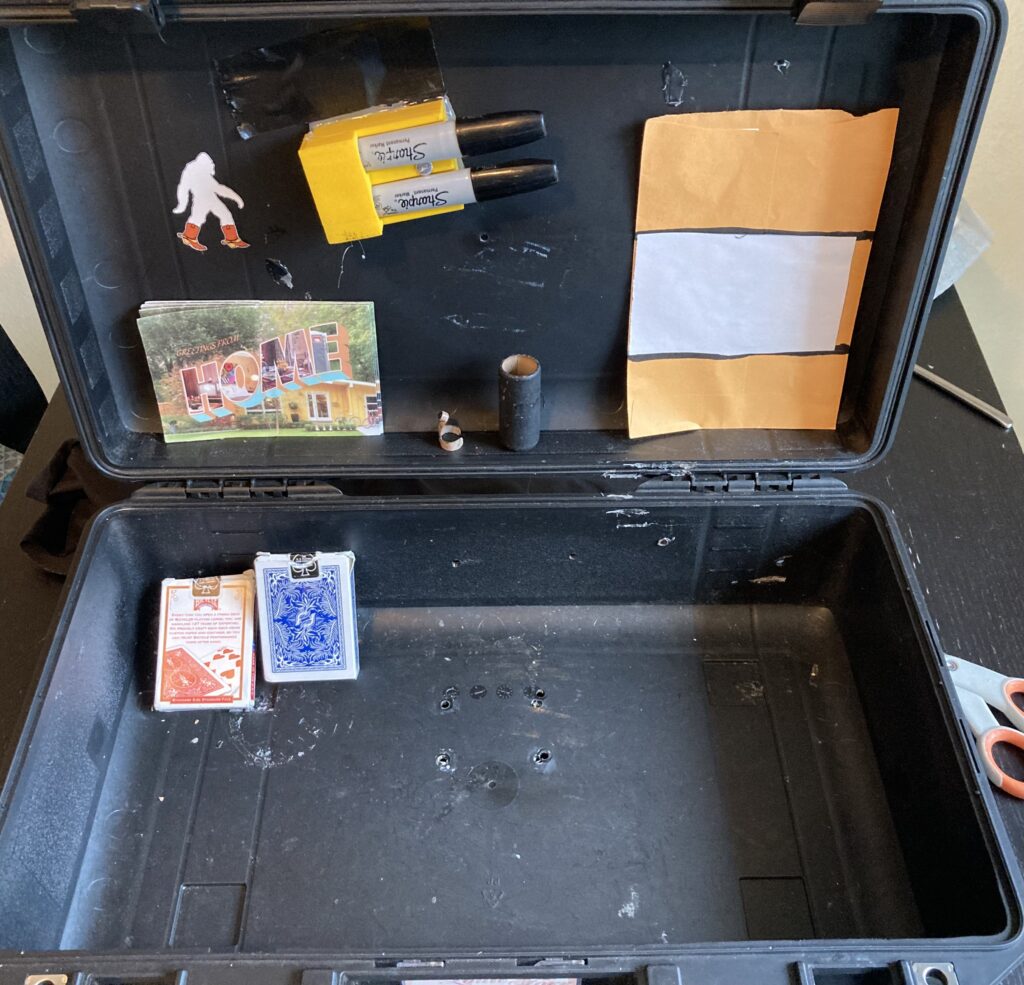
I’m starting to play with the layout of things in the case:
I have to make some choices, like using poker size cards, or moving up to parlour or jumbo sized cards. I think that choice will end up being made for me by what props/routines end up in the show. -Louie Click here to learn more about building your own magic props!
One of the things I love it helping other performers make their visions of tricks become a reality. A couple of months ago my friend Todd Gardner called me with an idea. Todd is a strongman and there’s a stunt they do called levering (you’ll see it in the video below). He wanted a prop to punctuate the stunt and to add a laugh.
As far as a build, I sketched it out when we were on the phone. It’s not a really complex prop, it was just attached a bell to a headband. I 3D printed the connector and had it print around the headband.
one of the great things about building props for other people is that it helps me grow as a builder and creator!
The picture below is from back in 2017, I had an idea to use a foam hand for a trick.
The idea was inspired by a math based trick in a Jim Steinmeyer book. The problem I faced in the trick was giving clear instructions. I tabled the trick shortly after I started doing it in 2017. Then shortly before the pandemic hit in 2020, I reread in Gary Oulette‘s book of his columns in Genii magazine called Fulminations about the challenges David Copperfield had to get through when giving instructions for his “touch the TV screen” tricks. The instructions had to be clear, even for the biggest idiot.
Then the pandemic hit and I started playing with some tricks that used counting on a hand, and went out and remade my foam hand. I never used the foam hand in a show, because in a virtual show my hand plays big.
Right now I’m cleaning up and downsizing the props I have, and I came across the giant foam hand. It’s sort of gimmicked, or at least altered so that I can bend the fingers down and they stay down. In a couple of days I head to Arizona for a month long gig and I think I’m going to take the hand with me and try to figure out the routine.
One thing I think it lacked was an ending. It needs a good way to reveal that they are all touching the same finger. When I made the last foam hand, I also bought a foam hand that just has the pointer finger up. The challenge was how to reveal this. I was playing with it and essentially found a pull the giant hand off my hand to reveal my hand is holding a giant foam hand with just the index finger up!
Now I have a moment to punctuate the reveal of everyone on the same finger.
It’s still got a challenge. Am I going to do the trick looking at the audience or not? Traditionally in this type of trick you don’t look at the audience, however I’m not sure I want to do that. You lose a lot of control by not looking AND you can’t keep an eye on people doing the procedure.
I think I can solve this by having my instructions fixed. By “fixed” I mean something that I can’t change. It could be a recording, like in the Banana Bandana style of trick. I really don’t like performing to a recorded track, it takes away a lot of what makes a live show fun. I think I may make a flap card, that has a five on one side. You turn it over and it has a three on the back side. Then when you turn it over again, the five has changed to a one. That gives the audience something interesting during the boring counting procedure. I also think going from five to three to one, makes the counting easier as it’s getting simpler each time.
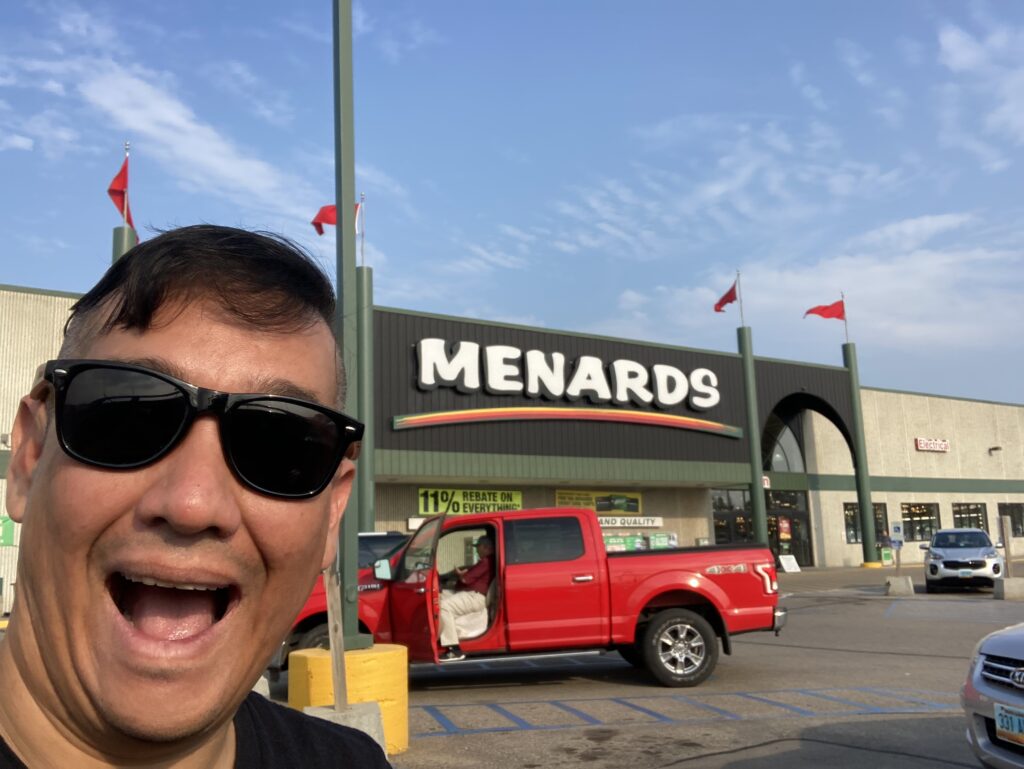
This week I’m performing in Minot, North Dakota. I’ve worked out here many times over the years. When getting into town, I drove by a Menards hardware store.
Normally this isn’t a huge deal, but this is the hardware store where I bought all the stuff to create my Evaporation trick! It’s also the store where I bought a lot of the parts for all the previous unsuccessful versions of the trick.
Many magicians think that finished ideas just pop out of people’s heads, and while that does happen, it’s rarely the case. Usually it’s a idea, that eventually after a lot of work gets to the final idea.
The key is to trying to create a new method for a trick is to not give up. I tired many, many bad (in retrospect) ideas for how to make the trick bottle. However each bad idea taught me something, and they all moved me closer and closer to the final goal!
One thing I’ve written about a lot on this blog is that right now it’s easier than it’s ever been to get props exactly how you want them. You can 3d print things, custom diecut with a cricut machine, or follow a tutorial for just about anything on youtube.
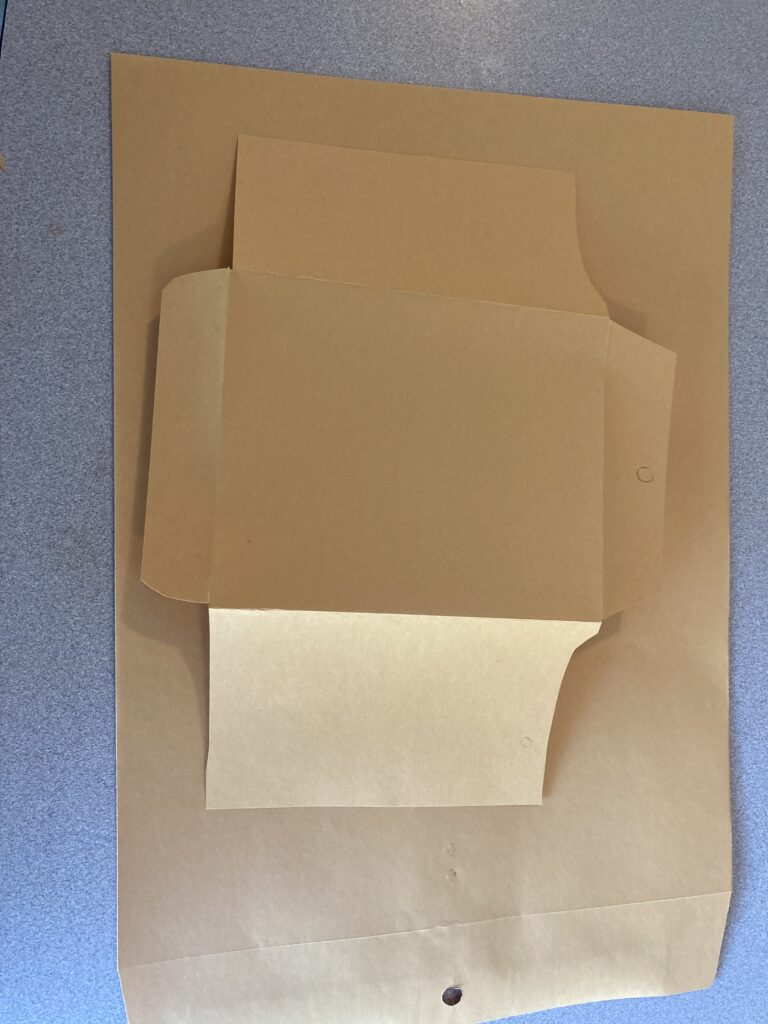
For my polaroid trick I need an envelope that’s about the size of a postcard. Unfortunately I haven’t been able to find one at a store, and going a bit low tech, I simply sketched on and cut it out.
I’ve finally worn that envelope out and made a new more formal template to cut them out with.
I do feel kinda funny cutting small envelopes out of a larger one! However I am a big fan of getting props that are what I want, not sorta what I want.
This week I’m MCing a virtual event, well really just doing introductions for bands at an event. It’s three bands, and all I really need to do is read the words that the event producer gave me, however I want to add a little something. One of the things that I want to do is make a corndog appear and disappear. As far as I know, no one makes a vanishing corn dog.
I started out to fabricate a corn dog. The first step is to make a silicone mold of a corn dog. The first surprise was that a corndog floated in the silicone, so I had to hold it down with some toothpicks. Once the silicone mold had cured, I pulled out the real corndog and used urethane to make the fake corndog.
I added some pigment to the urethane, the color, isn’t exactly right, but I’m going to give it a little bit of paint and I’ll be good to go. I only need this for one show, so the paint doesn’t need to last.
I’m excited to do record this! We’ll see how it turns out!
One of the things that I want to play with this summer are gaffed cards. More specifically, I want to use flap cards to do some changes. I’ve got a few ideas for what I want to do with the flap cards. Ideally I want to put together a close up set that’s 5 mins … Continue reading “Gaffed Cards…”
One of the things that I want to play with this summer are gaffed cards. More specifically, I want to use flap cards to do some changes. I’ve got a few ideas for what I want to do with the flap cards. Ideally I want to put together a close up set that’s 5 mins that can be projected onto a screen.
This is one of the places where a flap card will shine, because people can’t reach for the cards, and it allows you to more easily ditch things. The formal close up allows you to do some fun magic that’s highly visual…and doesn’t require a lot of space in the luggage.
Last night I was playing with more traditional “dental dam” flaps. They work great, however they have seams in them that the more modern “Hondo” style flap cards don’t have. Hondo has really solved a lot of problems with the dental dam flap cards. However, the Hondo flap cards do have their own disadvantage, and that’s that you can potentially see the elastic as it’s on the outside of the card.
All in all, I think both gimmicks have a place where one is better than the other. Now to figure out what I want to do in my card set….