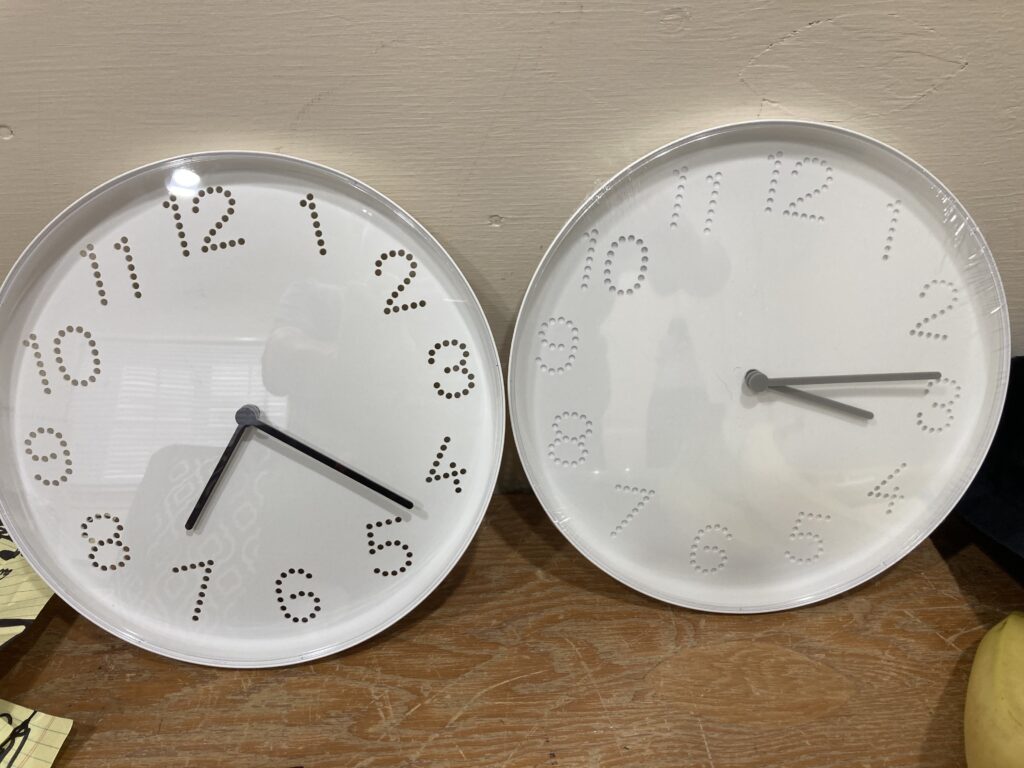
Over the past few months I’ve written about working on my Pitata Magic Time Hacker routine. One thing I noticed in a picture of it was that the gray hands on the white background don’t really pop visually onstage.
I took a black marker and colored in the hands on one of my clocks:
It really makes the hands easier to see and the clock play a few rows further back in the audience. The bigger issue that I think this trick is fighting visibility wise is glare off of the plastic clock face. I don’t think there’s really a reasonable solution, unless there’s an easily applied anti-reflective coating, but even then I don’t know how much that would actually help.
Years ago I heard Jerry Seinfeld in an interview talk about how comics say they should have fun on stage. Jerry’s thought was you shouldn’t have fun, you should be working your butt off onstage. What I think he was getting at was that there’s actual work at being a comedian. There’s a lot more than simply going up there and having fun.
I totally agree with him, you should always be working onstage, that doesn’t mean you can’t have fun or play while you’re up there. Sure there are some acts where looking like having fun isn’t what they’re going for, but the majority of acts aren’t that.
One thing I try to is to look like I’m having fun, and it’s usually easy because I am having fun.
The audience can feel it when you’re having a good time!
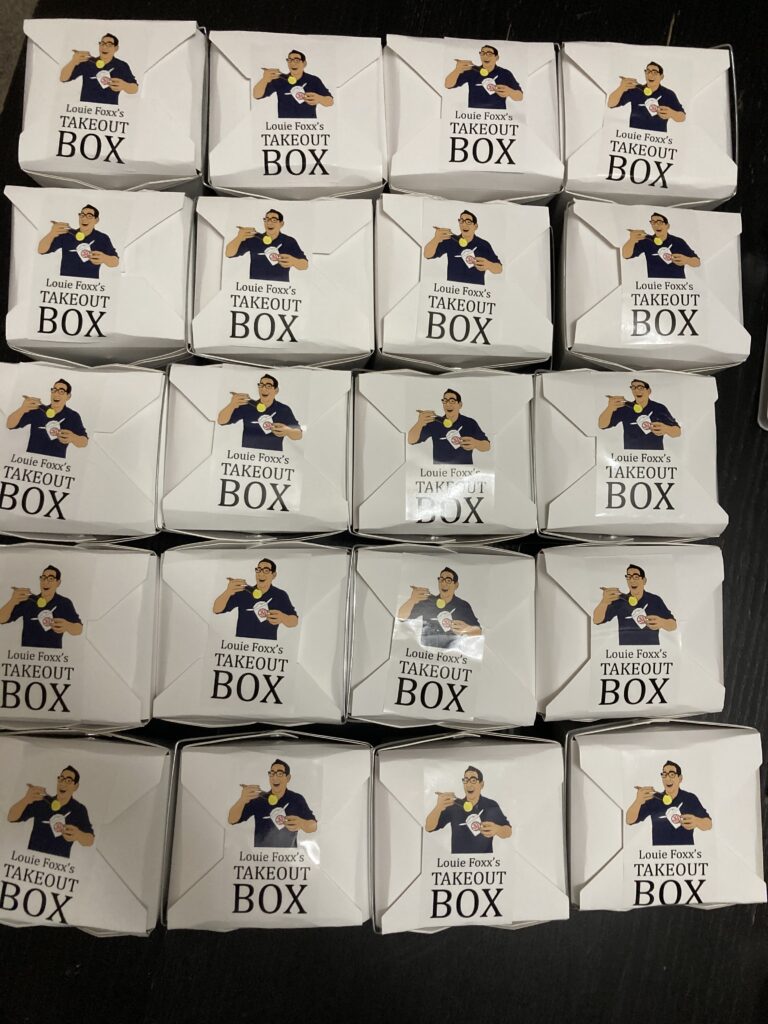
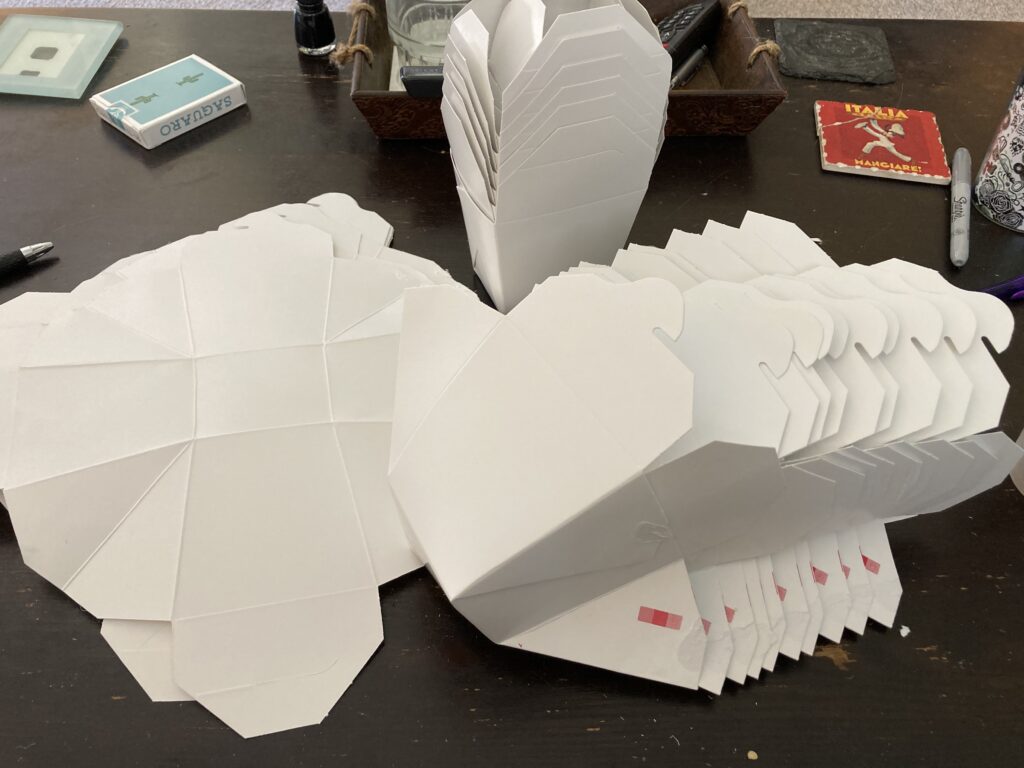
One of the things with marketing magic trick is figuring out the most efficient ways to make them in bulk. Making a single prop is pretty straight forward, you go step by step. When making in bulk the challenge is how many steps per unit do you do before you move onto the next unit.
For something as simple as opening up these Chinese food take out boxes for my Take Out Box trick, I found that doing it in two steps was the fastest and easiest for me. This all goes back to sleight of hand, and the idea of economy of motions.
What’s the most efficient way to move a card to the top of the deck? Is it a pass where you’re moving half the deck or the side steal where you’re only moving one card? A lot of times the situation, your skill level and confidence with the move will dictate which is more efficient.
There’s a term going around magic which is called “every day carry” and it refers to what you always have in your pockets. Typically this means whenever you leave the house, it’s in your pockets or on your person. This refers to props that you would use for spontaneous performances. I’m intentionally not using the word impromptu because that usually refers to magic using things you find around you at that moment.
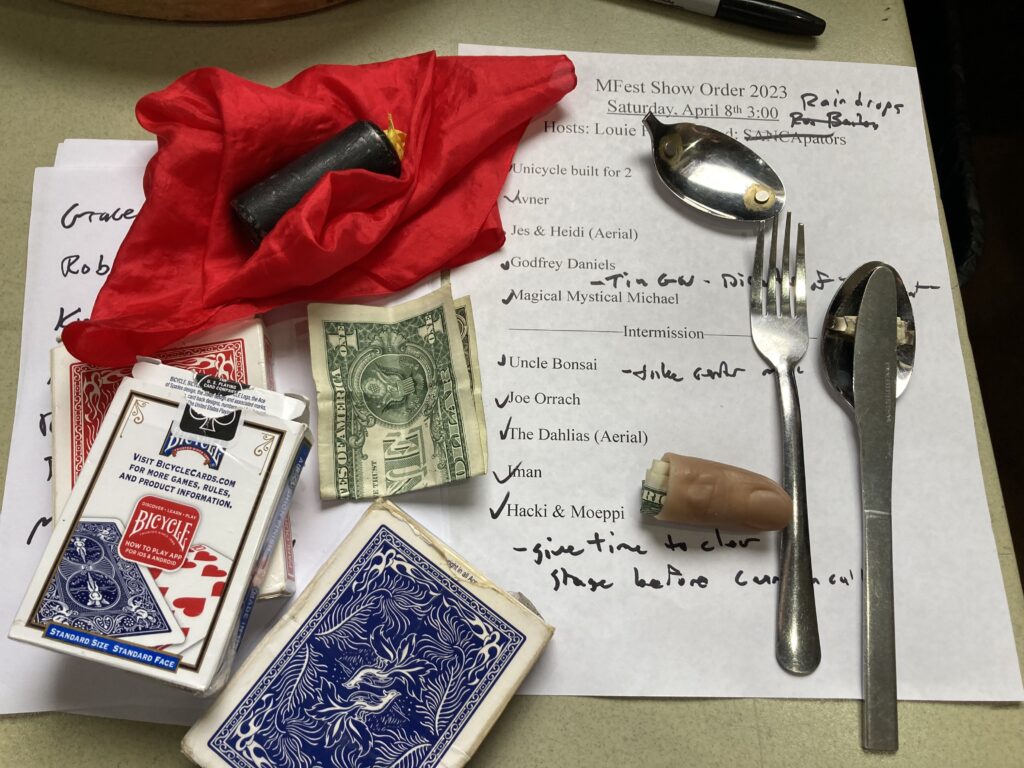
When I host shows, have planned material for known stage delays, like when an act has props or rigging that needs to be set up and I’m aware that I’ll need to kill time.
Then there are unplanned stage delays. These are when a performer isn’t ready, rigging is taking longer than expected, or whatever. For these situations, on my person I always have a a bunch of material on me that I can instantly perform. this is my MC EDC:
I have material of varying lengths and most of the longer routines, like the color changing silks can be broken up into two shorter routines if needed.
If you are thinking of doing any stage hosting, you really should consider having at least a couple of tricks in your pocket that you can use for unplanned stage delays!
Frequently in magic groups on Facebook someone will say they want to sell a trick and want advice. There’s a lot of bad advice (in my opinion) that is then given. One of the things is to go straight to Penguin Magic with the idea, however they usually won’t produce your idea, you’ll need to make it and send it to them. Last time I looked into it, their terms weren’t the most friendly to the creator. You were making product, sending it to them and they would pay you as sold.
A better approach would be to go to Murphy’s Magic and pitch the idea. If they like it and want some of it, they’ll be a couple of options, like you could sell them the idea, they could help you with manufacturing, or you could just sell them the finished product.
Of course by that point you should have done your homework and know how much it costs you per unit to make, and how long it takes you to make them in quantity. Also if you’re self producing, you’ll need to be able to fund making the first batch of your trick as most accounts are on NET 30, so you won’t get paid for a month.
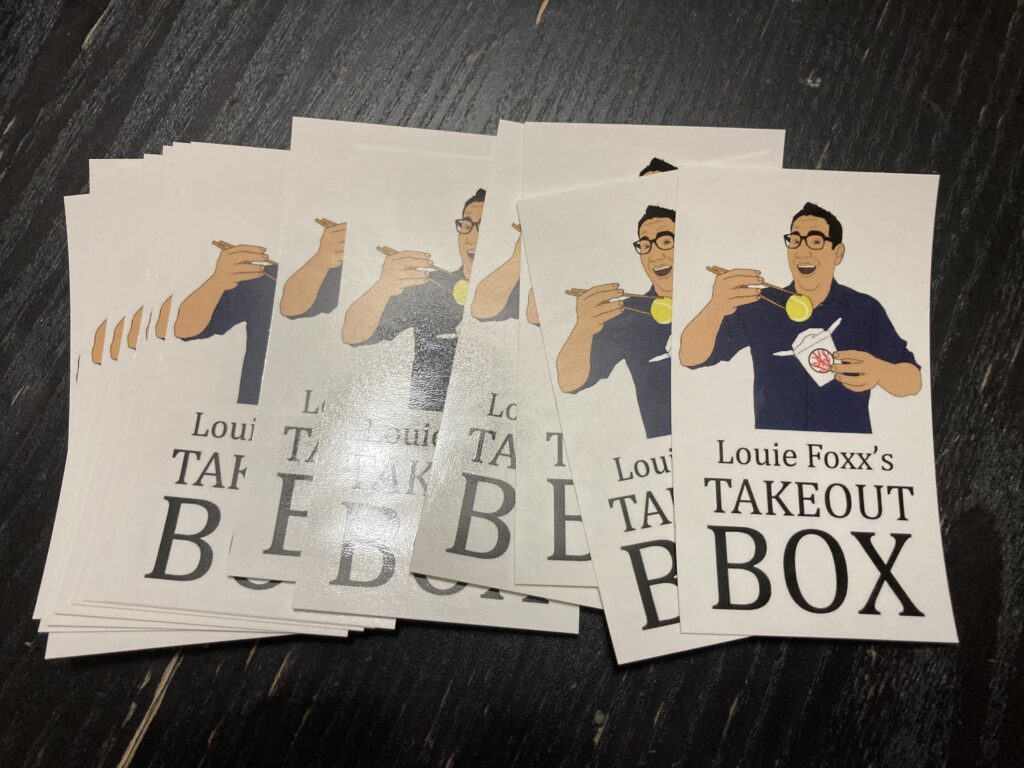
Then you need all of your collateral, so ad copy, art, instructions, etc. Usually you’ll have some of this done before you pitch the idea, but not always. For example my Take Out Box was something that was in my show for a while, so I had tons of video of it that I could pitch it with. Once I had interest, then I went out and started getting all of the other stuff in line.
Personally I’ve made a choice to not mass market thru big magic distributers for most of my products. My reasoning is that going direct thru magic shops I’m able to make more per unit and since I hand make almost everything I sell, it makes more sense to sell a few less units, but make more per unit!
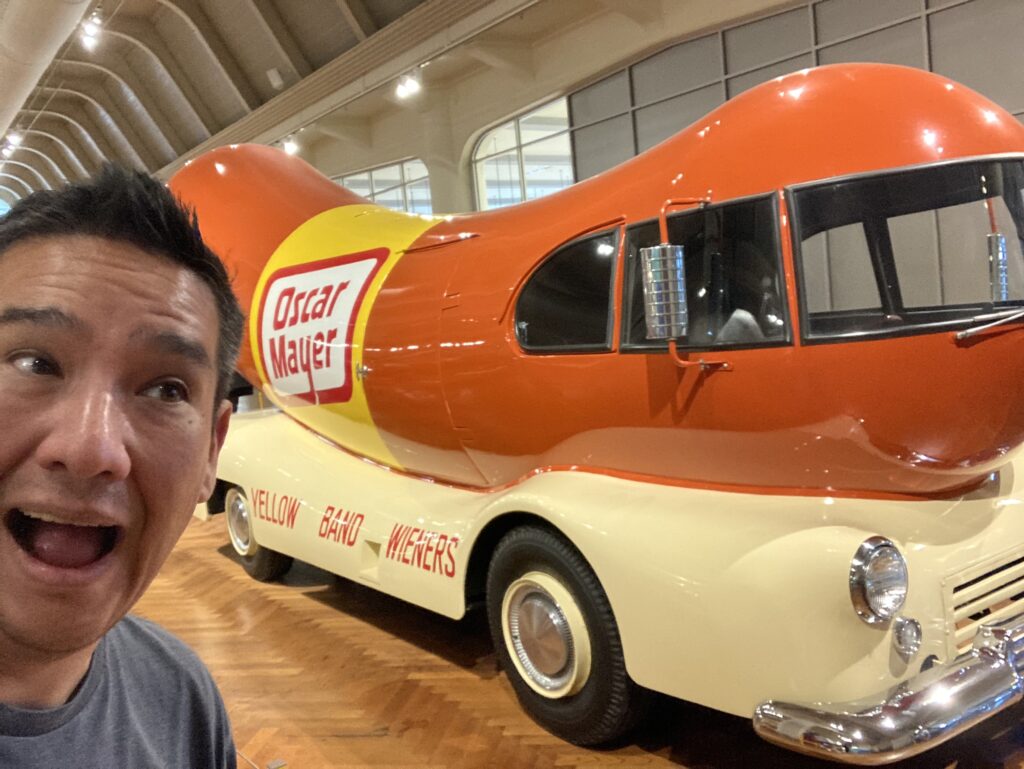
When I was in the Detroit area last week I went to the Henry Ford Museum and there’s the original Oscar Mayer Wiener Mobile there.
This car is super cool, and I’d be excited to see this version on the road now, but they kept improving it and it get better and better ever few years.
I’m sure my show is “good enough” but I try to keep improving. Last week I added a joke to a routine that I’ve been doing for over 15 years! I’ve also cut a lot of bits that have aged out of the routine over the years.
I never think of any routine as finished, there’s always things to add/cut.
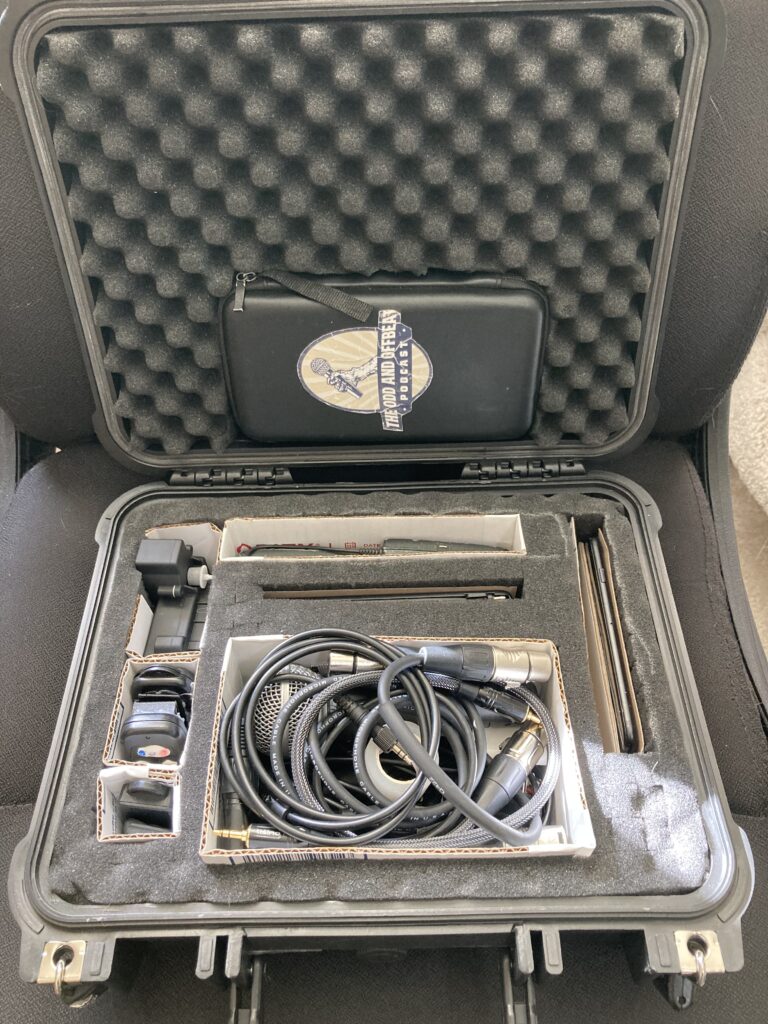
The last time I flew, I had some of my audio equipment damaged that was in my checked luggage. What I think happed was when TSA screened my show case, they did a horrible job of repacking my stuff, which led to some stuff being damaged.
I’ve decided that I’m going to carry on my audio gear from now on…or until I get lazy. I went out to harbor freight and bought a Pelican Style hard sided case that has foam inside.
I’ve used the “pick n’ pluck” style foam before and it has never really lasted for me. For this audio box, I cut cardboard to reenforce the foam walls, and hopefully this will add some durability to the foam.
I’ve just finished my first round trip flight with this case and it seems to be holding up…
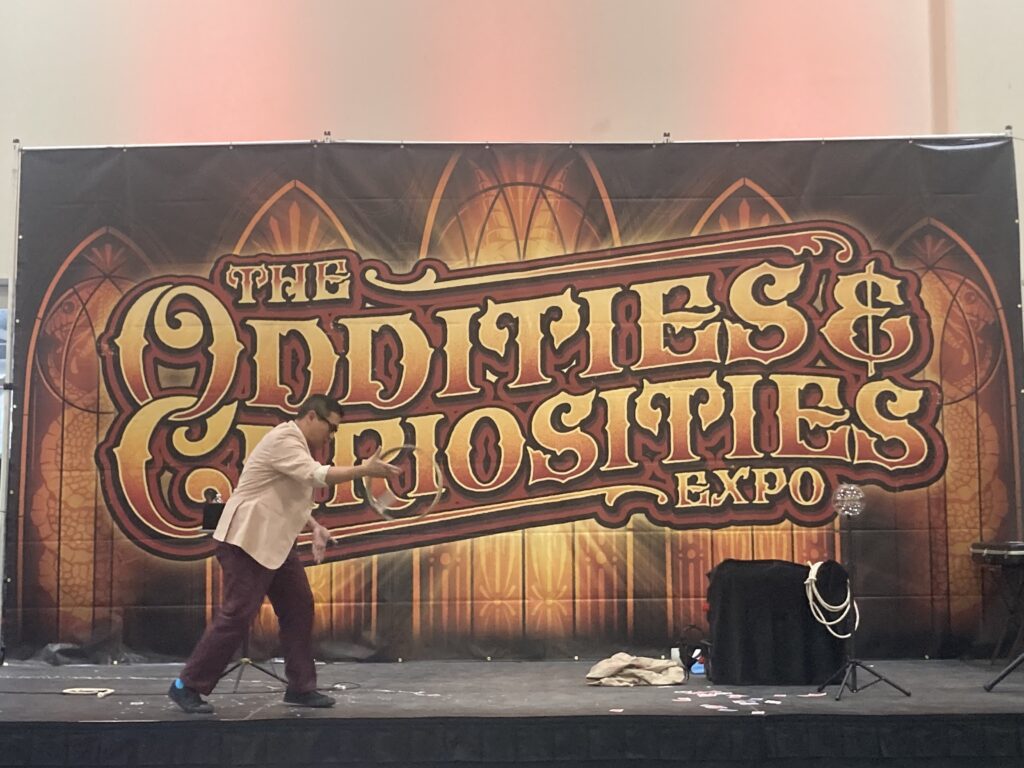
One of the things that I noticed in the pictures of me performing at the Oddities and Curiosities Expo was how small I looked on that stage!
I’m guessing the stage was 16 -20 feet wide by 8 feet deep. That isn’t that big, I’ve definitely worked on stages that size or bigger. However the pictures I’ve seen really remind me how much bigger props matter.
Yes, you can fill the stage with personality, but you if you’re presenting a magic show and they can’t see the magic, your personality will only carry it soo far. At some point you’ll stop being a magician and become a stand up comic or monologist.
A couple of days ago someone asked in a Facebook group for more info on how to get gigs performing for seniors at things like retirement communities and my book was recommended!
I used to perform 1-2 senior shows A DAY on the weekdays when I was younger, and would go on road trips where I would perform up to 5 seniors a day for a few days in a row!
I still love performing for seniors, however my current performing markets make it hard to do very many of them anymore. But I have a blast when I get a chance to do them!
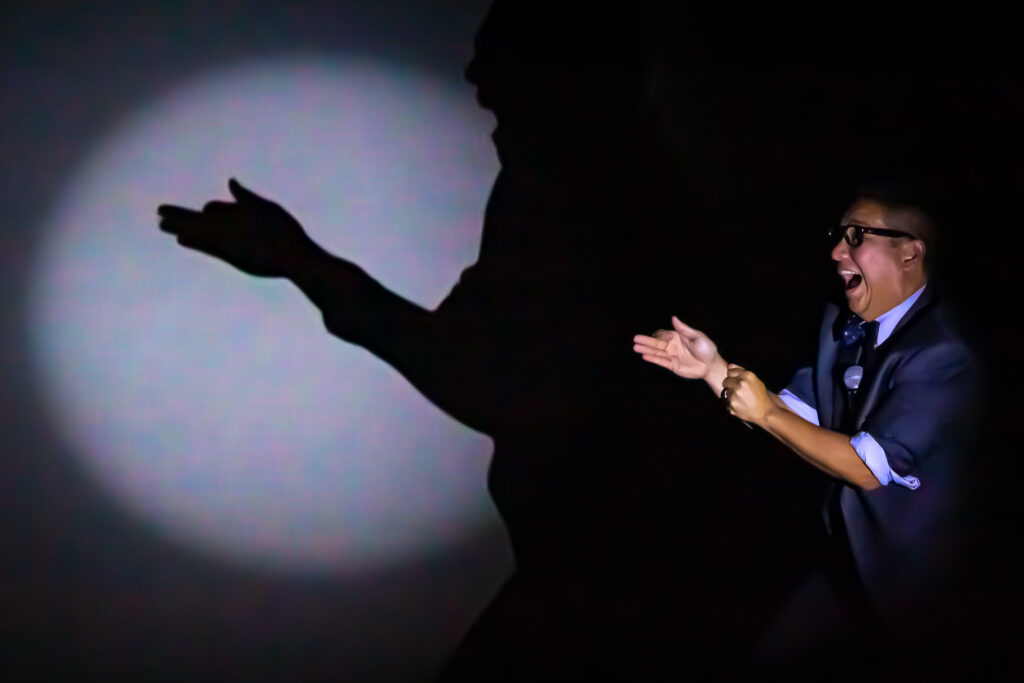
Here’s a taste of one of my shows for seniors from a few years ago:


:max_bytes(150000):strip_icc():format(webp)/oscar-mayer-weinermobile-drone-wienerfleet-FT-BLOG0617-a153de88245847b19ec8f05e964d3408.jpg)