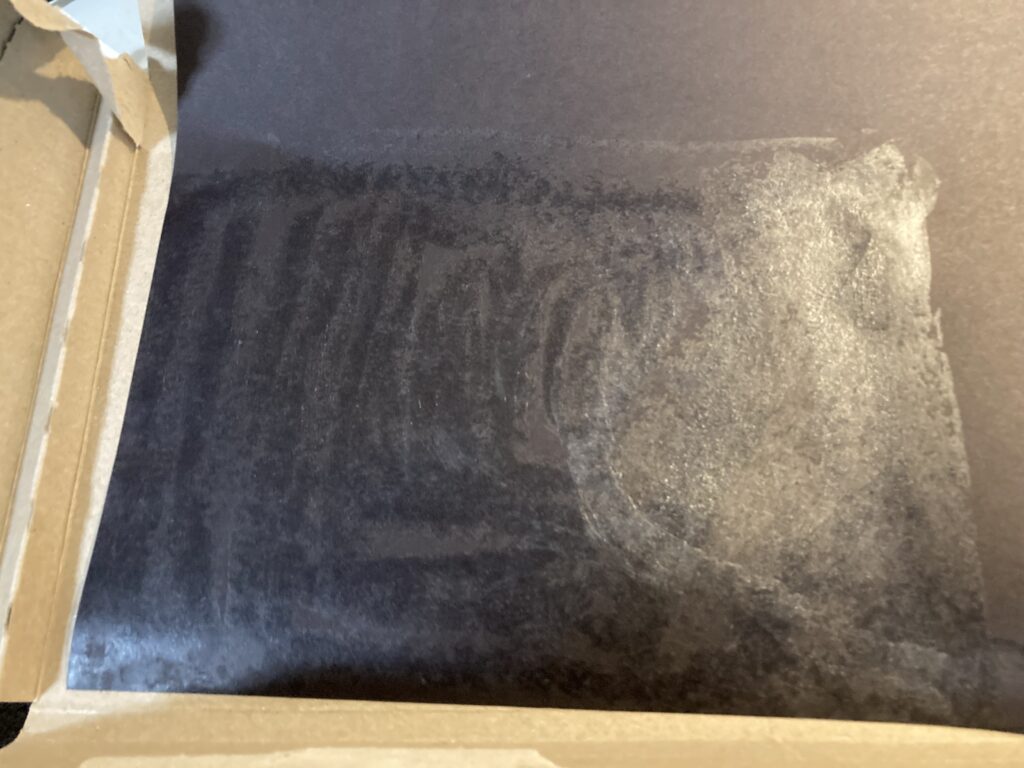
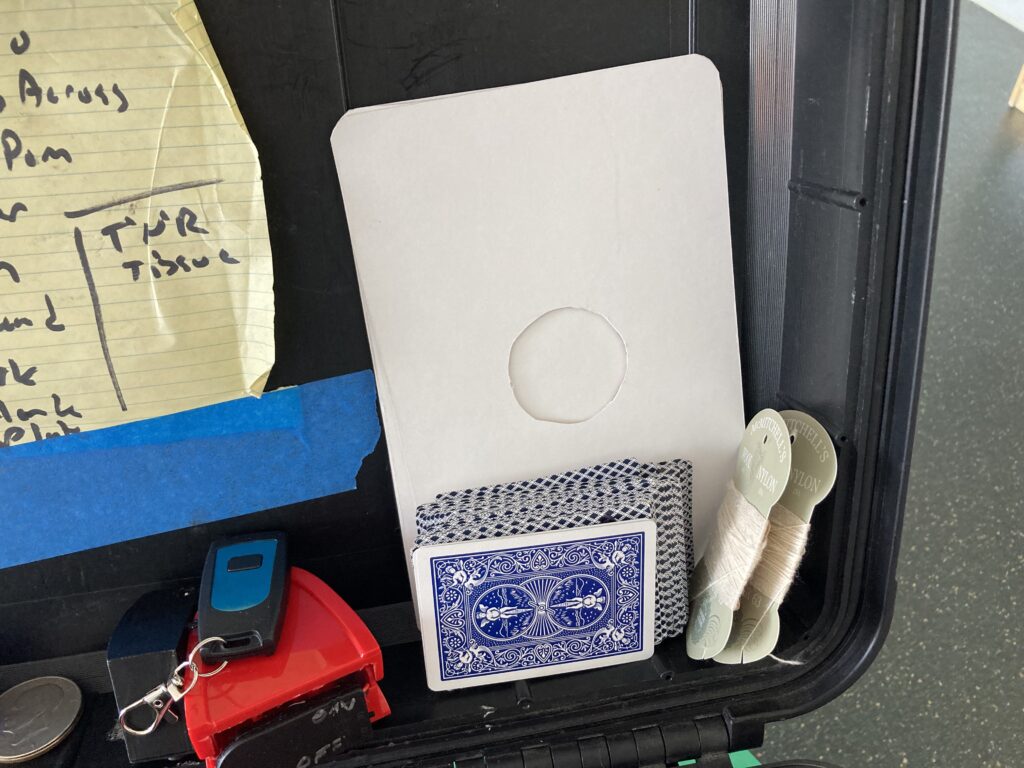
The custom set of cards I had made for The (W)hole thing were a bit too thin as well. If I’m backlit, you can see through them. I anticipated this problem and had thought of a plan.
How most playing cards are made is that they have two layers and in between those two layers there’s a layer of black glue. This glue makes it so that you can’t see through the card when it’s backlit.
I’m taking two of my custom printed cards and gluing a layer of black construction paper between them. This makes it impossible for the back image to be visible when I’m back lit AND the three layers makes the cards nice and rigid.
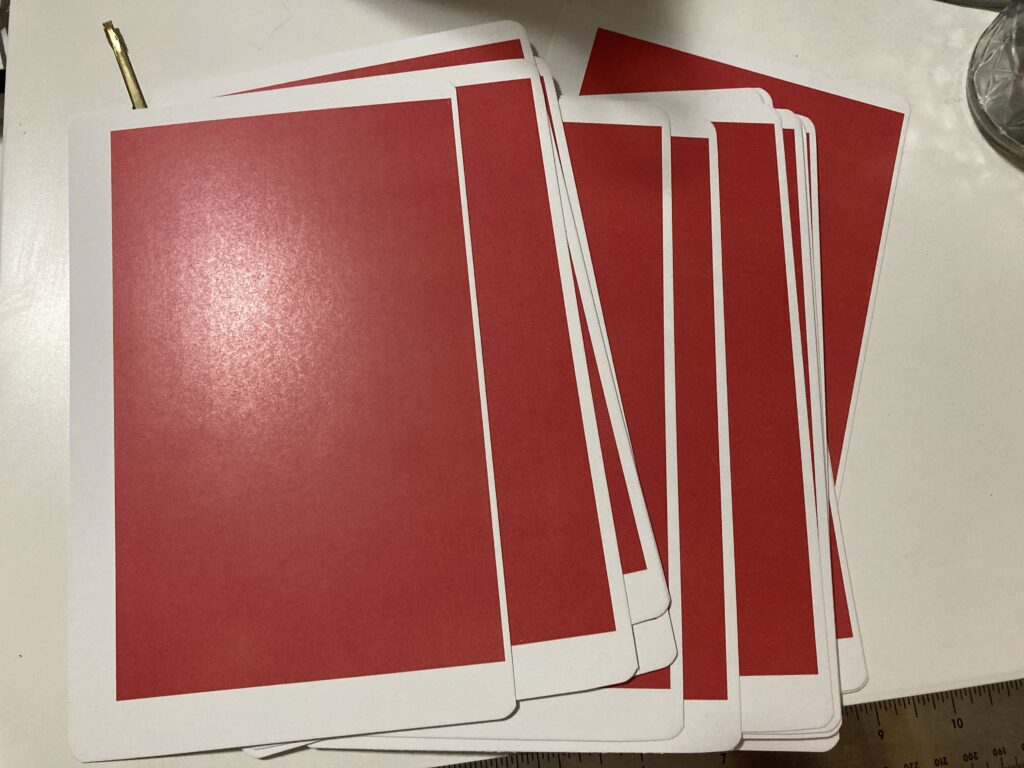
The custom cards I had printed for my The (W)hole Thing showed up and they miscut one on the cards!
It’s not off center, the card is the wrong size. It should be 8.5 x 5.5 inches, but it’s 8.25 x 5.25. The rest of the cards are the correct size, so this one card is physically smaller than the rest and doesn’t look right.
I just contacted the printed and hopefully they can send me a replacement fast as I’m hitting the road for over a month and I would like to be using them while I’m out!
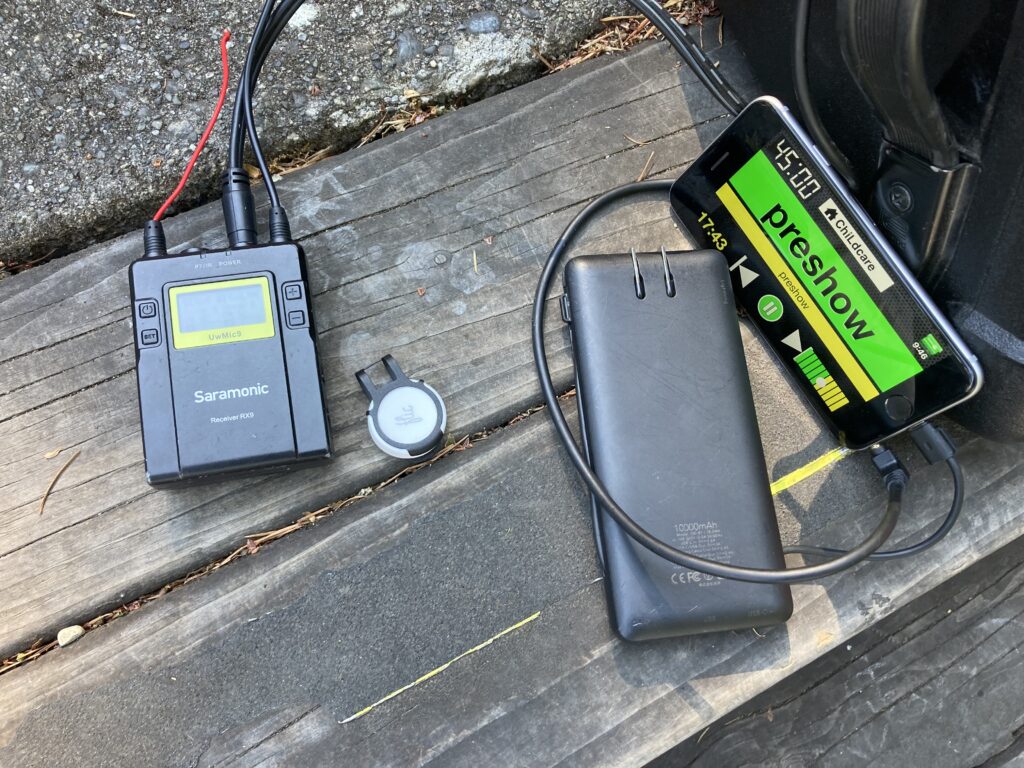
Someone asked me about how the Flic Button works for controlling music. It’s pretty simple, the button has three things is can do which are triggered by a click, double click and press and hold. For me I use those as Play/Pause, Next Track, and Previous Track.
You can use multiple buttons, so I may use a second one for volume and up and down, but for now one is working.
For a simple and cheap audio device for smaller shows, I’m really liking the Flic Button!
A bit ago I started using a Flic Button to control the audio for one of the shows that I do. It’s working great!
TheFlic Buttongives me simple play/pause, play next and play previous options. For this show that I’m using it in, that’s really all that I need it for.
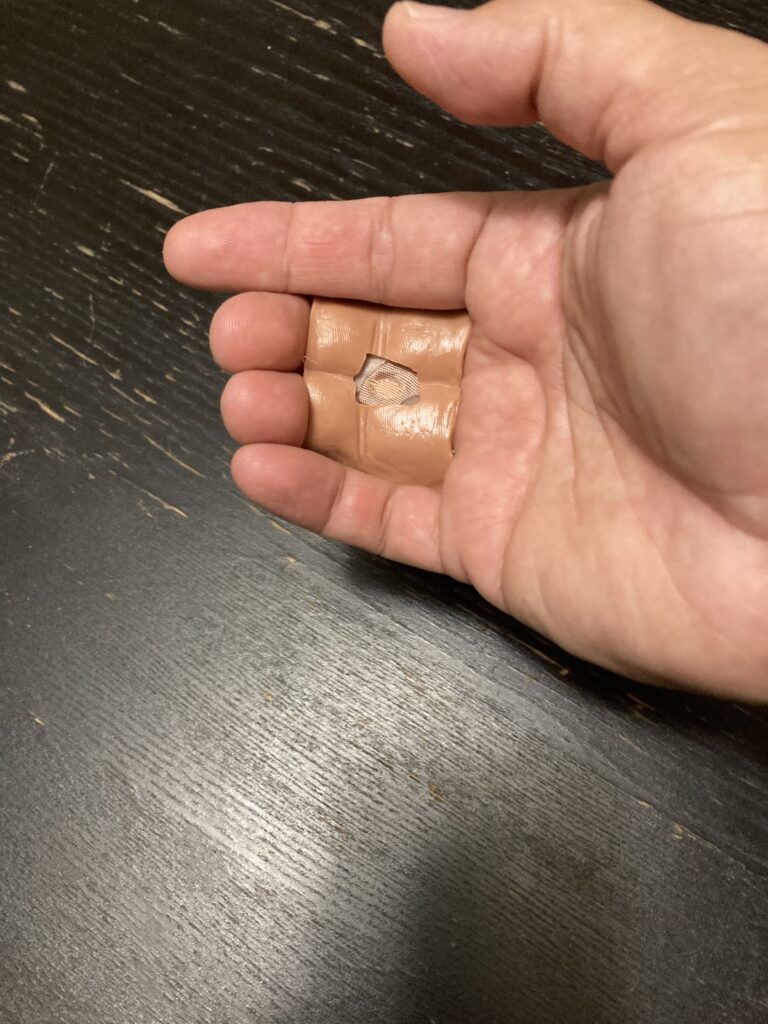
I’m playing with doing a lot of other things using the Flic Button and was trying to figure out a way to hide it. I ended up building one into a Sanada Gimmick!
I took the electronics out of the plastic shell it comes in and this greatly reduced the profile of the button allowing it to comfortably fit on the back of the Sanada Gimmick.
This will help me for applications where I need the button in my hand, but don’t want it “visible”.
The routine I’m working on for The (W)hole Thing by Emerson and West is intended for for family/adult audiences. The other day I threw it in my case when I went out to do some summer camp shows:
I thought the concept of the whole/hole wouldn’t hit with kids. Much to my surprise the kids liked the trick and got the idea of the verbal concept behind the routine. For the trick to work, the kids need to be able to read, so I probably wouldn’t do it for kids much younger than second grade.
Now I’m just waiting for my custom cards to arrive from the printer, so that I have a fancier set that what I made for myself.
Recently I was hanging out with some magicians and Eric Stevens showed us is Warp Two. Essentially this is a card where the image moves and and looks really strange.
I was playing with it and had an idea for how to work it. Then I saw post from Kevin Peel that he needed people for his Virtual Open Mic Magic show that happens on Wednesdays. I decided to pop in and try out the trick.
It’s a quick bit, but I think the idea of using your glasses to show the image change is a good quick presentational hook and much better than, “hey watch this”.
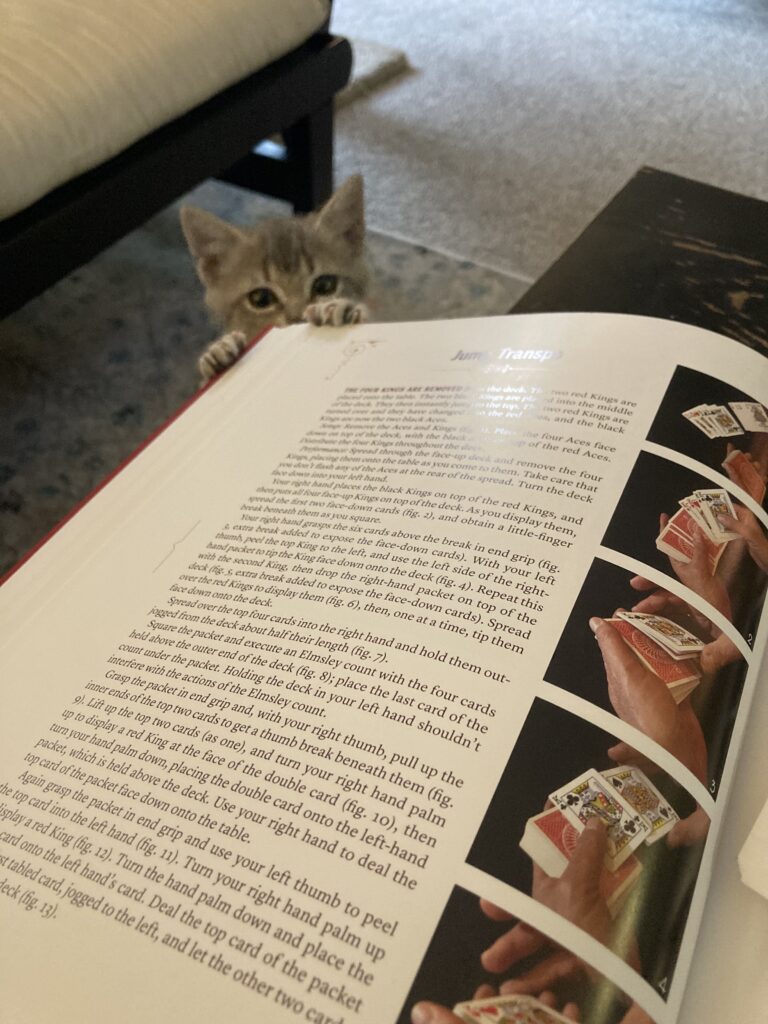
It feels like it’s taking me for ever to get through the Vallarino book!
One of the tricks in the transposition section is an Queen / Ace Transposition. I think JP Vallarino made it a little too complex. Here’s my streamlined version of it:
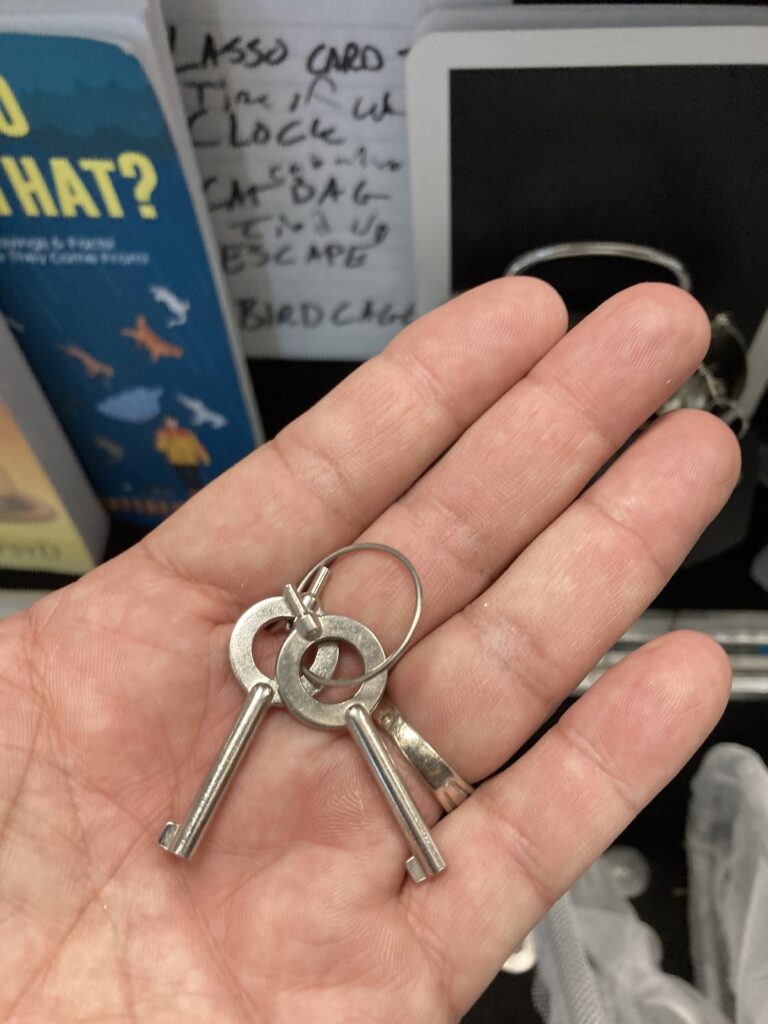
In my library show this summer (which is actually my school assembly show) I do a bit with handcuffs. The handcuffs are jump cuffs with and additional gimmick that I added.
If you don’t know, jump cuffs you can show that they work, but you can instantly get out of them. They’re 99.9% effective, but there’s still a .01% that something funky could happen. Because of this very small percentage of risk, I keep a set of handcuff keys in my case.
In my routine, the cuffs aren’t part of the escape, they’re a surprise, but I need to get in and out of them quickly. No one knows they’re there until you see them, so the keys never need to be part of the routine like they would if I was escaping from the handcuff and they were the focal point of the routine.
The chances of me not being able to unlock them is insanely low, but keeping the set of keys is insurance. also the keys take up virtually no space in my case, so it’s not a big deal to haul them around.
This is a good example of what can go wrong in a trick and what would you do.
Traditional advice is that you button up the coat as it takes away the idea that the cage goes into your coat. Last week when at a few library shows I buttoned up my coat before the vanish and at all three shows a kid said out loud that the cage went into my coat. It was handy that I could open the front of my coat to show nothing is there and that got me out of that.
I’m trying to decide if the kids thought that the cage went into my coat because I buttoned it up before the trick, or if something else is at play. However doing it at three shows and getting the same unwanted response tells me that I don’t need to button up my coat for the vanishing birdcage.
There really aren’t many vanishing bird cages that are currently being made. It’s really the vanishing bird cage from India or the Baby Lindy and Walter Blaney cage from Dan Summers. Those two makers couldn’t be further apart in pricing! The cage from India is about $50, and the Summers cages are $1,500-$2,000!
I recently has someone ask me about the two, and there’s really no comparing them. For starters they are completely different style of cages, so it’s not an apples to apples comparison.
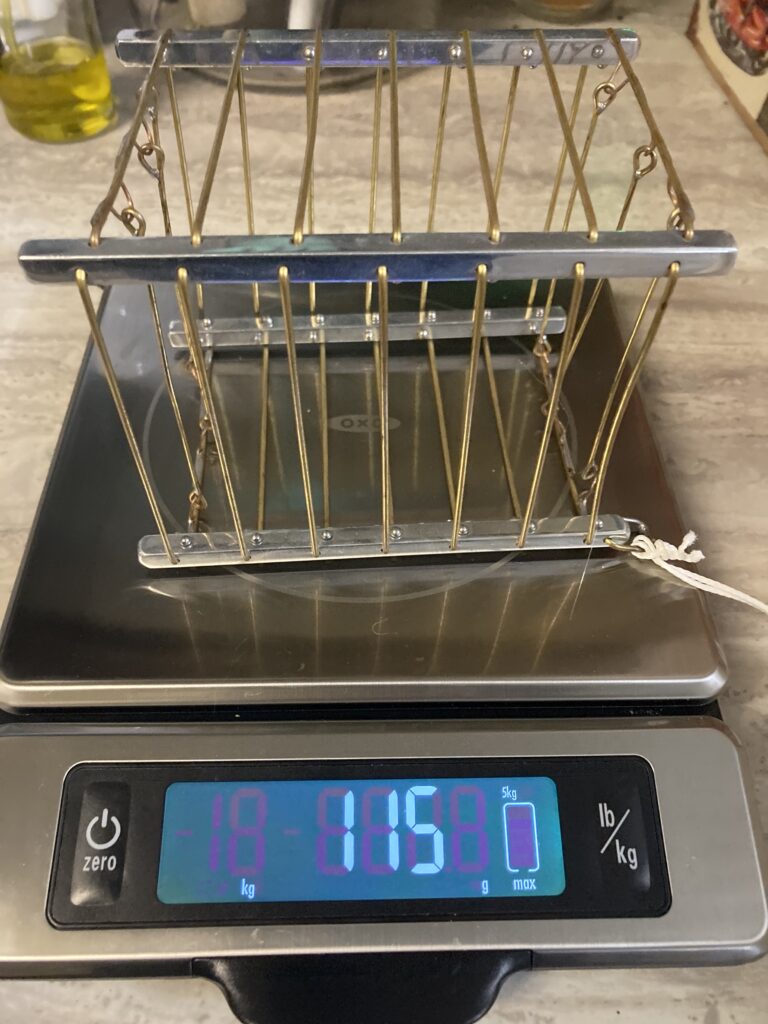
What the magic market is lacking is a good, entry level cage, something in the $200-$400 range, however that doesn’t currently exist right now. I’m going to do a quick comparison of the India cage and the Milson Worth Silver Meteor which is the cage style that the Indian cage copied.
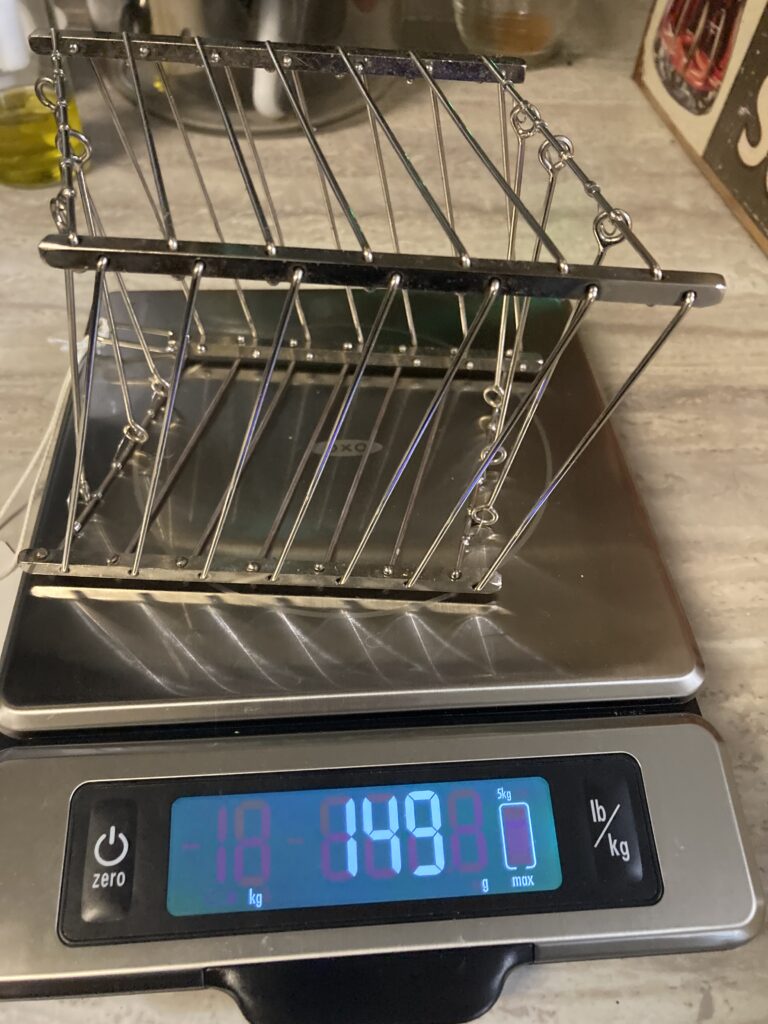
For me there are two main differences. The first is weight!
The Milson Worth cage is 115 grams and the Indian cage is 149. You really feel that extra 34 grams in weight when the cage lands in your sleeve!
The other difference is texture. The Milson Worth vanishing birdcage has all the soldered spots smoothed out, where the India cage is rough and that will create a lot of potential snags when the cage is going up your sleeve.
I know that the Milson Worth magic company isn’t around anymore, so you can’t buy the cage new, but there are a lot of them out there for sale on sites like eBay, etc. This cage is a decent beginners cage and one to use if you want to try out the cage before investing thousands of dollars in a cage!
Just a quick note, if you end up searching for a Milson Worth Silver Meteor cage, don’t pay more than $150-$200 for it. There’s a seller or two on ebay asking for way too much for the cage!