Great Tricks Suck on Low Stages…

A couple of weeks ago I was at a booking conference and one of the acts did Bowl-A-Rama by Kevin James. If you aren’t familiar with the trick, it’s a bowling ball production from a sketch pad. Here’s what it looks like:

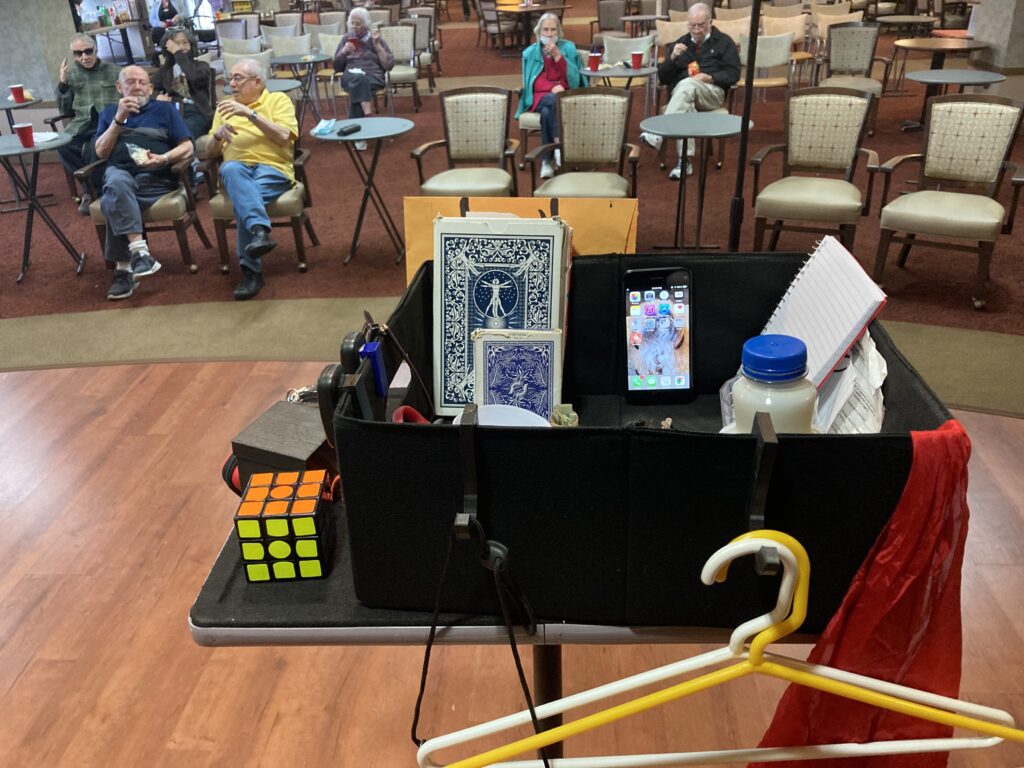
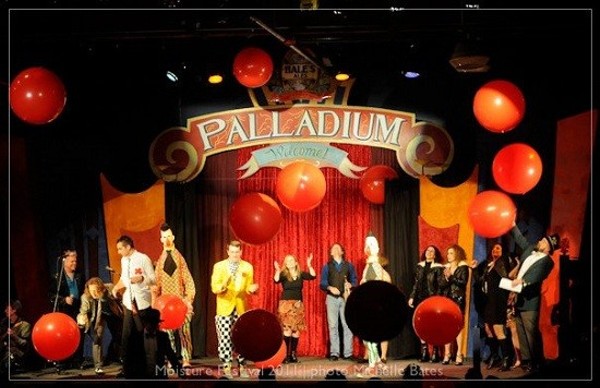
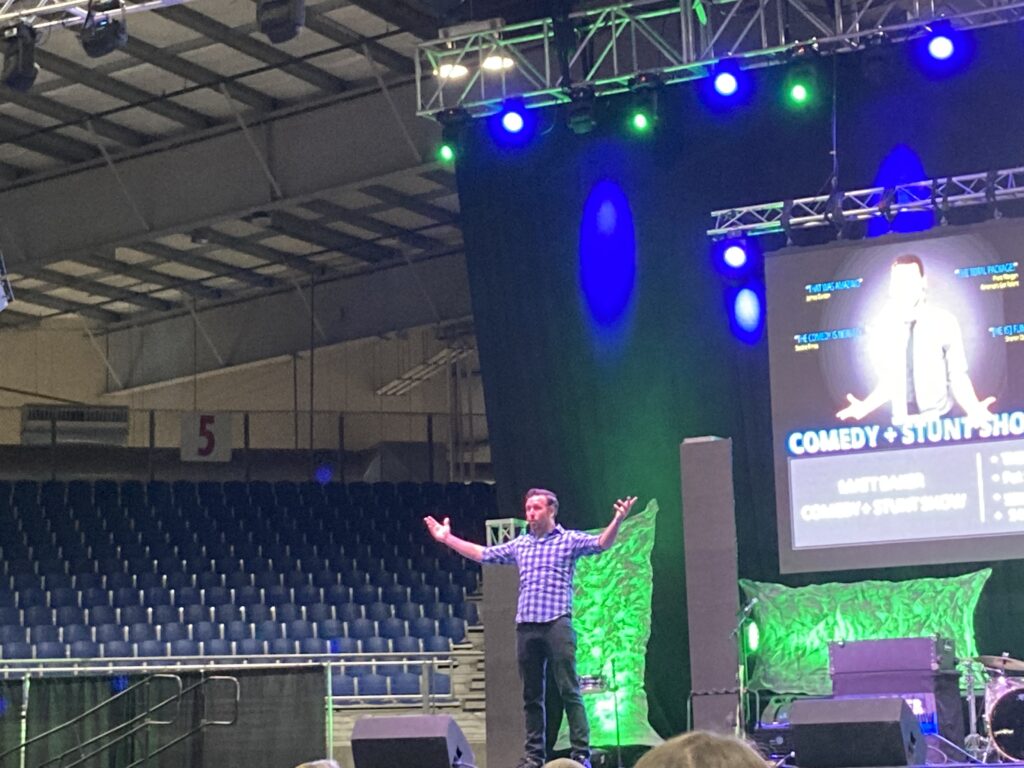
This is a great trick…usually. Here’s a picture of the guy I saw doing it:

Do you see the problem with doing it in this venue?

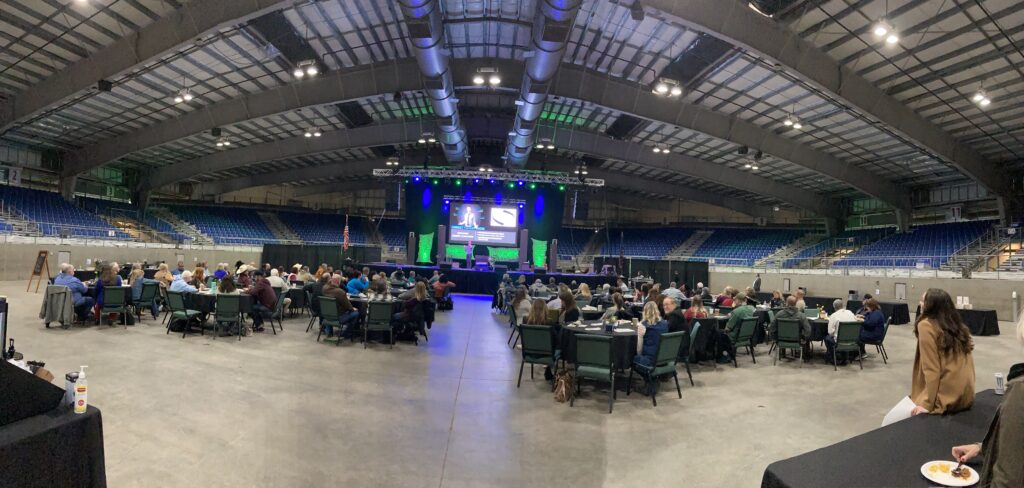
If you can’t spot the problem, here’s what it is: The stage is very low
The production of the bowling ball happened below the guy’s waist, which means most of the audience couldn’t see it. This was his opening effect and totally wasted on the audience.

I don’t fault the performer. He was flying in to do a showcase set and probably only packed his showcase set. Replacing the bit probably wasn’t an option for this specific bit.

One thing I try to do is watch shows from the back of the audience. Another way to do this is put a video camera in the back, but at eye level as if you were sitting in a chair. If you pay attention you will see what’s visible and what isn’t. For me, I try to avoid anything where the action happens below my waist.

-Louie

Measure for Measure…

measure for measure by iain bailey

A few months ago I picked up the trick Measure for Measure by Iain Bailey on the used magic market. This is a tape measure prediction, where you pull the tape out and someone says stop and wherever they say stop, there’s a giant arrow on the back pointing to that spot.

What I like about the trick is there’s really no explanatory phase to it. You don’t need to set it up, you pull out the tape, they say stop, and the arrow is there. It’s really quick and direct.

Now what I don’t like is that the tape is really hard to manage once you get past a few feet. I think Iain in the video mentions he came up with the trick during the COVID shutdown, so I’m guessing he hasn’t really tried it outside of a virtual context before he released it. The big problem with the trick is that once you get past pulling out a few feet of the tape ruler, it gets very hard to manage. The tape gets floppy and makes the trick hard to present…especially from a technical angle, but also from a visual standpoint. It doesn’t look good with you struggling to hold a tape measure straight.

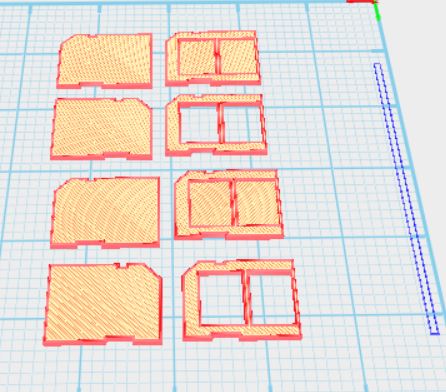
One solution is to have someone from the audience hold one end of the tape. That’s a decent solution, but it’s not always practical from a stage craft and technical end. My solution was to go to my trusty 3D printer and make a thing that will got onto the mic stand that I can put the tongue of the tape measure into. Here’s what it looks like on the computer:

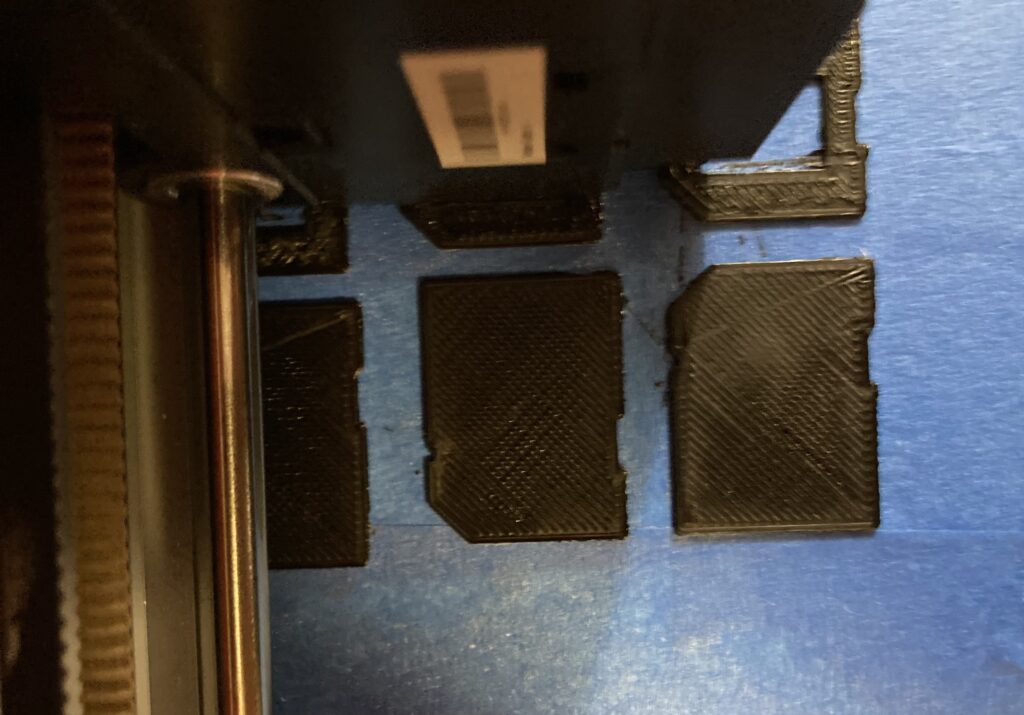
And here’s what the initial print looks like:

Measure for Measure by Iain bailey

I made it a little bit bigger than it needed to be, so to tighten the gaps, I put the furry side of velcro inside of the holes. I also noticed that the flat end where the tape measure will sit shouldn’t be flat on the top, but concave. I didn’t want print another one, so I hit it with a heat gun, then pressed the tape measure down on it to make it concave. Here’s what the final thing looks like:

Measure for Measure by Iain bailey

That just slips onto a mic stand and I’m good to go.

Measure for Measure by Iain bailey

It holds the end of the tape measure very securely and low, so the audience hopefully can’t really see the backside of it. As a bonus the action of putting it into the holder hides the secret move that needs to take place at the beginning of the trick.

I’ve always said that most of magic is problem solving. Making this little holder took me about 10 mins to design another 10 minutes to alter and solves the big problem with actually doing the trick!

-Louie

Bigfoot…

Yesterday I finished making a video for the version of Interactive that I want to do. Interactive is a “touch the screen” type of effect, that doesn’t use counting. You can read my previous blog post about it here.

The version I’m working on uses bigfoot images over the background of the Pacific Northwest. In the end the audience will end up on the same bigfoot image and all of the other ones will fade away.

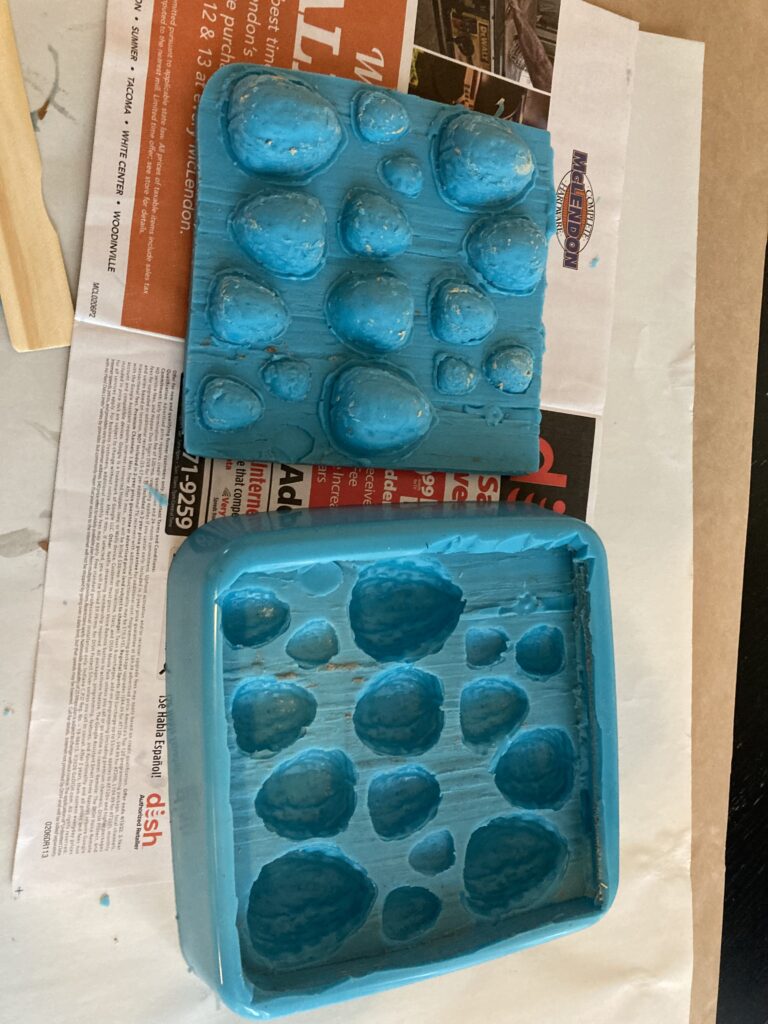
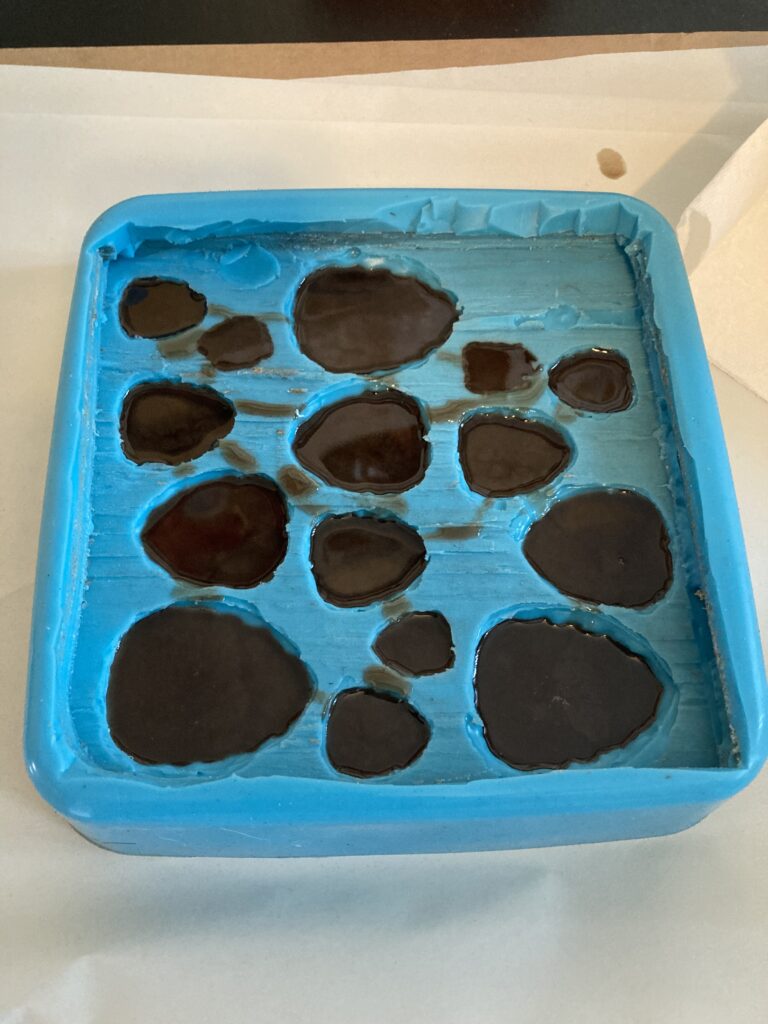
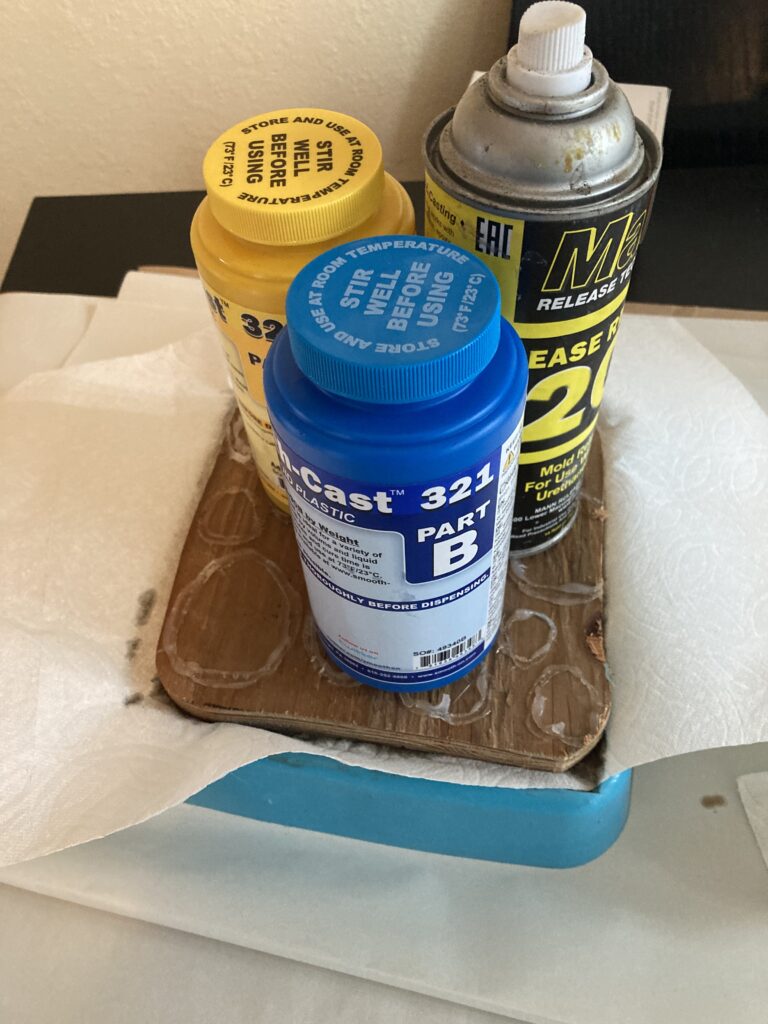
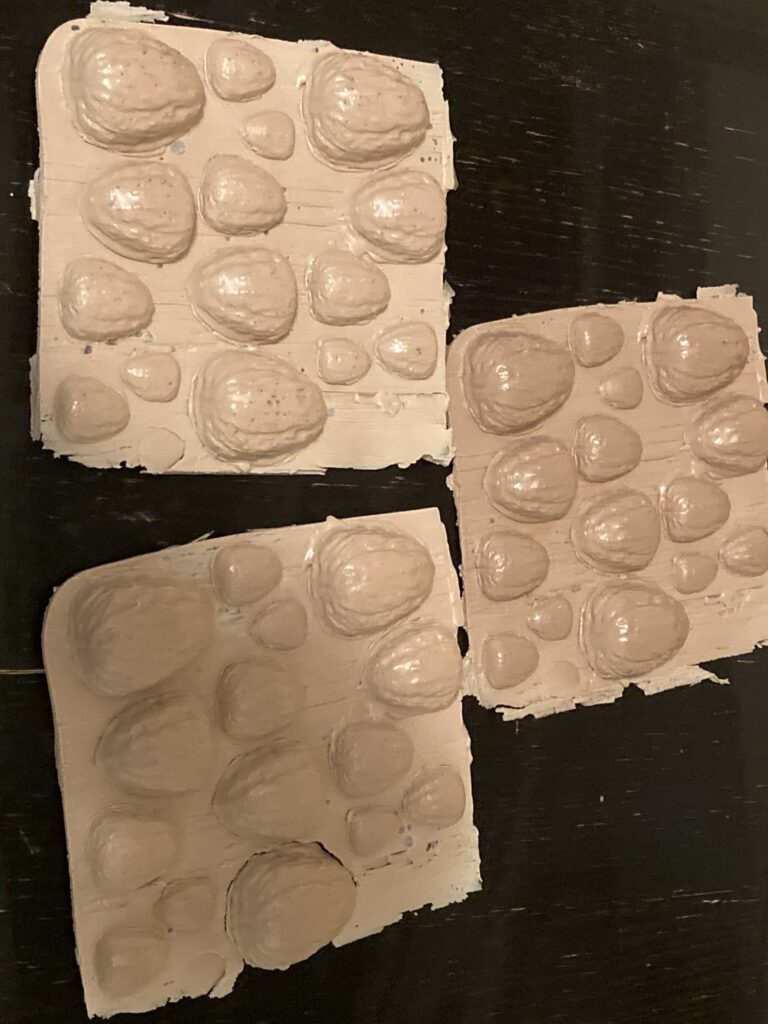
With touch the screen type tricks, something that I’ve learned in virtual shows, you need something physical to end the trick. Something that adds another layer more that you just pushing play on a graphic, or reading some instructions. For me, the physical thing I’m using is a cast of a bigfoot foot print. On the back of it will be the location of where it was taken, which will match the location of the bigfoot that everyone ended up on.

The reveal of the location at the end is a bonus effect. You aren’t doing anything extra to get the final reveal. If anyone thought about it, and you knew everyone was going to end up on the same bigfoot image, then of course you would have known what that location would be. However, in the moment people don’t think like that.

Is this the bonus effect the strongest effect?

Probably not, but in the moment it does strengthen the touch the screen effect.

-Louie

MishMash Wallet…

For a while I’ve had an idea for a trick wallet…well for a wallet trick. The wallet w0uld be a Tyvek Wallet and you can have them custom printed with what ever you want on them. My idea is to have a bunch of card pieces put on it, and this is essentially Harry Anderson’s Mishmash Card, but printed on your wallet. The basic effect is someone thinks of a card they see and you reveal it.

In the sample above, there’s more force cards than in Harry’s trick. There’s 8 force cards above. I can now use a similar procedure as in John Kennedy’s Mind Power Deck to figure out the thought of card. I can verbally reveal it, or use a multiple out like in David Harkey’s Minds Eye Deck.

I think combining Kennedy and Harkey’s ideas may make it a stronger trick. I uses figure out what the card is without asking what it is and use that information to set up the reveal. I also like the idea of having your wallet be the trick, so you are good to go whenever!

I just ordered a wallet…I’m betting the design will need some tweaking and I’ll have to redesign it and order another one.

-Louie

Double Action Pull – Take Two

I redesigned the pulley for the double action vanishing birdcage pull that I made yesterday. The main difference is that it’s slightly larger and the hole on the non pulley side has been moved 90 degrees.

Here’s a side by side comparison with the one that I made yesterday. The old one is on the left and the new design is on the right with the strings on it.

double action birdcage pull

I foreseeing possibly making it wider with the ends flaring out, so that it doesn’t roll inside the jacket and twist the line. We’ll see if that actually ends up being a problem, or if tension alone will straighten out or keep the lines straight. I’ll play with it a bit and see what happens.

If you’re curious about this style of pull, I think I first read about it in Jim Steinmeyer‘s book The Magic of Alan Wakeling. In that book it’s used to vanish a fan, however I think using a pulley on a wrist to wrist pull is much older than Wakeling using it.

-Louie

Double Action Pull…

For some reason I’ve been thinking of the “double action” birdcage pull lately. I’ve used one a long time ago, and never really felt it contributed much to the vanish. Essentially what a double action pull does is give you more pulling power with less motion. It converts your motion 2 to 1, so you move one inch and the line moves two inches! It’s a great way to reduce arm motion for the vanishing birdcage, but adds complexity to the setup. Every bit of complexity you add, it’s another thing that can potentially go wrong. This may be the issue I have with it, the gain of having reduced motion isn’t worth the risk.

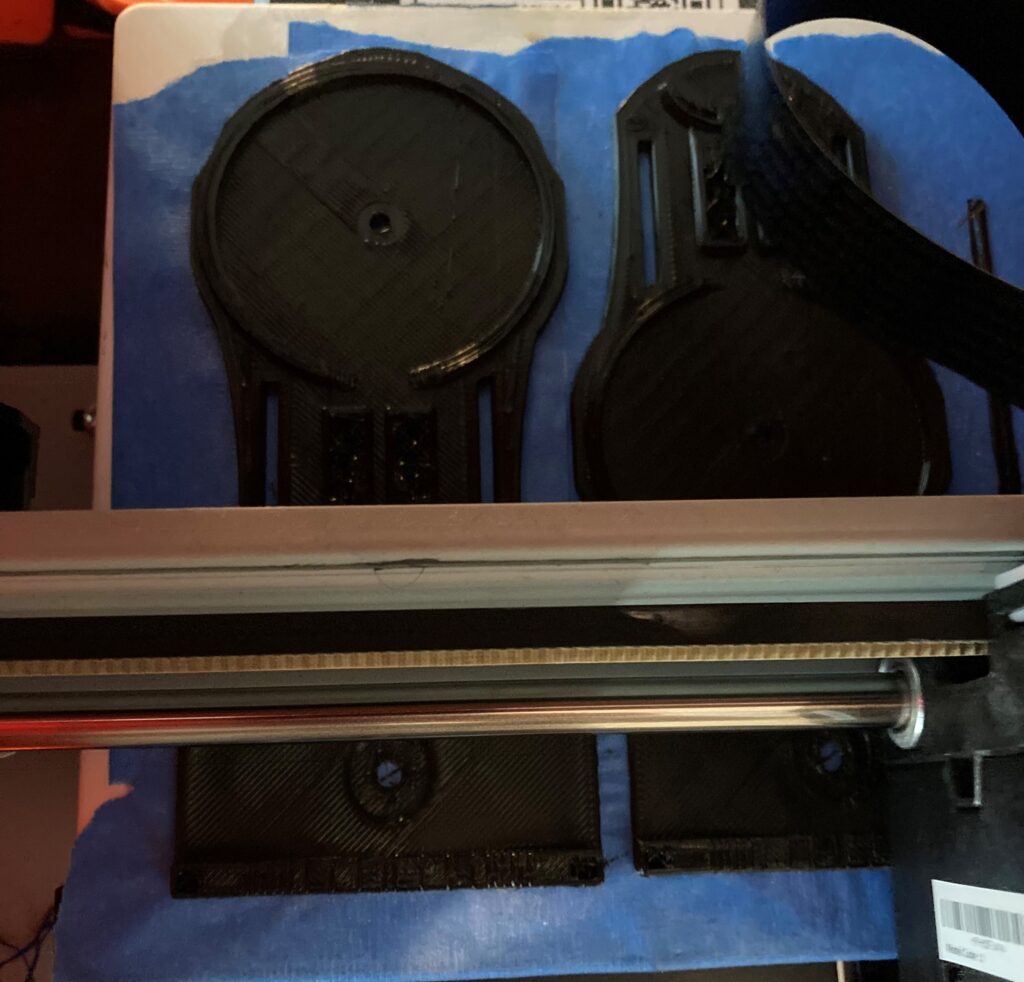
I haven’t used one in 15+years. Tonight I decided to make one, so I designed this one to be 3d printed:

double action birdcage pull

Here’s what the insides look like:

double action birdcage pull

There’s not really too much to it, it was a simple design and a quick print. Here’s the printed version:

There are a couple of things I want to change after printing the first one. The big change is that I want it just a little bit larger, so that I can fit a bearing inside for the pulley.

I’ll do a new design later today and hopefully I’ll nail it the second time!

-Louie
Click here to learn more about the vanishing birdcage!

Covering the Spot…

One thing that I’m always looking for a games (legit or not) that I can play with people when I’m doing roving magic. For longer gigs, or events when it’s slow when I’m scheduled to rove, being able play a game is a great way to create energy beyond my roving magic set.

Cover the Spot carnival game

Recently I picked up Cover The Spot by Ian Kendall. This is the classic carnival game of the same name. The nice thing about this version over the traditional carnival game is that it’s simply 6 disks and not a large board with 5 disks. It’s portability is a huge plus for me!

The instructions are clear and Ian gives strategies for for different scenarios that may come up. This isn’t a “self working” thing, it will take some work to learn to do it correctly and consistently, but that’s a good thing. If it was easy to do, it’d be easy for your audience to do. Don’t misinterpret what I mean by it not being easy to do, it’s easy to do…once you practice a little bit. It’s not hard to do.

Unfortunately it’ll be a couple of weeks before I can get to try it for an audience, but I’m excited for when I get to try!

Video Showcasing…

I’m home now from a booking conference I was at earlier in the week. One of the things that happens at these are video showcases. These are up to three minute videos that play usually in between the live act showcases. There were a couple of good video showcases and a lot of bad ones.

The number one thing about a video showcase is to use still images sparingly and use them with purpose. One of the showcases I watched was of a musician who does a roving act and he does a lot of audience engagement and pulls around a wagon that looks really cool. His video was all still images with him singing a song played over. It didn’t really give any context to what he does or how a buyer would use it.

The next worst thing is to play a video of you playing a gig. One person played a video him that had bits of several songs, but they were all at the same venue. It was visually boring. At least have several venues…and record them from the soundboard, they audio will turn out much nicer and easier to listen to.

Another thing is that news footage is great…but trim out all the stuff that’s not you! One act had a nice news clip, but they kept in the intro of the two newscasters bantering about the weather or whatever at the beginning, essentially wasting the buyers time for 15 seconds. Then they left in the extro of the two newscasters banters about what was coming up next, once again wasting the buyers time.

The final thing is you don’t need to use the full 3 minutes (or whatever the max is) for your video. If you can tell the buyers what you need in 75 seconds, great…you don’t need to bore them with redundant info for the remaining time. Trimming out the fat is key!

Those are some tips if you are putting together a video showcase or making a sizzle reel!

-Louie

Magic Jam on the Road…

Last week I was selling my show at a booking conference, and got involved in a little impromptu magic jam! It was Cecil Lewis, Jeff Martin, Dan Paulus and me.

When you’re on the road, you need to take time to do things that fill your soul. This is one of the things that keeps me moving, I love jamming with other magicians!

-Louie

Naypes by Roberto Mansilla

A couple of weeks Matt Disero mentioned the book Naypes by Roberto Mansilla on his Facebook page. His post got me curious about the book, so I picked up a copy of it. It’s a book of card magic for parlor or stage shows. I cracked it open on the plane yesterday.

In the beginning Roberto does a good job of defining what parlor and stage magic is and the difference between the two. He also talks about four techniques to make cards play to a larger audience.

I’ve read a few tricks into it and I like the approach to Out of This World, and the routine for Card in Envelope. I’ll probably finish reading it on the flight home in a few days. I’ll keep you posted with what I think…

-Louie