Handheld Mics…

When I was first starting out performing in comedy clubs in the early 2000’s I had to use a wired handheld microphone. As I progress through my career, I switched to a wireless headset. I’m now playing with going back to being able to do my show with a wired handheld microphone. The main reason is that it’s logistically easy. I don’t need to travel with my own gear, and it also makes trying out new stuff and open mic’s much easier.

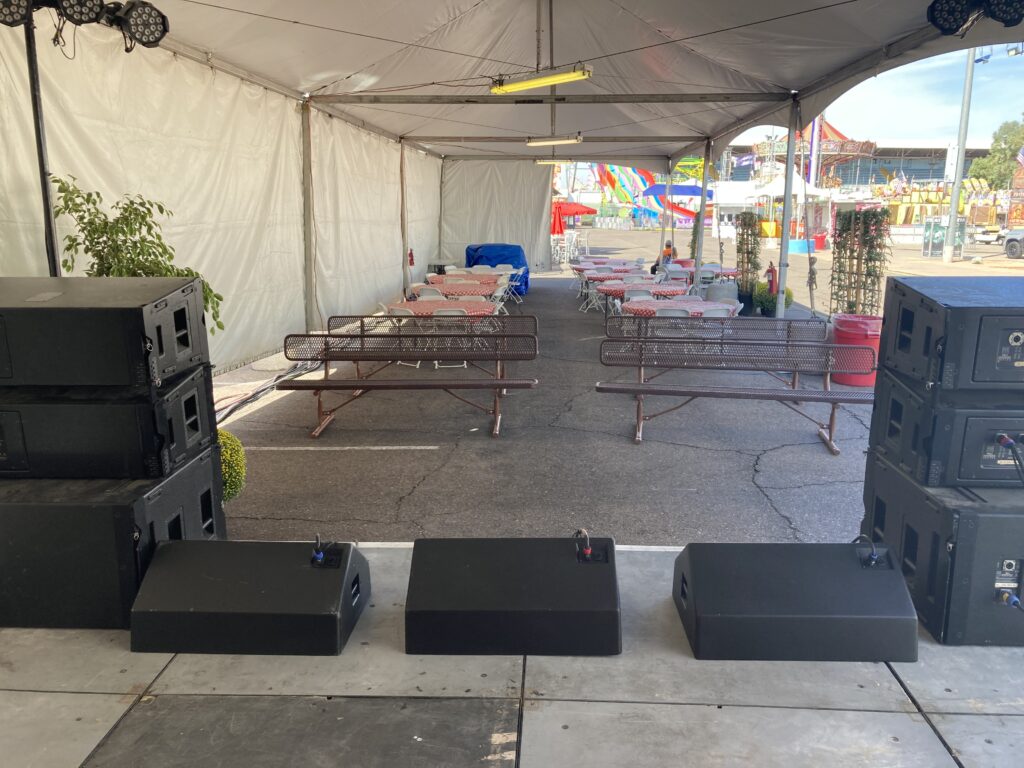
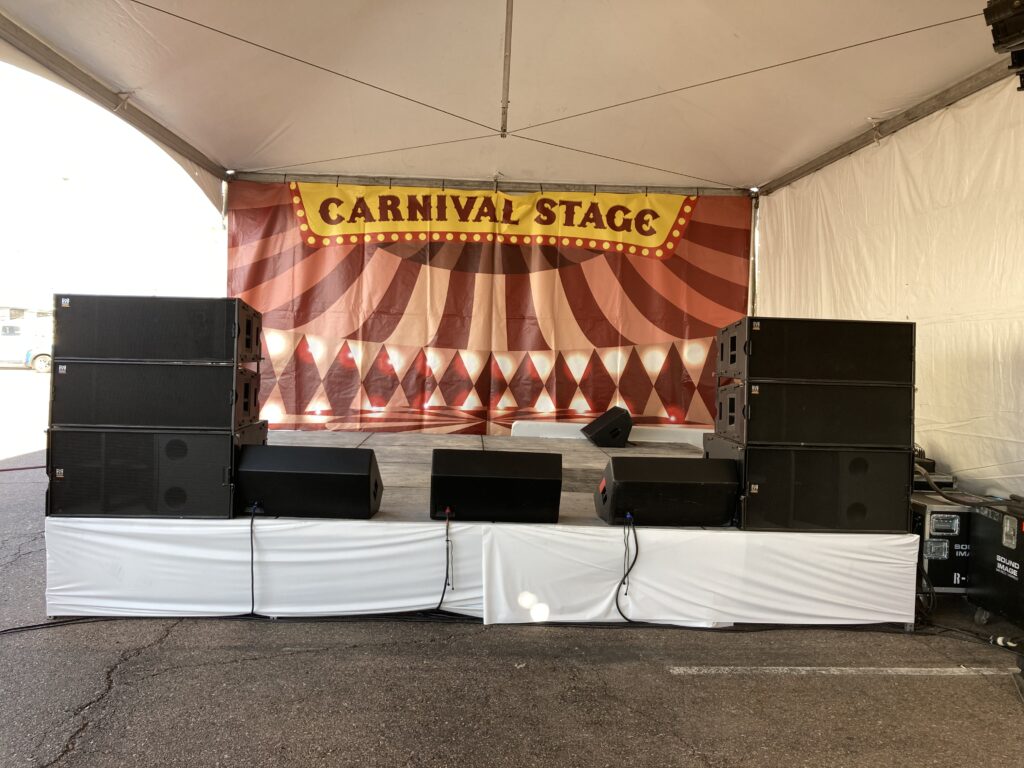
I’m performing all month doing three shows a day at a fair, and aside from working on some new material, I’m also trying to relearn to use a handheld microphone. My preshow right now is a stand up set of jokes, which runs about 7 minutes, and I’m now doing that all with the handheld mic. I’m still wearing my headset during this, but using the handheld.

I picked up Michael Kent’s video Microphone Management For Magicians and it’s a great resource! There’s a lot of good info on the video and totally worth the $49.95!

Right now my goal is every day to move the handheld one bit further into the show. Right now, I have my preshow stand up set, my two new “preshow” tricks and then first actual trick in the show all done with the handheld. The next routine is really three tricks in one routine. I was dreading figuring out how to add the handheld microphone to it as parts of it are pretty physical. Then it hit me, I need to look at it as three tricks, not one routine. Once I broke it down that way, it’s much easier to start figuring out how to do it with a handheld microphone.

Shure sm58s

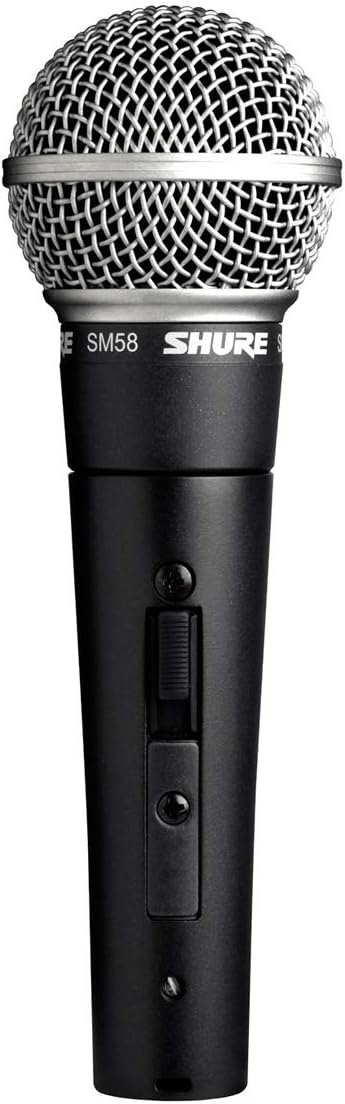
I was chatting with the sound engineer at my stage about what microphone to get and he suggested the Shure SM58S. This is the version of the Shure SM58, but it has an on/off switch which is something I want. Right now if I’m jumping back and forth between the headset and the handheld, I need that switch so that I’m not being picked up by both mics.

If you’ve never used a handheld, I suggest you learn how, it’ll be helpful the one time your headset dies right before showtime.

-Louie

MisMade Bill Styles…

In my stage show I use a mismade bill that just has one seam of the bill on each side.

Most magician’s use the mismade bill that has two seams:

I think the single seam is easier to visually process from the audience and at a distance. I decided to do some testing at the fair that I’m performing at and I’m getting bigger reactions and faster reactions from the bill with a single seam than with two seams.

It’s such a small thing, and in many context’s you may want to use the two seam bill, like if you are tearing a bill into quarter, of course it makes sense to use the bill with two pieces. In my routine, I turn the bill inside out, so there’s no tearing.

The important thing is to try new things and see if maybe you can get a better reaction doing something slightly different.

-Louie

Still Working on the Invisible Deck…

It hit me yesterday while I was doing my version of the invisible deck was that my version is not about the card, it’s about the two cards matching. That’s a huge distinction when it comes to making it play big. If you’re performing on stage with the invisible deck, the audience needs to know it’s the card that was named. In my routine since it’s a prediction, they only need to know that the two cards match. That means they only need to be able to tell the cards look the same from the back of the audience.

To make it play bigger, but still use a normal size deck, I have a few options. I could use a jumbo index card, which I personally don’t like. I think they look funny. In the past for stage work, I’ve used GIANT INDEX cards. These are cards that don’t have the pips in the middle, they are more like flash cards. These also look funny, but I like they way the look more than Jumbo index cards. The final option is to use the Phoenix Large Index Cards. These are normal looking cards, but the pips and indexes are 50% larger.

I just ordered some of the large index cards. I’m going to make a gimmicked deck and give it a try when I’m back at the fair on Wednesday. I’m guessing it will play slightly better, I don’t think the difference will be huge, but better than how it’s been.

I also figured out the optimum number of cards to do the trick with. I need to do the trick with 16 pairs (32 total). That’s going to eliminate evenly from 32 to 16 to 8 to 4 to 2 to the final card. I’m hoping that 32 cards will still play like a full deck from the stage. We’ll find out…

-Louie

Writing For the Invisible Deck…

As I still keep working on my version of the Invisible Deck, I think I have the technical end worked out. The biggest challenge is the elimination process. I needed to figure out how to remove any confusion as to what side people are selecting. What I have settled on is having people point to a side of the room. If they point to my hands, I can’t tell which side they are pointing at. So having them point at the left or right wall clears that up.

Next up is figuring out the presentation. As I’ve been doing it, as the elimination process happens I’ve organically been saying, “that’s what I would have done”. I’m kinda using that as the base for the routine. Here’s what I wrote last night:
“Whenever I leave the house, my wife tells me to make good choices. I’m gonna tell you, I only make the best choices! Like the time I made my own penicillin from sour cream…or when I knitted my own seatbelt…or the time I went to Wyoming.”

It’s a starting point. Maybe I could say say their “choices are better than the time I…” and then say something funny. I think I’m not at a point where I just need to write and try out the jokes.

More Invisible Deck Work…

One of the tricks I’m working on right now at the fair is my version of the Invisible Deck…Well my version of Vernet’s 52 B’wave. The effect is a selected card is in a second deck face up, has a different colored back and the rest of the deck is blank.

Because of my method for the trick, I know what the selected card it without looking at the face. Yesterday I said the name of the card without looking at it and someone in the audience called me on it. I played it off as saying I did look, and they must not have noticed. I need to do an exaggerated look at the front of the card. I also need to do a streamlined elimination of the cards. Right now I’m splitting the cards in half and eliminating half at each split. I need to figure out the least number of splits. Like maybe doing it with a 45 or 48 card deck instead of a 52 card deck make it go a little bit faster?

I’m figuring out the beats and how to make it play better with the audience. After the first reveal of the card upside down, I’m flipping the card they chose over, saying they aren’t an exact match, as that’s from a blue deck and I’m holding a red deck. I then flip the card in the red deck over to show it has has a red back. The change from just saying, “and it has a different colored back” to explaining why it would have a different colored back is giving me a stronger reaction.

I’m liking how this plays better than the traditional invisible deck where they simply name a card. It involves a lot of people from the audience, and they can see the cards that they are making a choice of. While it’s dirtier than the traditional invisible deck method/effect, it also eliminates the top explanations on how the tricks works:

1. Everyone picks the _____
2. It was set up with the person in advance

While neither of those are how the traditional invisible deck works, you really can’t argue them.

Coins and Confetti…

At my gig this month, I’m really trying to streamline my show and what props I’m lugging around. I have way more stuff than I need in my table. However I also noticed that for the coin trick that I do, the coins right now lay in a stack on my table bin. I think it would be easier to have them in a vertical stack. They’ll take up less space and be easier to grab. I also am playing with a bit where I need to grab some confetti from my case. An easy way would be to have a little holder that attaches to the side of the case.

This is where 3D printing comes in handy. It took me about 5 minutes to design the two holders:

magic coin holder and magic confetti dropper

It took about an hour for the two holders to print, and I’m good to go! 5 minutes of active work and here’s what I ended up with:

It’s little things like this, that if I had to make from “found materials” it would have taken me more that five minutes to make. This is why I’m such a fan and suggest to everyone that they learn to 3D print!

Bingo!

Bingo Bango by Jeff Stone

I’m was home for a day and in the mail that had been accumulating was a book called Bingo Bango by Jeff Stone. It’s a book about the classic practical joke item that makes a loud bang and surprises people.

The book is a fun read and has over 100 things you can do with the Bingo Device. There are jokes, magic tricks, gags and more.

What surprise me was that apparently at some point I had helped Jeff figure out some of the history of the is joke. I know a bit about about, when I used to work at Market Magic Shop in Seattle, I sold a ton of them. They came in many different forms, sometimes hidden in books, or pens, or even on that is held on your hand like a joy buzzer.

It was very sweet of Jeff to send me a book, and he wrote me a nice note as well:

Bingo Bango by Jeff Stone

This is a fun book, and if you’re into practical jokes it’s great! Another fun thing about this book is to see how brainstorming on one idea can lead to soo many different ideas!

Trying the Inivisble Deck Plus…

A couple days ago I wrote about an idea I had for a method for the invisible deck, but had a kicker where the card had a different colored back and then the rest of the cards were blank. This was inspired by Vernet Magic’s 52 B’Wave card trick.

I’ve been doing it at the fair I’m performing at, and I took a quick video of the first time I did it:

There’s a couple things I need to work on. The load to the deck in my pocket is very clunky. Right now I’m trying to square up the card with the back of the deck. I don’t think I need to do that. I think I just need to get it fairly close the the deck, and then can align it as I’m pulling it from the pocket.

People seem to react to the three beats of the trick. I wish I could come up with a one deck way to do it with jumbo cards. As it is right now, if I was doing it in a big room, I’d need video projection for it to play big.

Stage Compromise…

At the end of the day yesterday, I mentioned to my contact in the event production that having all tables up front isn’t really conducive to doing a show. It may work for more ambient things like music, but not for an interactive show that people need to pay attention to. I also mentioned the giant speakers on stage, and how the took out usable performing area. Their 16 foot wide stage, only had 8 feet of usable space. I think showing them this picture of a band on that stage helped get my point across:

The poor keyboard player was buried in the behind the speaker. I was told the the speakers wouldn’t move, and I’ll need to figure out how to work around them. In a compromise, if I figured out how to do my show with the speakers onstage, they would give me some benches up front and take out the front two tables.

To my surprise, this is what I walked into this morning:

The benches made a world of difference! It gives me a place for my anchor crowd to sit. Once I have that group, I can win over the people with their backs to me at the tables…or I can walk those people as they’ll realize that sitting and chatting at the tables isn’t easy during my show. Once I walk the people that don’t want to watch my show, I can fill the space with people who do.

I’m hoping that people will see that I was right about the benches and maybe think my idea with moving the speakers (somehow) has some merit. I’ll revisit that conversation with production later in the week.

-Louie

Some Stages…

Sometimes you get to a gig and you realize you are going to work. When I got to this show to load in and saw the stage, I knew it was going to be a long run! Here’s the view of the stage from the front:

The stage is probably 12 feet wide and 16 feet deep. Then about 7 or 8 feet of the front of the stage is taken up by the speakers. Then the monitors make it impossible to play close to the edge of the stage for maximum visibility. The monitors will force me to play back, and the problem with that is that is the now the tall speakers become visual obstructions for people trying to watch the show if they aren’t seated in the center of the audience.

Now let’s flip the view around and look at the audience from the stage:

The audience is seated at round tables. That’s horrible for a show. You’ll notice that the chairs closest to the stage actually are facing away the from the stage. So the people with the best seats have their backs to me!

Some gigs I feel like my show is being set up to fail. My plan is to ask for more chairs to fill the front, then either ask for the speakers to be moved to the back of the stage, or do the show on the ground in front of the speakers. It’s going to piss off the sound guy, but it’s really the only option with what they’ve given me.

-Louie