Take Out Boxes!

I’m getting ready to offer my Take Out Box to magicians. This is a Chinese style take out box that you can use to produce, vanish or change items. There’s a lot that goes into making thing for sale, and one of them is shipping. I made a batch in a slightly larger size but decided to go with the smaller size for the main marketed version. This was mostly due to packing/shipping concerns.

Here’s the Take Out Box in action:

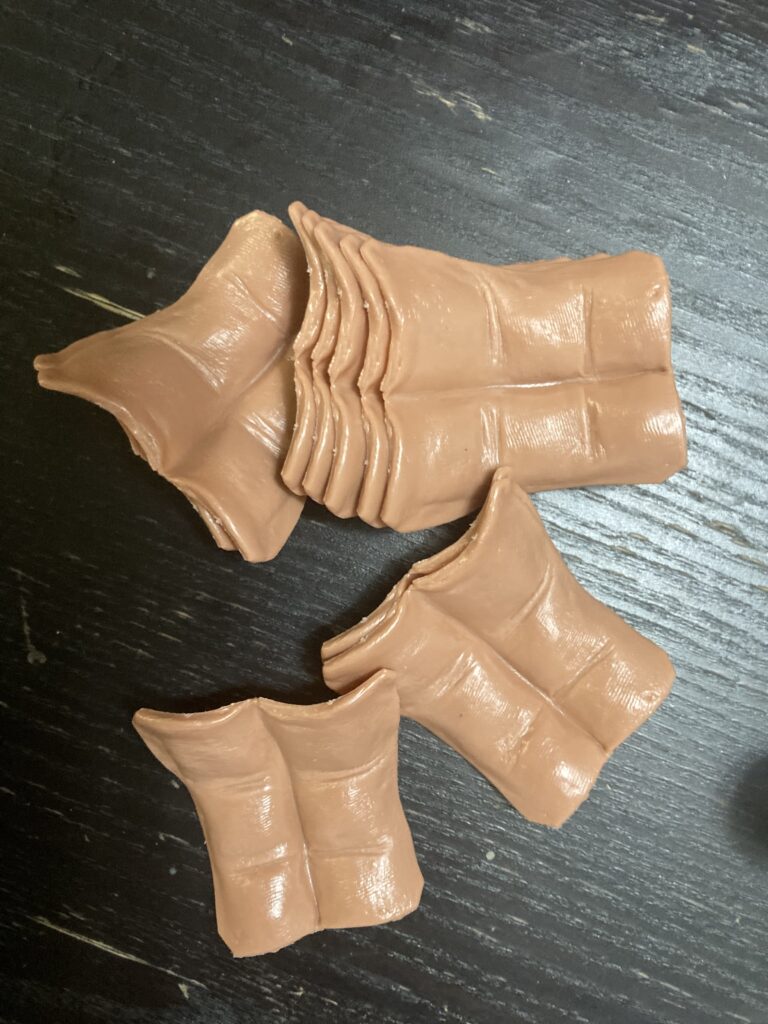
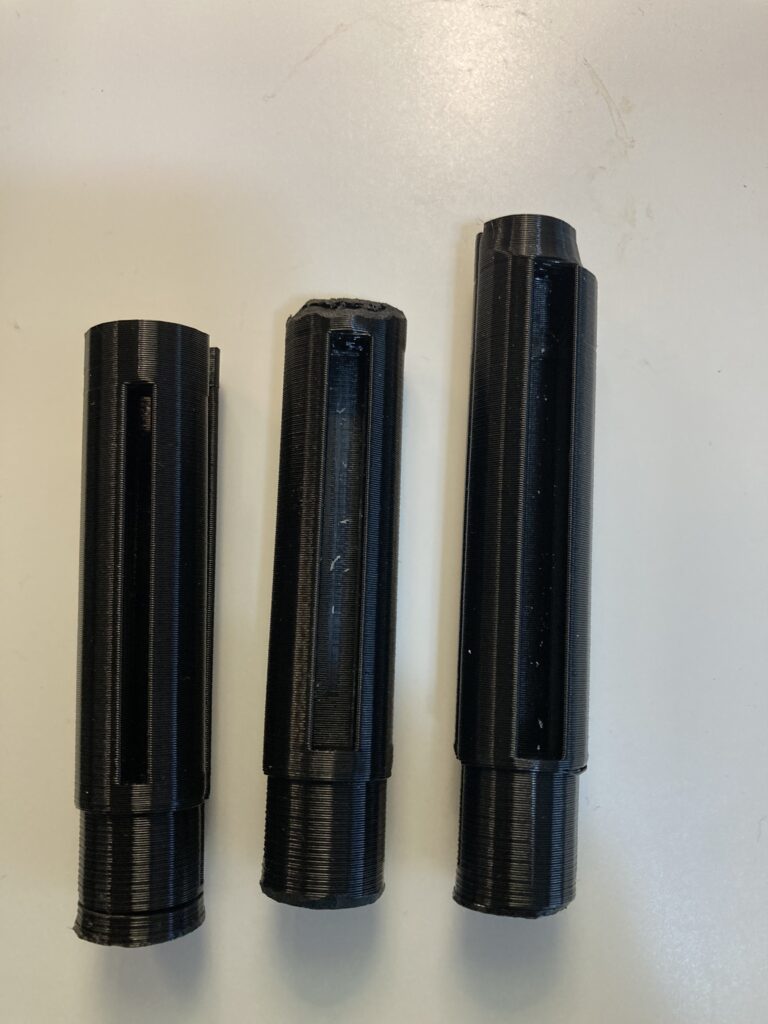
I had 3d printed about a dozen gimmicks in the slightly larger size and instead of throwing them away, I’m offering them at a discount.

With the Take Out Box you’ll get a fully assembled box with 3d printed gimmick installed, a template to use when moving the gimmick to a new box, video instructions and two ungimmicked take out boxes.

These will be available through Hocus-Pocus.com and and here on my daily magic blog at www.magicshow.tips in a few weeks and will be $40.

Save $10 and get FREE USA SHIPPING!

I was playing around with making them in a slightly larger size, but decided to keep the size that I use. This choice was based on packaging them for retail sale. I made about a dozen of the larger size and if you want one of the larger ones you can get them for $30 with free shipping in the USA!

International shipping is a flat rate of just $10!

Click Here to Order the Take Out Box!

These are ready to ship out and there are a very limited quantity of the larger Take Out Box available and once they’re gone there won’t be anymore at this size available, so order now and save!

Magic in Focus for NOLA

Yesterday I wrote about doing magic trick where a picture of famous art starts blurry, the magically becomes in focus. In the example I used yesterday it was the Mona Lisa, however it just hit me this morning and I’m getting ready to pack for a trip to New Orleans for the Sideshow Hootenanny was that I should make the trick themed to New Orleans.

I remembered that on my first trip to New Orleans that I randomly came across Banksy’s Nola (Rain or Umbrella Girl) on a street corner. Using Nola for the trick makes more sense as it’s local to where I’ll be.

There’s not much to the trick, it’ll simply be a flap card that changes from a blurred image to an in focus image.

A quick Google search shows that the art has been moved to a hotel, so no longer on a street corner. I could do the trick from where the art was…

This is a good example of trying to give a trick some context, more than just check out this ace of hearts that changes to a two of club. Sometimes there’s nothing wrong with just having eye candy, but some sort of context is always nice!

-Louie

Magic in Focus!

As I get older, my up close vision has started to go. Reading had gotten difficult and when I realized that during my morning writing, I couldn’t read what I had just written I knew it was time to go to the eye doctor. He prescribed me glasses for reading and what a difference it makes!

Having a new view on the world…as long as it’s about 12 inches from my face got me thinking about a trick that has to do with vision. My first idea was to have blurry writing on a notecard that then changed to in focus writing that was readable. The problem with that idea is that it’s small, it wouldn’t really play for many people, unless it was a social media video.

The next idea is better, it’d be a picture of the Mona Lisa, or whatever, but blurry. Then it changes to in focus.

This could easily be accomplished by making it like a flap card.

I’m not sure if I’ll ever do this, but I think it is a good idea!

-Louie

Production Box

One of my favorite tricks that I did last month in my school assembly show is my Take Out Box. This is a utility box that I created that can make items appear, disappear or change. In the show I used it to make a Tennis Ball Appear.

Here’s it in action:

What I like about this is that it’s a magic box that’s a normal box…well by normal I mean something that people have seen before. It’s also handheld, so you don’t need a table. Personally I’m anti-tricks that happen on a table in stage/parlor shows as the table puts a barrier between you and the audience. The table also limits the sight lines of what can be seen. The exception would be if you’re using projection.

The extra bonus is that the box is versatile. It has more than one use, unlike many other stage magic props.

-Louie

Sanada Gimmicks!

Over the last few years I’ve started to really prefer the Sanada Gimmick over a thumb tip for stage use. I primarily use it for a bill switch and it allows me to not fold up the bill as small as with the a thumb tip. This makes it play a little bit bigger, but also I think looks more fair.

When I use something like a thumb tip or Sanada Gimmick, I try to stock up on them so that I always have them. I just had 10 arrive in the mail.

Sanada Gimmick

These are just for general use whenever I need them. Having access to a lot of them allows me to make some custom gimmicks with them like my tennis ball to confetti gimmick.

If there’s something you use, stock up on it, you never know when they’ll be temporarily or permanently unavailable.

-Louie

Will Goldston Magic Books…

It’s been an exciting couple of days for books! A couple of weeks ago I won a stack of Will Goldston books from an auction house in Florida.

Will goldston magic books

Will’s books are interesting as I’m not sure who they are written for. The descriptions of how things work are very brief almost like they’re written for a general non magician audience, however the tricks aren’t things that an amateur magician could really make without a well equipped wood and metal workshop. Also without knowledge of the props and magic in general, you really couldn’t make them based on the descriptions in the books.

I did find a little surprise inside one of the books:

The Sensational Tales of Mystery Men is signed by Peter Kane! Peter is essentially the person that created Wild Card and the card trick The Elongated Lady. I’ve got a couple emails out to some people who may know if that signature belongs to that Peter Kane or a different person with the same name.

I love finding little surprises in old books!

-Louie

Tommy Wonder Cups and Balls

I’ve always been interested in Tommy Wonder’s Cups and Balls routine. I finally plunked down the cash and picked up this set:

tommy wonder two cup routine by raphael and bluether magic

Right out the gate, I think the bag is a little bit too small (not long enough) for the cups. You need to be able to tie it shut with the string with the cups in the bag. I really had to force/stretch the bag to get the cups into it and tie it shut. This isn’t a huge deal, as over time I imagine it will stretch and get easier (I hope).

tommy wonder two cup routine

I started by reading the routine in The Books of Wonder Vol 2 and working it out. The routine didn’t feel right, so I then watched some videos of Tommy performing the routine. There’s a lot of flow that’s missing from the book and it really would have benefitted from having a bullet point list of the effects that happen in the routine.

Here’s one of the videos I watched:

One thing that I noticed about the routine is that it’s not a show stopper like when you see Gazzo, Ammar or Bob Read do the cups. At the end of those, there’s a punctuation at the end, a definite end. Tommy’s routine is more of a middle piece than a closer.

In Tommy’s book he mentions that he’s known to magicians for his cups and balls. There’s a clue there, I don’t think he thought it was the best for non-magicians. It’s certainly innovative in how the loads were done, with none from the body/pockets, and resets instantly, but I’m not sure that translates to non magicians as much as it appeals to magicians.

I’m going to learn the routine, and give it a try, hopefully I can get it down in about a month for a week long run of shows I’ll be doing next month.

-Louie

Multiplying Tennis Balls

One of the routines that I really liked that I was doing on the school assembly tour was my tennis ball routine. It opens with a production of a single tennis ball from my Take Out Production Box, then it goes into mulitplying balls style routine and ends with a tennis ball turning into confetti.

Here’s the routine:

At about the 1:50 mark you’ll notice one of the kids in the middle showing the kid next to her that she thinks the balls are coming out of my sleeve. When I reviewed video of the show I noticed that, I added a bit where I show my sleeves empty. It’s a little thing, but it makes the routine stronger.

I really like this routine and would like to use it elsewhere, however the challenge is that I need the book to ditch the final tennis ball. I’ll need to figure out another way to ditch the final palmed ball.

-Louie

About the Vanishing Birdcage

I recently got an email asking questions about the Vanishing Birdcage and I figured it might be helpful to more than just the person who emailed me, so here it is:

I see that you have a lot of knowledge about the vanishing bird cage. My dad used to do a little stage magic and this was my favorite! My son is now an aspiring young magician and I’d like to get him this trick. He’s been working on his technique for several years but is still only 11. I know this trick takes a lot of practice. I do not want to spend the thousands to get him a professional cage, but I also don’t want him to be discouraged (or cut!) by an inexpensive and poorly made cage while he learns. I’ve read through several threads on Magic Cafe and it seems most of the Indian cages can be dangerous, although there might be one or two that are ok. It also looks like I need to avoid any with loops?

I am writing to ask if you can recommend any websites, manufacturers, things to look for, things to avoid- any advice at all?

Let’s start with the safety of cages. Yes, they can cut you, but I honestly don’t think that’s really a huge concern. Anything that can cut you can also snag in your sleeve, so you should be inspecting your cage and finding those spots and eliminating them. I check my cages how Billy McComb did, by running a silk over them to find any thing that would snag in my sleeve. Tommy wonder did something similar with a piece of string. I have a couple of the Indian vanishing cages from various eras in my collection and I never really noticed any of them having any wires sticking out (that doesn’t mean that they don’t have any). The bigger concern with the newer Indian cages is that they are super heavy, and this makes the vanish more difficult. If getting cut is a concern go for an Abbott’s style cage with the red ribbon on it. I don’t think Abbotts is making them right now, but they frequently pop up used and should run about $100ish. There’s one on ebay right now for $275, and I DO NOT recommend paying that much for it. https://www.ebay.com/itm/394381494169

There are some totally usable vanishing cages with the loops on the bars. The Milson Worth Vanishing Birdcages with the brass bars work fine and that’s the cage that the Indian Vanishing Birdcages are modelled after. A Milson Worth cage will run about $100-$150. There’s one on ebay right now for $95 and looks decent: https://www.ebay.com/itm/314214210186

The bigger issue is size. I’m 5’8, so average height, but to pull full size cage like the Owen Vanishing Cage or even a full size Abbott cage up your sleeve may be the biggest challenge for an 11 year old. I’d recommend trying to find a small Abbotts cage or the Milson Worth cage as they’re smaller than the “standard” cages. Personally I used a National Magic and Owen Cage and were a bit too big for me, and about a year ago I switched to a Riser/Summers Baby Lindy Cage which is smaller and it works a lot better for me! However the price tag on the baby lindy cage is a lot, and it’s not really what I would recommend for a first cage.

With all of that information, I would lean towards the $95 one that’s on ebay if it was a purchase that you wanted to make now. If you are willing to wait an hunt around a bit, then a small Abbotts vanishing cage.

Hope that helps

-Louie

Creating Custom Gimmicks

I just wrapped up building a custom prop for another magician. I don’t know if people know what goes into creating props. Below are the first three attempts at making part of the prop, I forgot to take a picture of the forth and final version.

The first version which is on the left, was kinda my “proof of concept” version and it let me know that the idea was solid.

The middle version was a slight tweak, where the slot is bigger, but that brought me to a second challenge, the top needed to taper in. I also realized I has a little more room to play with with the prop, so I extended the gimmick.

The third version on the right, fit great, but internally I discovered there was a “pinch point”, so I had to go back and to a quick redesign, which led me to the fourth and final version (not pictured).

Looking back, the second version was clunky, but functional. The third version didn’t really work, but the final version worked soo much better than second version. I’m glad I pushed forward to get it to the final version!

If you’ve got a custom prop you are looking to get made, contact me and we can chat about it!

-Louie