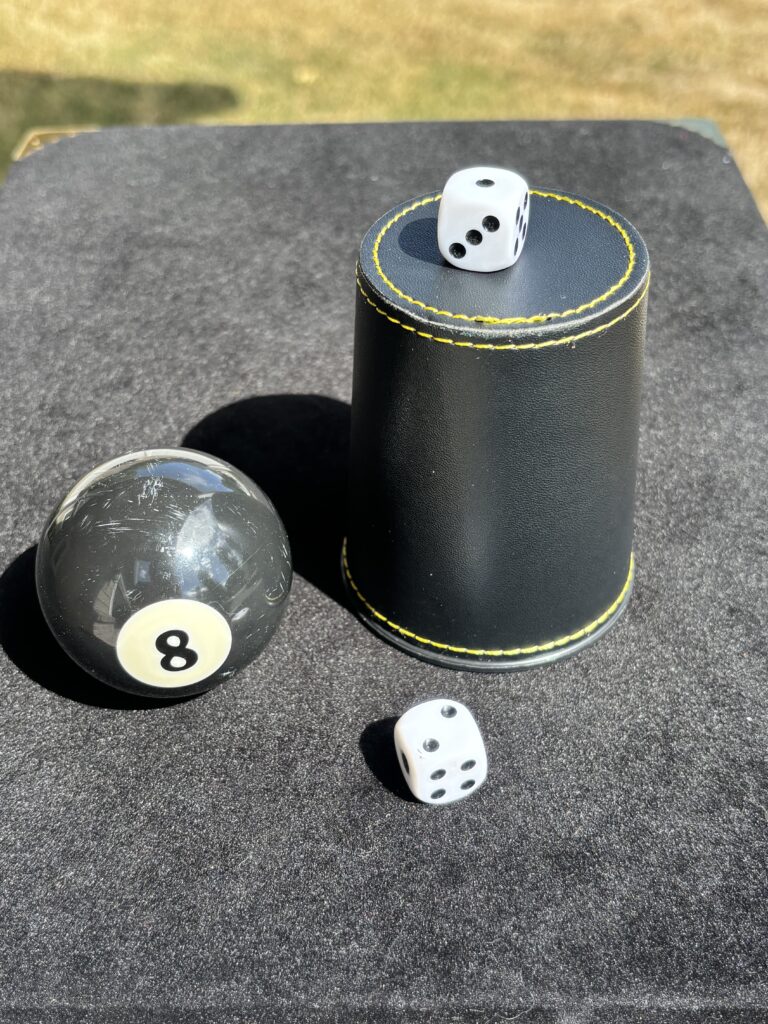
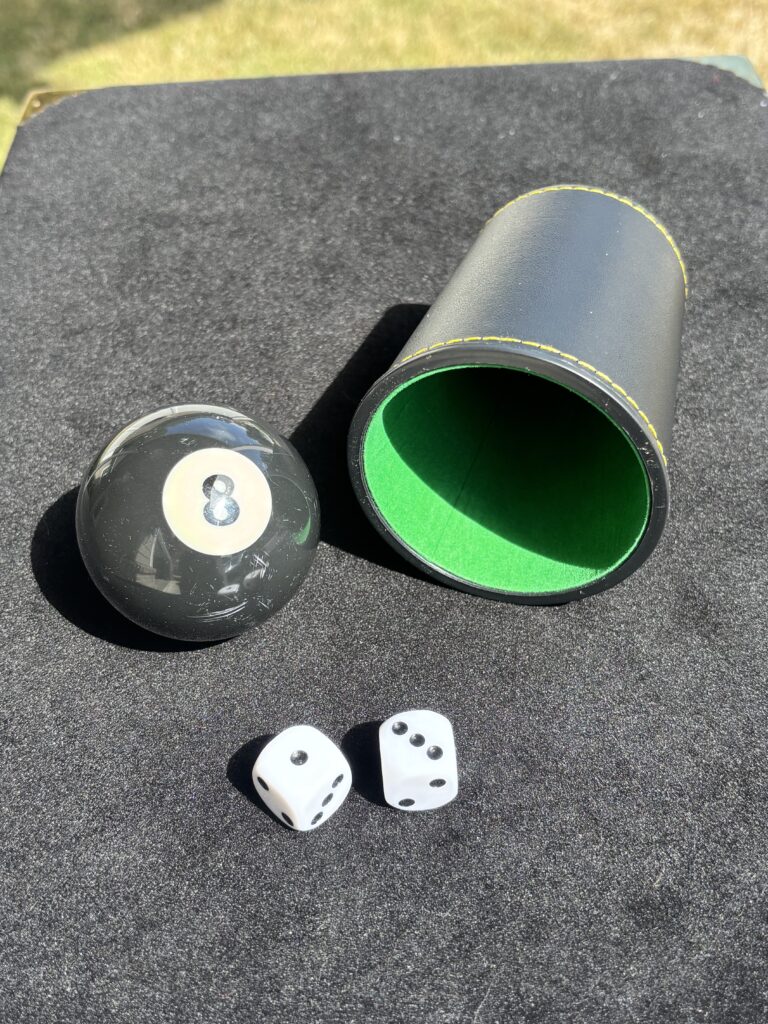
Here’s a simple chop cup routine that you can learn, and do with any standard chop cup.
What I like about this routine, over many chop cup routines, is that I only go to the pocket once, and it’s not immediately before the production of the eight ball. -Louie
When I made a small batch of dice chop cups last week, people asked me for a video. Honestly, I thought everyone knew what a chop cup does, but I was wrong. If you don’t know what a chop cup is, it’s a gimmicked cup that will hold out a ball, or in this case dice.
Typically, this is one with one visible ball; however, in routines like my CeeLo routine, it uses three visible dice. How the normal routine goes is that a ball keeps disappearing and reappearing under a cup, then at the end, there’s a giant ball or whatever under the cup.
Here’s a quick video of a chop cup routine that I made for the people who asked:
I was just improving and did this sequence. It’s actually a pretty good sequence; it has a lot of effects. 1: Teleportation: Die goes from pocket to under the cup 2: Penetration: Die goes through the top of the cup 3: Vanish: Die disappears from my hand 4: Production: Eight ball appears
Occasionally I’ll make a batch of dice cup chop cups. These are chop cups made from dice cups and use a die instead of a ball.
I prefer using a die over a ball for a couple of reasons. First, it makes sense when the cup is a dice cup; all of the props belong together. Next, dice are white, so they are easy to see. Finally, with dice being flat, they don’t roll as much, so you won’t have them roll off the table as easily.
When you use a prop, like a traditional magic chop chop that visually looks like nothing that exists in world, I try to find things that look real to build the trick into. It’s not always possible, but it’s something I try to do. I should mention that there is value in an unusual prop as a presentation hook. For example, my O-Korto Coin Box Routine uses small brass Okito Box style coin boxes. I introduce it as my “Grandma’s Coin Box”, then there are a few jokes that go along with it. There are ways and reasons to use unusual props.
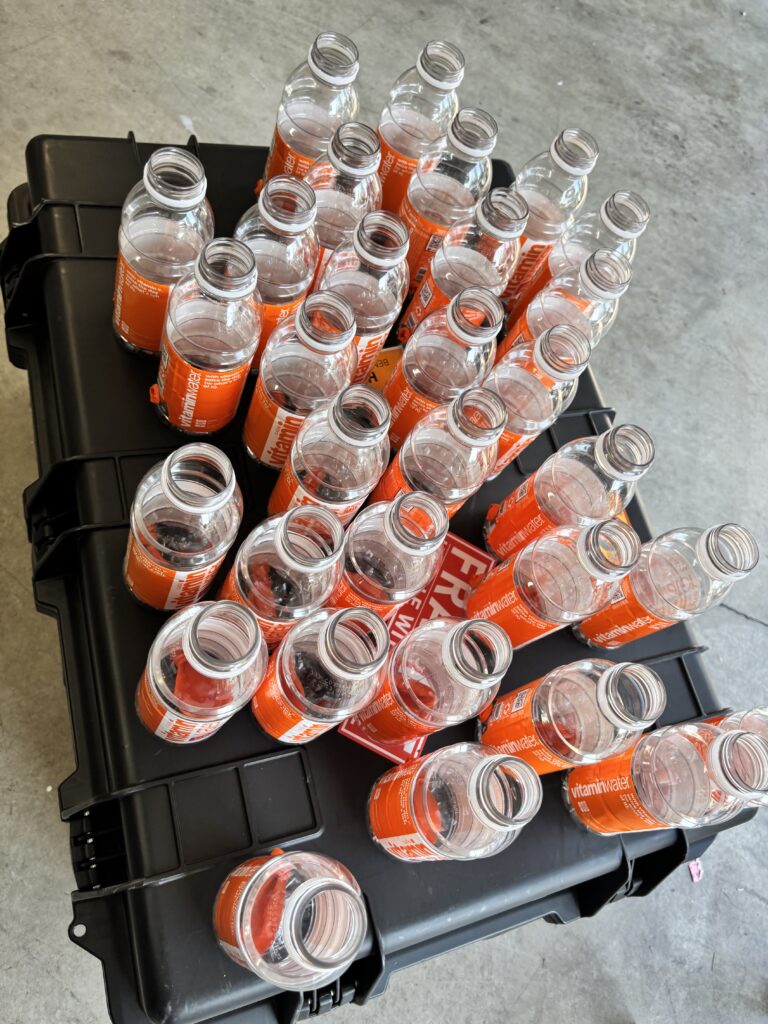
The Evaporation trick was created using a Sunny D bottle, however that style of bottle hasn’t been made (that I can find) for a while now. I’m switching the standard bottle to a “Sports Bottle” type of bottle and working on the first batch of them to ship out to Murphy’s Magic, then available through most magic shops around the world.
Nothing has changed about the gimmick or prop, except for the bottle.
When doing a card trick, the ending is the most important thing. Here’s three options that I’m playing with:
Each has something going for it.
Option 1: quick and direct
Option 2: BIG
Option 3: a gag, then a bonus trick
I posted this video on my social media and everyone liked number three the best. One thing I didn’t mention was the conditions; this was a stage piece for large groups.
After trying all three of them, the one that played the best for me was number 2!
The size of the reveal, I think, made a huge difference. Also, when the folded card comes out, you have a little bit of build as it’s being unfolded.
I think the problem with option #3, which is the 52 on 1 card that turns into the selection, is that the gag is too small to be seen from the stage, and everyone has to take my word for what’s on the card. Also, you have a gag and a magic trick that are pretty close together. The changing of the card, I think, doesn’t hit as it should. I think to the audience it feels like the card just has the 52 on 1 on one side and the selection on the other, and I just turn the card over. Yes, I do show the back of the card twice; however, I don’t think the audience processes that or remembers that.
I’m glad I tried all three and was surprised at the result.
Last year, I picked up a Chattering Teeth by Doug Malloy (routine by Terry Seabrooke). This is Terry’s routine that I first saw in the mid 1990s on a VHS tape of his called The Vidiot and the basic routine is also in his lecture notes that are still available from Magic Inc for about $6.
I thought the fan in my unit was broken, it had two AA batteries in it, and I changed it to a 9v battery, and it started whirring…but was super loud! I changed out the fan and here’s a before and after video:
I thought the unit I had was unusually loud when I got it, but after posting that video, I have the impression that all of them were pretty loud! This isn’t a knock at the maker, it was made with 1990s technology, and it appears Doug fabricated the fan from scratch!
When I changed the fan, I also added a remote control to it. The remote is two channels, so my remote control chattering teeth and the fan can run off a single remote contol!
Here’s what it looks like:
I’m glad I finally got around to updating the Chattering Teeth prop! Working on this set is actually a stepping stone for a version of the trick that I want to build for myself.
There is now a Vintage Magic Tricks for sale page on this website! These are tricks and books from my collection. Sometimes I gotta let things go to make space for new things!
When I travel, my show is in a Pelican Air 1615 case. For me, it’s the best solution for traveling with my magic show. I’ve had this one for probably 8-10 years, and while I’ve replaced latches and wheels in the past, it works great.
Recently, I needed new wheels and bought some Landing Gear Wheels for the case. Here’s a video of the old wheels and install of the new ones:
I really should have changed the wheels a long time ago. With the bearing failure, which has been like that for a while, I’ve been working too hard moving the case around.
Maintenance on everything you use with your show is important!
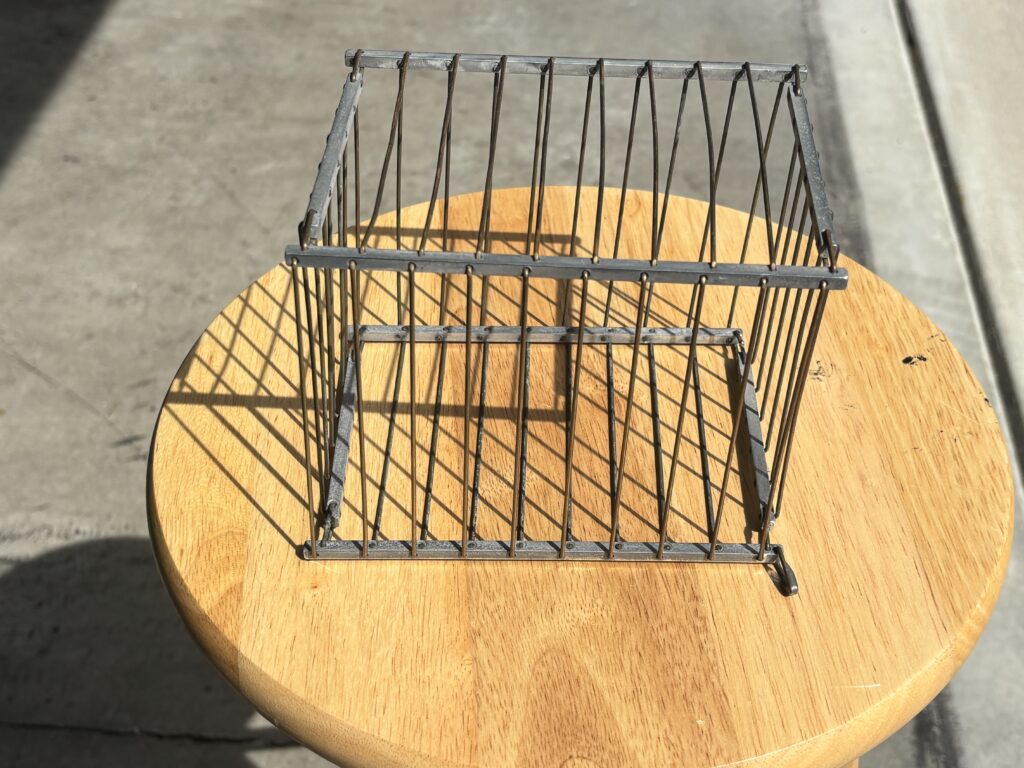
This vanishing birdcage that I just added to my collection is pretty cool!
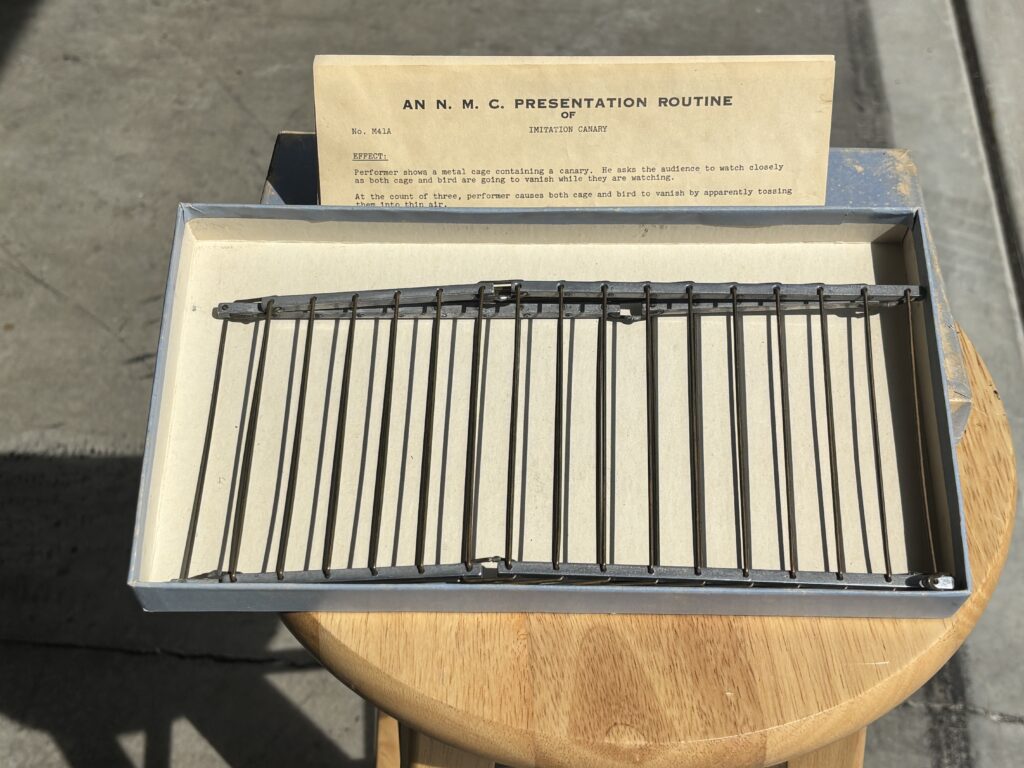
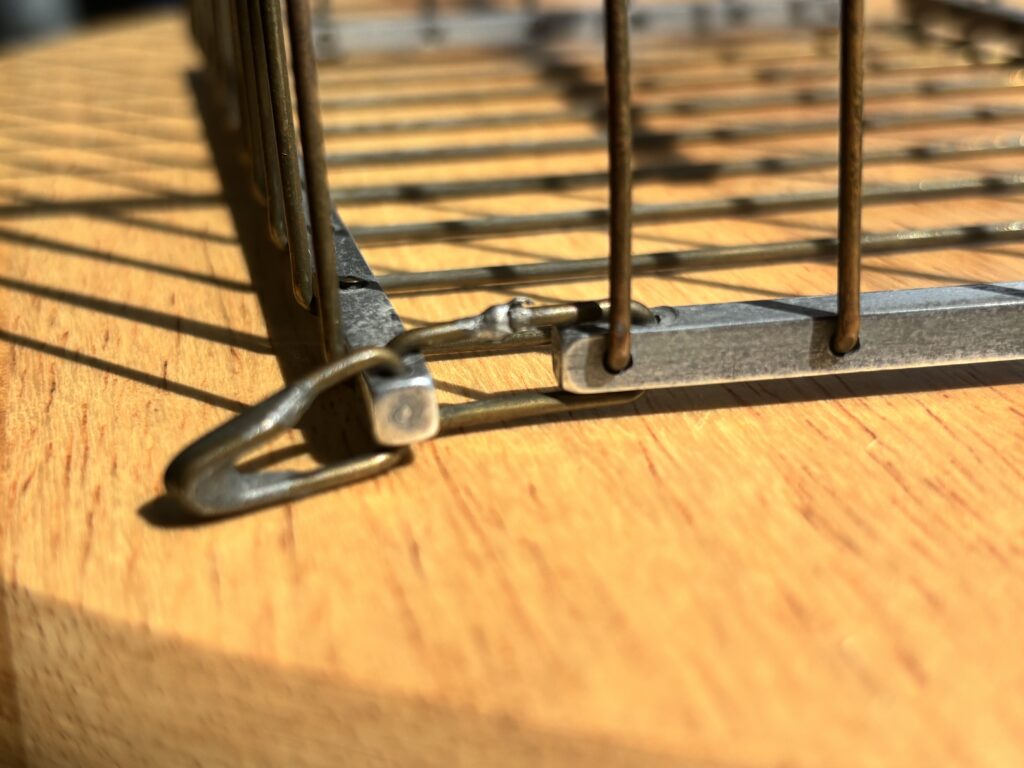
This is my first older cage that has come with the box! However, what makes it more interesting is the pull connector and the corner hinges. Here’s a close up of them:
Let’s start with the pull connector, it’s teardrop shaped instead of the normal rectangle. This shape, in theory, will have fewer snag points than the rectangle. However, what I find really fascinating is the corner hinges. They go all the way around and aren’t “U” shaped. This should make a stronger hinge, as they are frequently broken on older cages, but this has to be a big pain to make!
I’m very curious about whether this cage was an early cage where they were made to last, but then they stopped doing them because they were easier to manufacture if they did things like make the corners “U” shapes. Or maybe this cage was a custom job to make it more reliable and durable?
One of the endings that I’m doing with my three shell game routine is using a small cap that goes under the shell to replace the standard shot glass. I got the idea when I was on a flight and realized the tiny liquor bottle cap would fit under a shell. (you can read the post about it here)
Here’s a demo of what it looks like:
You could put a shot glass on top of the cap and shell for a triple cover! I really didn’t want to use the shot glass, as it’s bulky, heavy, and semi-fragile. This is a good solution for me!