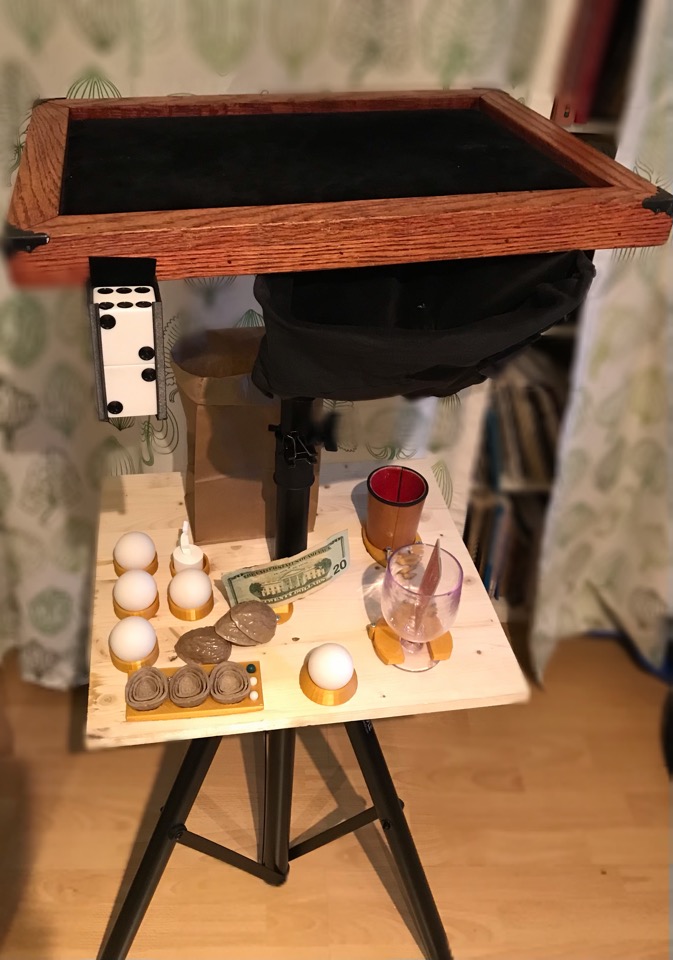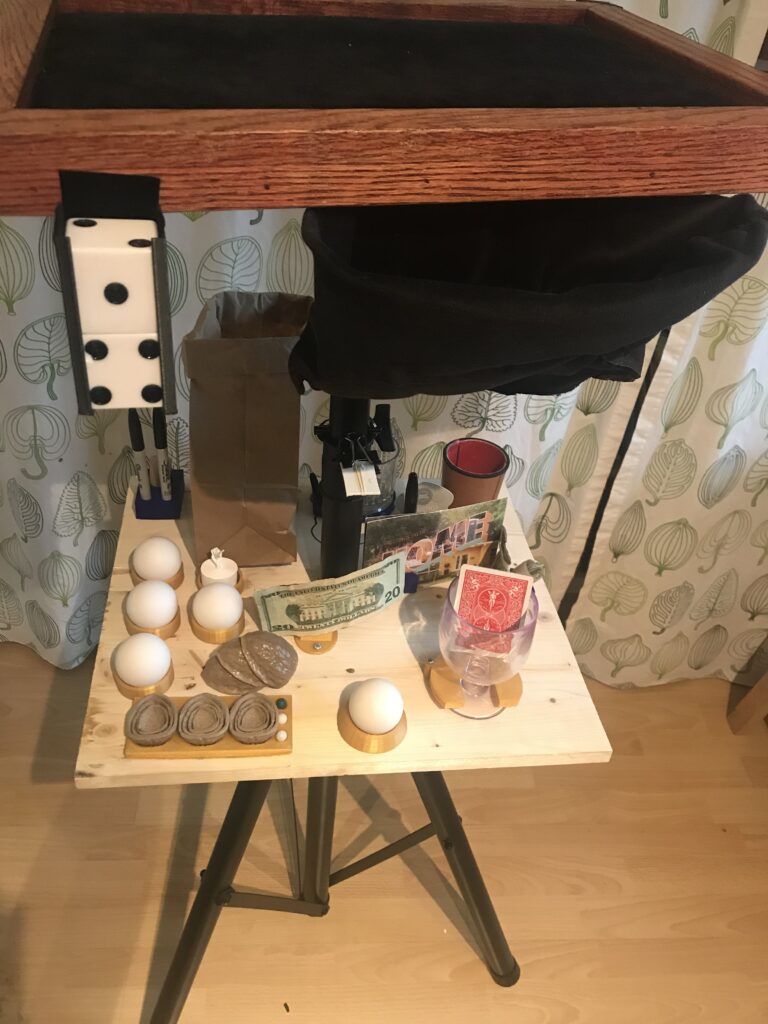
Not too long ago I added the remote control chattering teeth bit from my in person shows to my virtual shows and to my surprise, it was a hit! Honestly I didn’t think it would play as well over the screen. After trying it, it’s staying in the family virtual show!
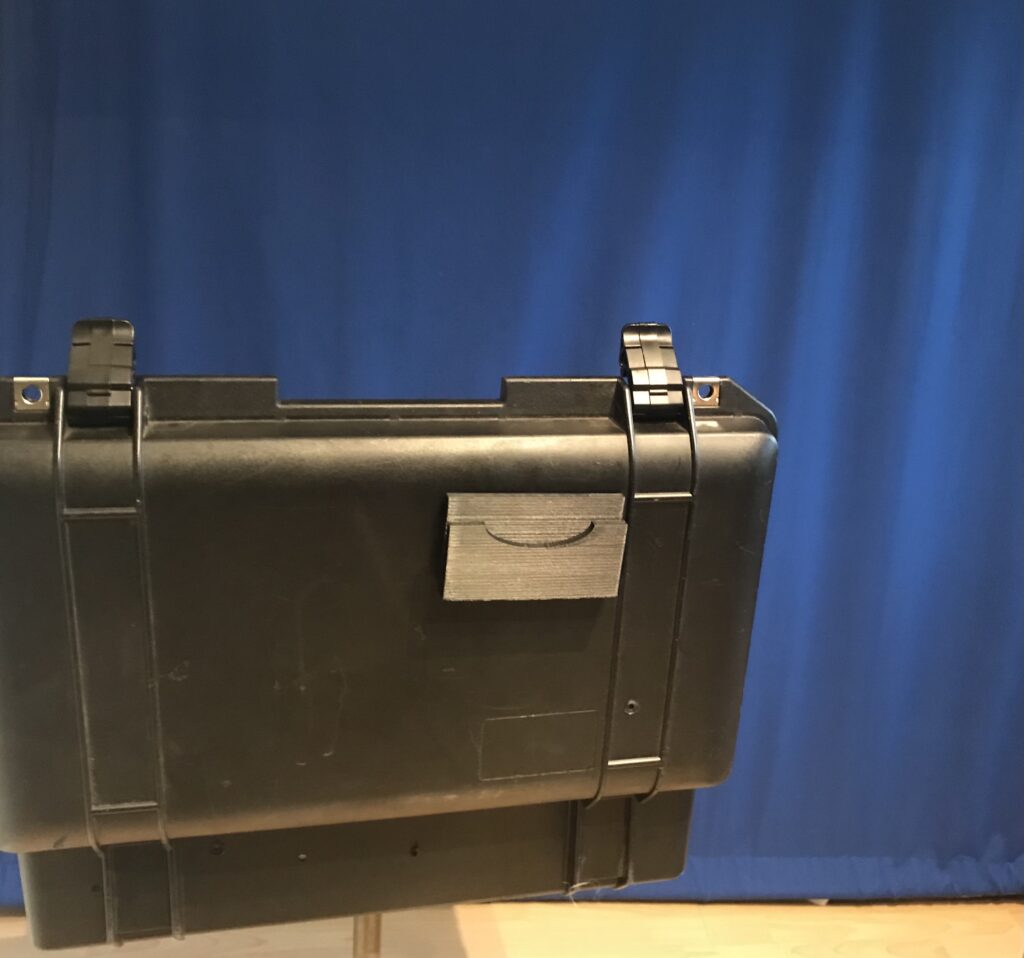
One thing that I didn’t like is that my hand had to drop out of frame to push the button. Honestly, this really isn’t a big deal, and I don’t think that anyone notices it and this isn’t really a magic trick, but a comedy bit. I was going to build the remote transmitter into a foot pedal, then noticed I an old telegraph key kicking around. Here’s what I built:
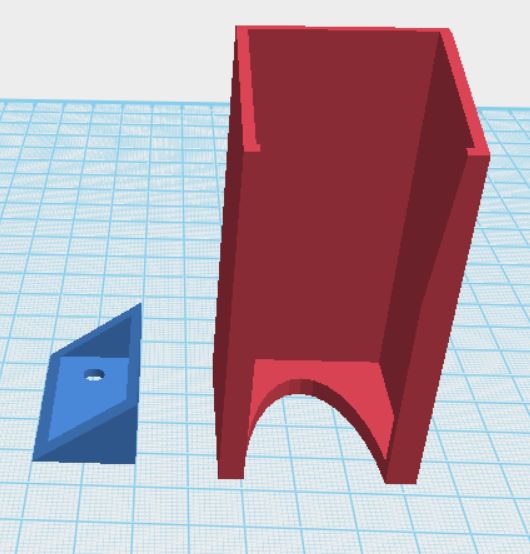
I had to 3d print the base under the telegraph key to hold the remote transmitter and battery. The telegraphy key simply sits on the floor and I push it with my foot.
I’m a huge fan of props with things that no one sees but you, and there’s some embellishment that only you know about. I know I just built thing, but whenever I look at it, it makes me smile!