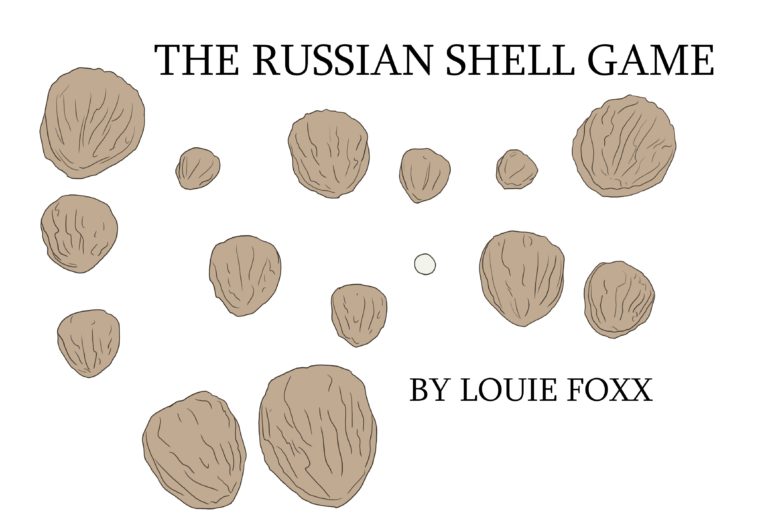
I’m trying to get ahead of orders and have a few more things in stock. Yesterday I needed to make a new mold for my Russian Shell Game trick. I figured I show you what goes into it. I had already made the bottom part of the mold, so here’s how the second half was made.
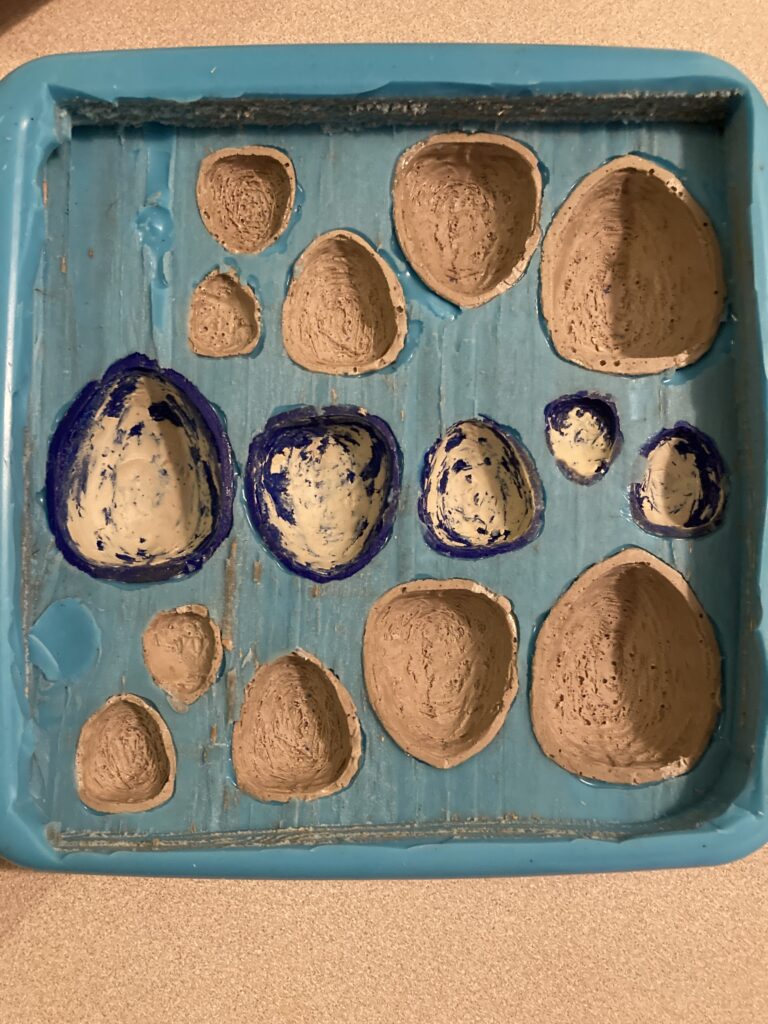
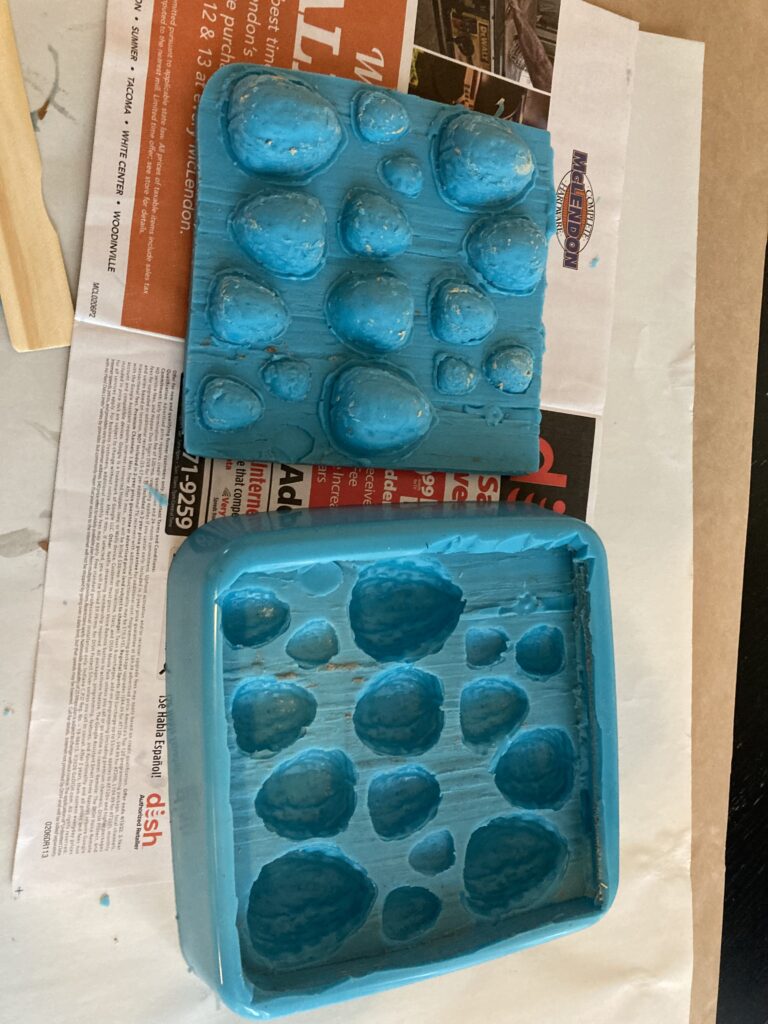
I put left the shells in the mold and gave it a coat of mold release, otherwise the silicone would stick, and I’d just have a block of silicone with some shells inside that I couldn’t get out.
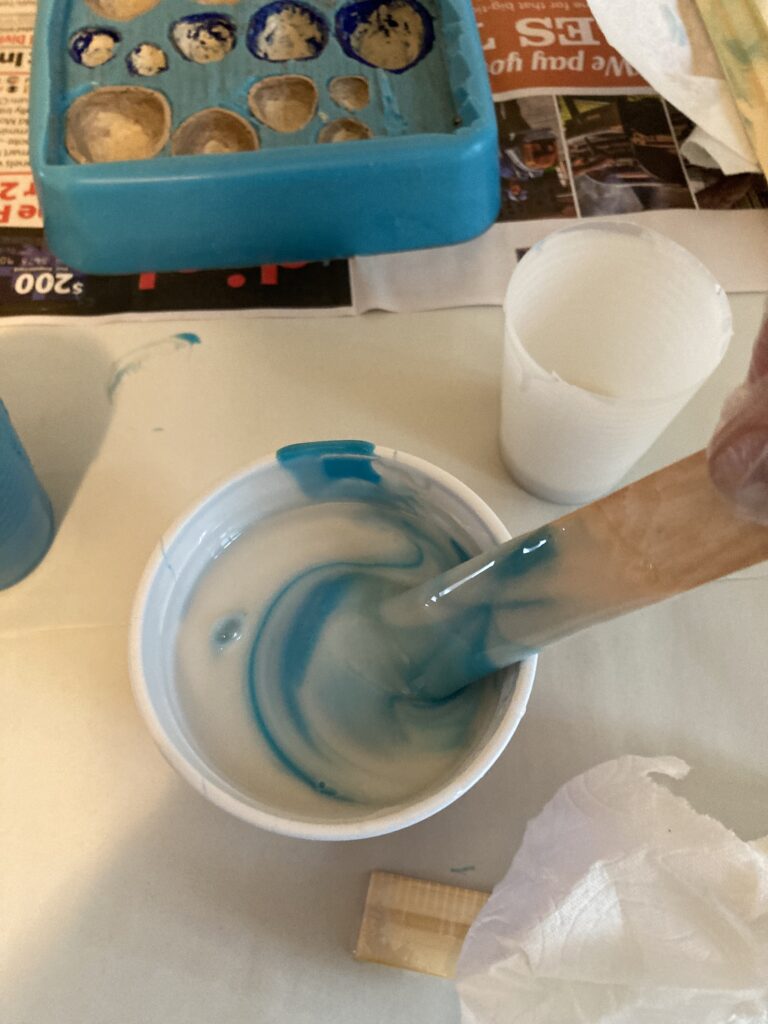
Then I measured out the silicone and mixed it up:
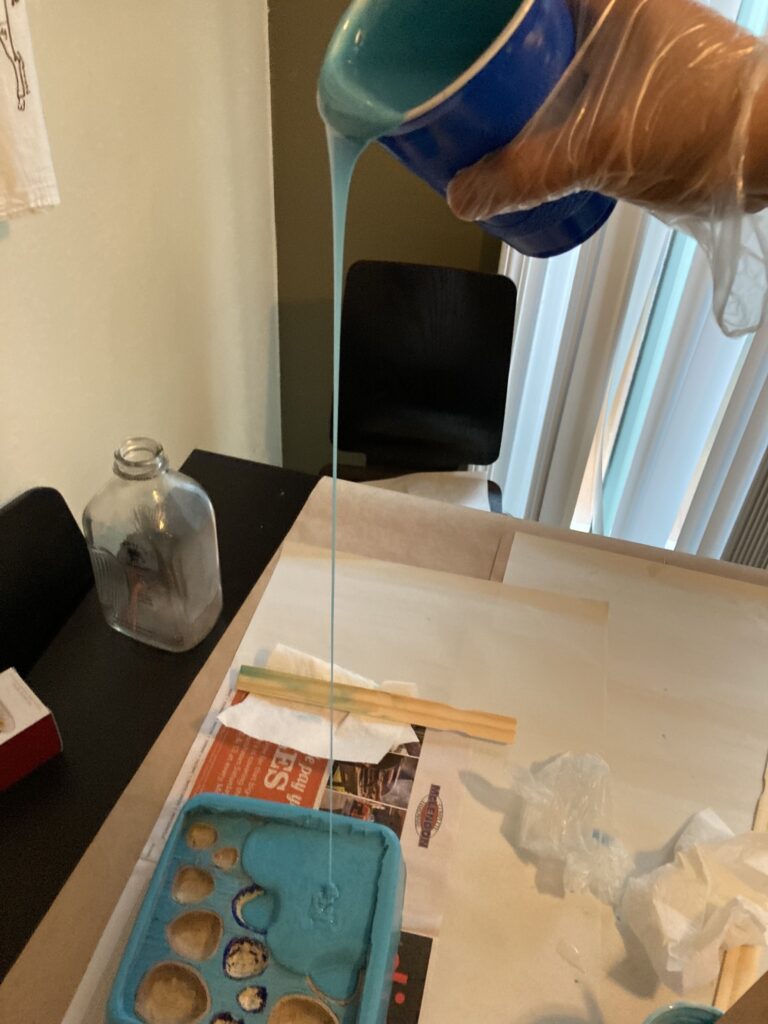
That gets poured into the existing mold:
Once it poured, I need to wait until it’s fully cured:
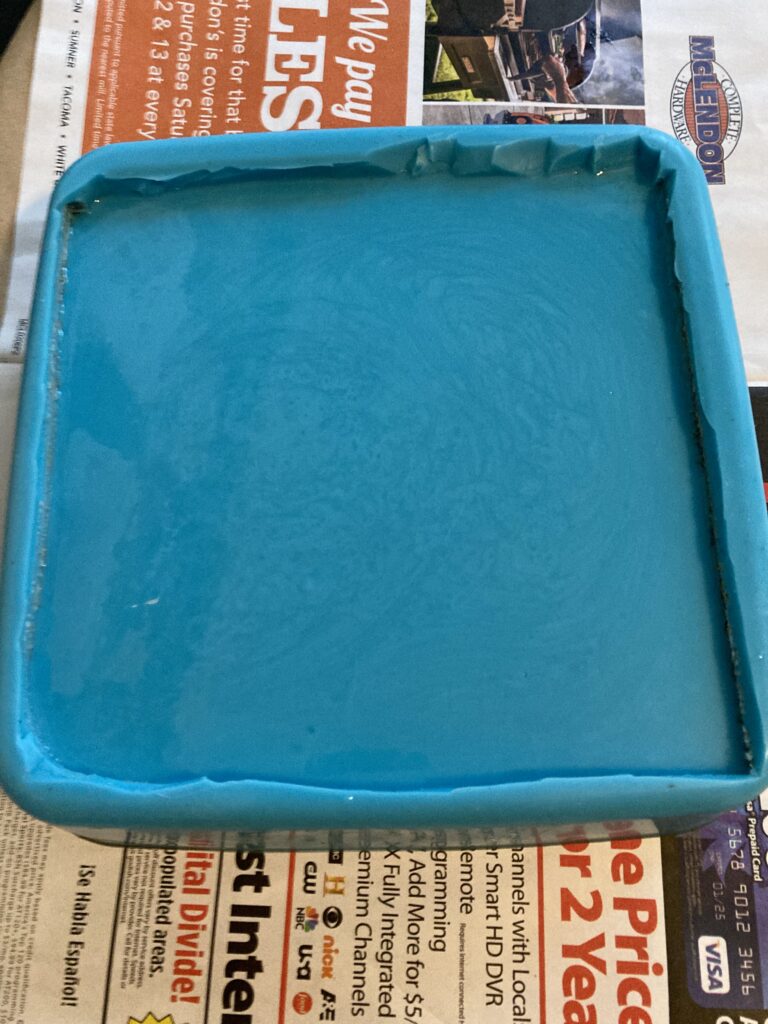
And violia! I’ve got the second part of my mold!
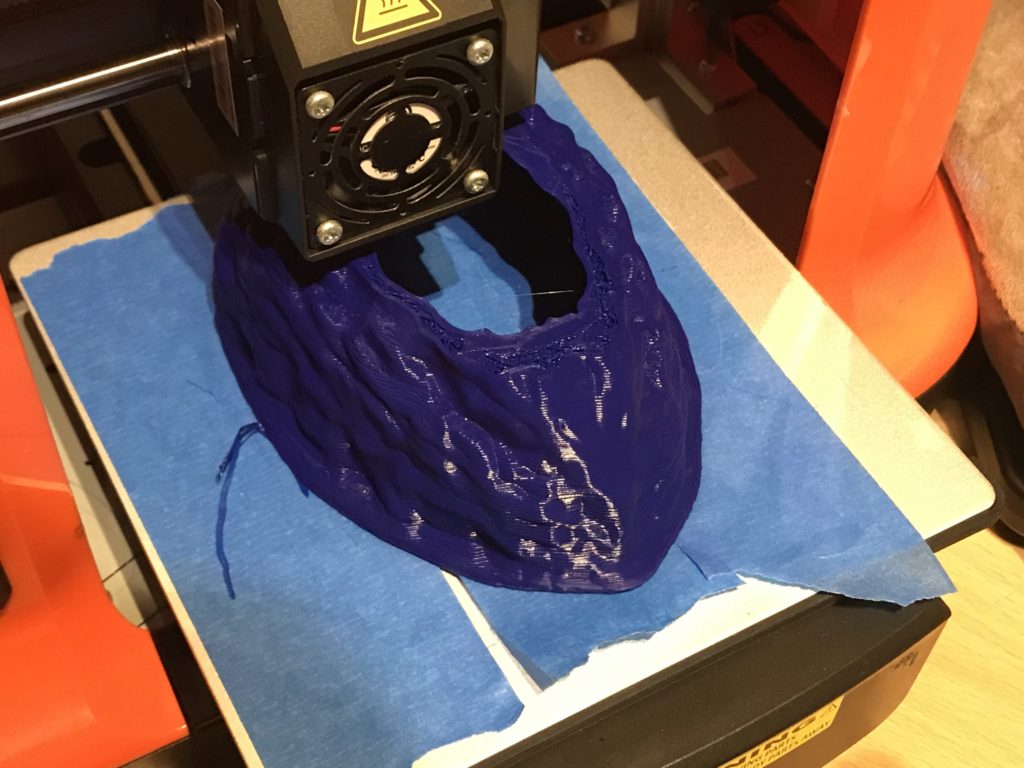
Now I take the resin, color it and mix it up, and that goes into the mold:
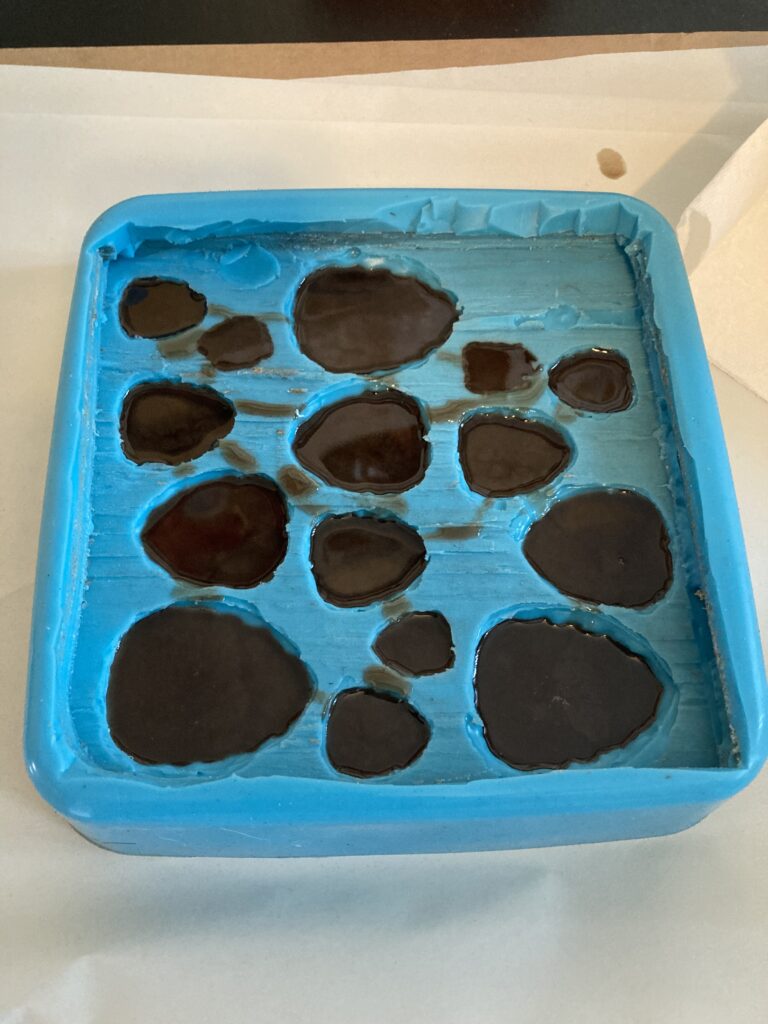
I put the top on the mold and let that cure until it’s finished hardening:

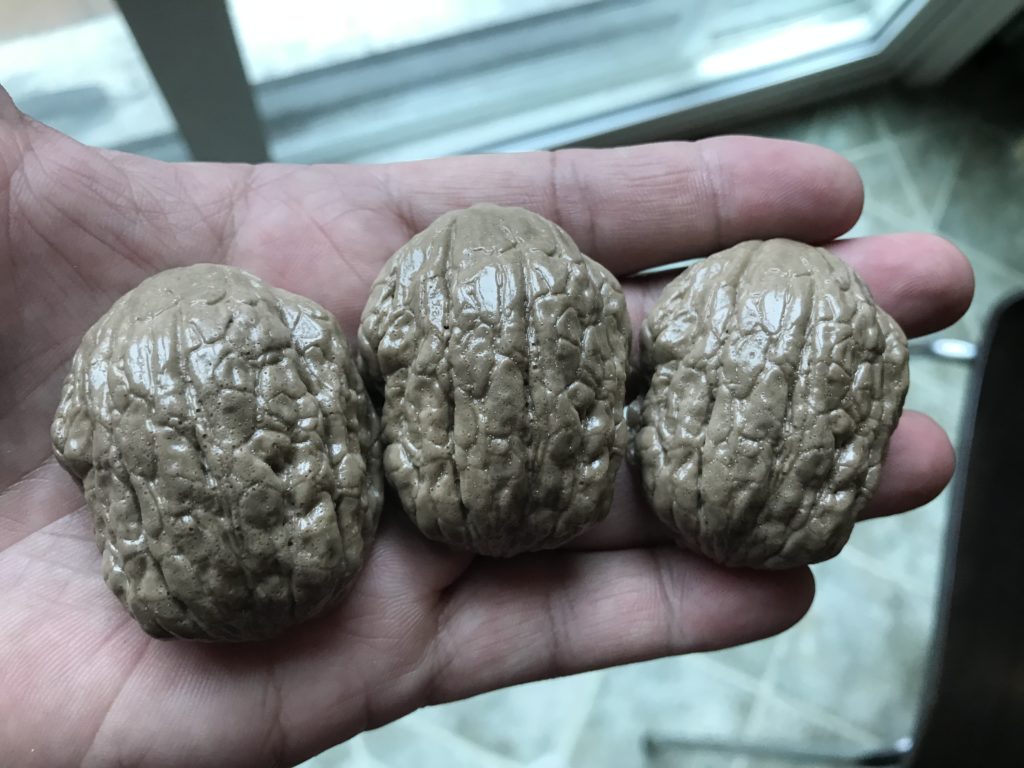
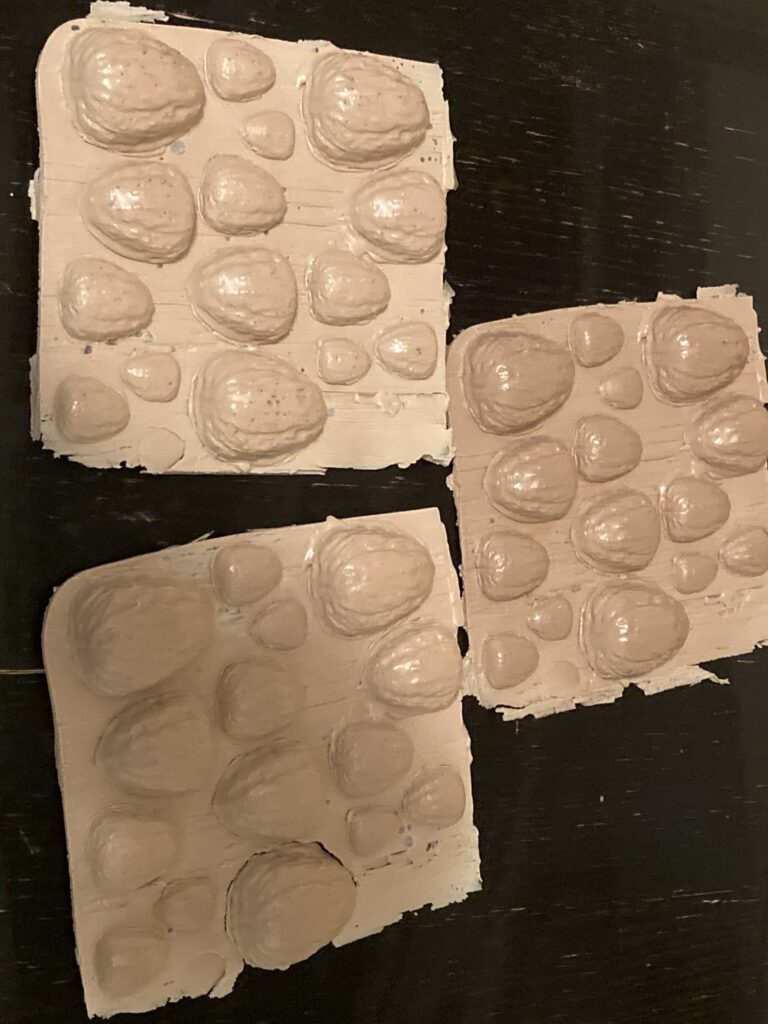
Once it’s done, I pop that out and I have the almost finished shells. They still need to be sanded. This is a quick way to produce the sets of these shells.
And here’s what the finished product does:
I hope this little walk through of what it takes to make some of my magic props will give you a little insight into the work that goes into prop building!
-Louie