One thing I learned a long time ago is that an idea or routine is never finished. There’s always room to add or cut from it. For example there’s a prop that I use that uses batteries and it works just fine. There is one thing that I don’t like about it, it doesn’t have an off/on switch, you have to pull one of the batteries.
This isn’t a huge deal, but it is kinda annoying. The reason it doesn’t have a switch is there is physically not enough room inside the prop for it. I’m working on a redesign to make room for a switch. I just did the 3d model for the parts, now I just need to print them out and assemble it!
When I was up in Quebec City for FISM, I was chatting with Chris Hanowell about names for a trick. We thought “Regicide” would be a great title for a magic trick, and Chris is working on it. A few weeks later I had an idea for a trick called “American Regicide” and finally got around to making a test version:
I have a better idea for how to make the gimmick that animates it that will eliminate hand movement. It’s something that I need to 3d print, so it’ll have to wait until I’m home for longer than a day or two for me to design, print, tweak and reprint.
One of the things that a lot of magicians use are magic tricks that use electronics. They are fun and you can do a lot of really impossible things with them, but the hard part is finding an “out” if the electronics fail. And they will fail at some point if you are out there working.
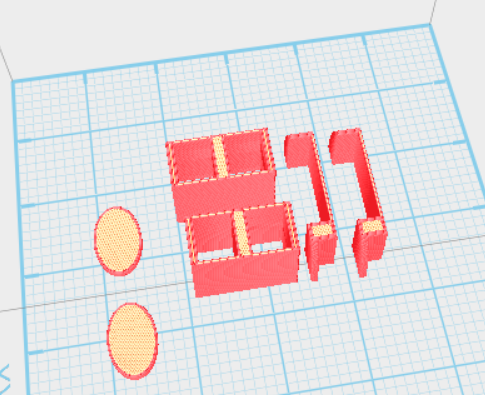
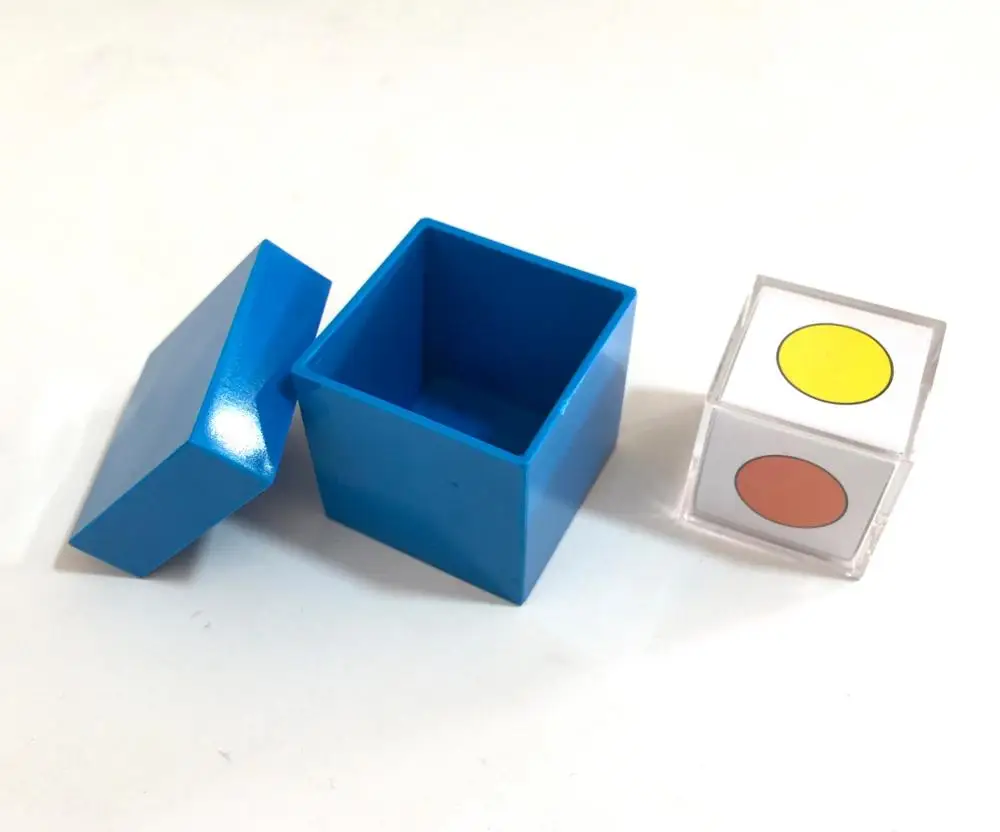
In my show I use a Rubik’s Cube that a special something inside and if that ever fails, in most routines you’re really screwed. Awhile ago I 3D printed a box for it, so if it does fail, I can use the box like the old color vision box. The color vision trick is a pretty good trick on it’s own, so having that as my back up method isn’t the worst out in the world.
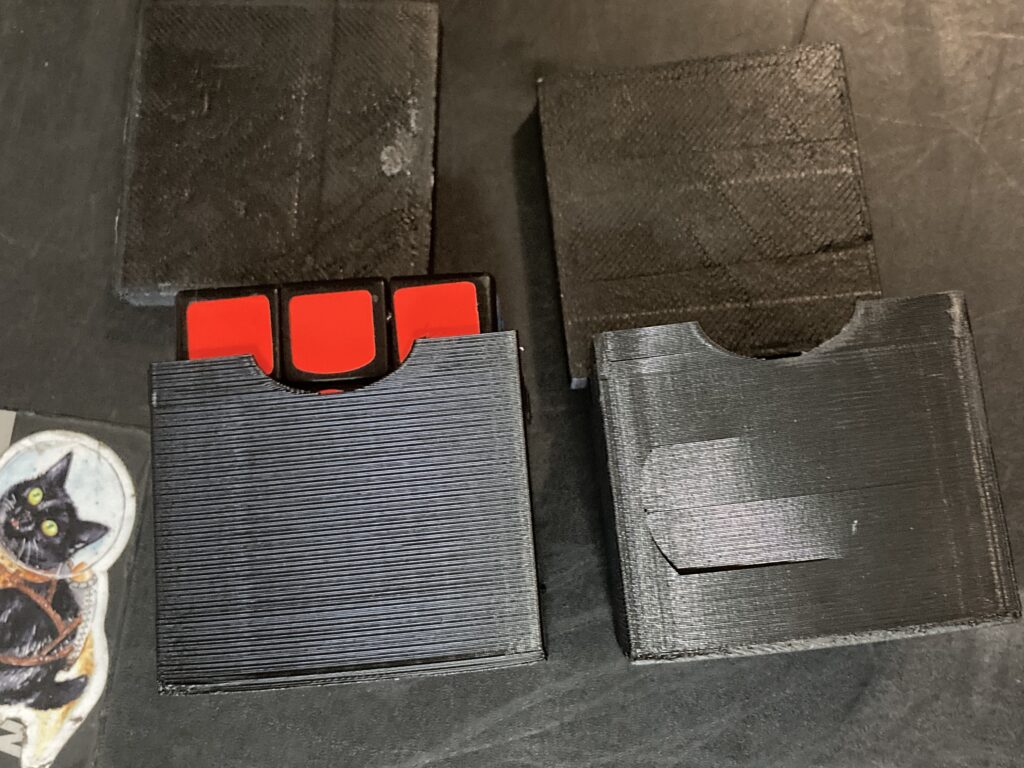
I’ve been using the 3d printed box for a little over a year and wore it out!
I think a combination of me working outside a lot in the heat and it just getting banged around during travel shortened the box’s life. Luckily with 3d printing, it’s a very quick and easy fix. I just hit a couple of buttons and I had a new one with virtually no effort on my part!
The idea of using SD cards for magic tricks is interesting to me. I’m not sure why, it’s basically a coin trick, but there’s something about the prop that I find interesting. I think that it’s potentially fragile and has value. The value can be either monetary or sentimental, and usually both.
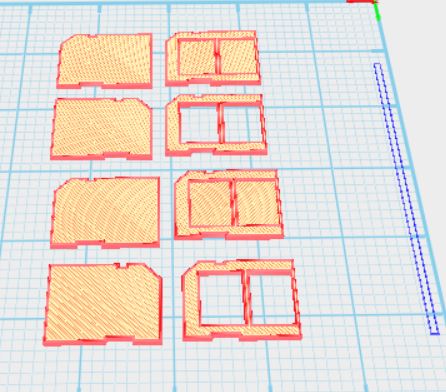
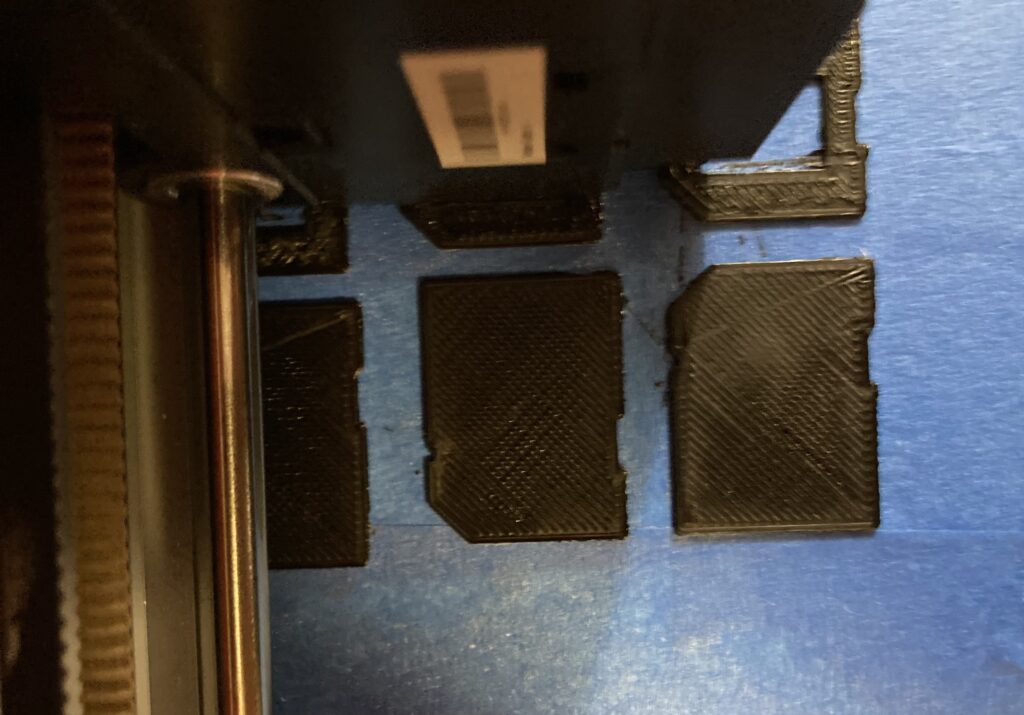
Designed a SD card for my 3D printer
and printed them out:
There are a few different ones. Regular SD card shaped and then the ones with the holes could hold micro SD cards in the slots. I’m not sure what I want to do with the ones that will hold micro SD cards, I’m thinking a 16gb card turns into two micro 8gb cards.
I’ve got another fun idea, that’s sort of like an “omni” SD card. You mention that memories are contained on them. Someone from the audience mentions a topic that someone would take pics of. Let’s say they choose “Pets”. The SD card turns clear, but inside there’s a the image of a cat.
Now the fun part, playing until I find an idea I like! -Louie
A few months ago I picked up the trick Measure for Measure by Iain Bailey on the used magic market. This is a tape measure prediction, where you pull the tape out and someone says stop and wherever they say stop, there’s a giant arrow on the back pointing to that spot.
What I like about the trick is there’s really no explanatory phase to it. You don’t need to set it up, you pull out the tape, they say stop, and the arrow is there. It’s really quick and direct.
Now what I don’t like is that the tape is really hard to manage once you get past a few feet. I think Iain in the video mentions he came up with the trick during the COVID shutdown, so I’m guessing he hasn’t really tried it outside of a virtual context before he released it. The big problem with the trick is that once you get past pulling out a few feet of the tape ruler, it gets very hard to manage. The tape gets floppy and makes the trick hard to present…especially from a technical angle, but also from a visual standpoint. It doesn’t look good with you struggling to hold a tape measure straight.
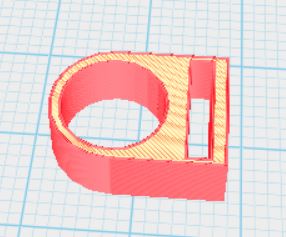
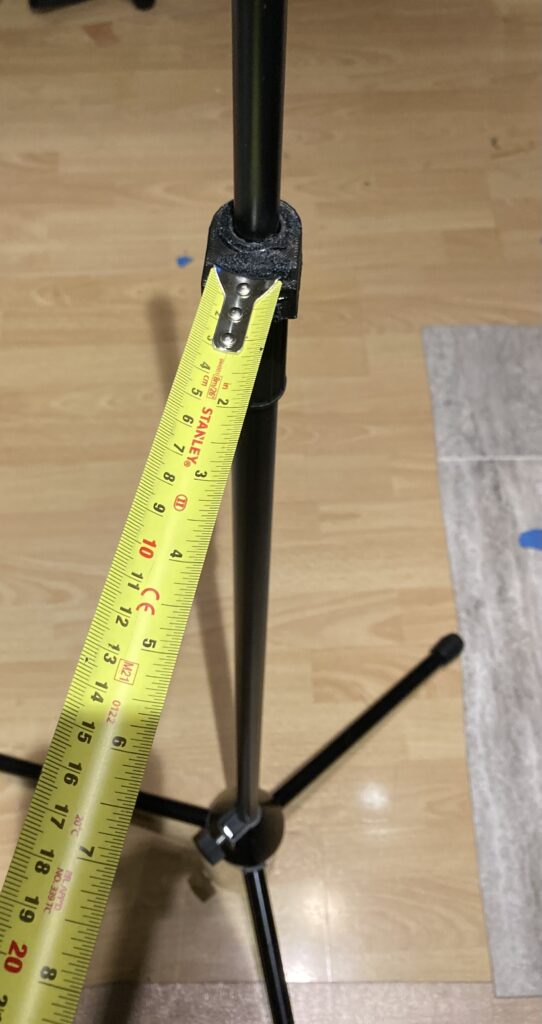
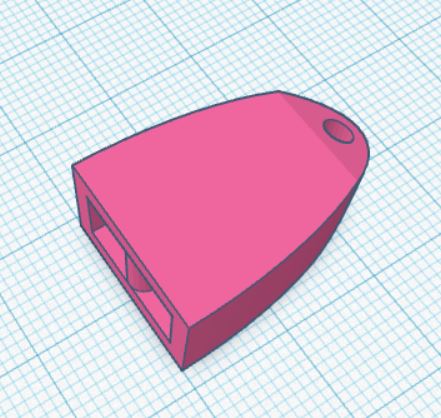
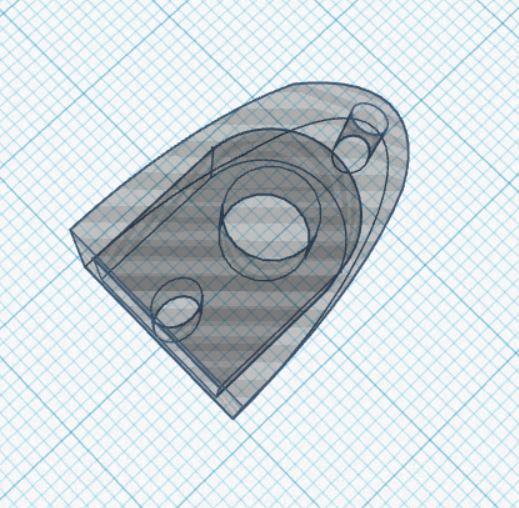
One solution is to have someone from the audience hold one end of the tape. That’s a decent solution, but it’s not always practical from a stage craft and technical end. My solution was to go to my trusty 3D printer and make a thing that will got onto the mic stand that I can put the tongue of the tape measure into. Here’s what it looks like on the computer:
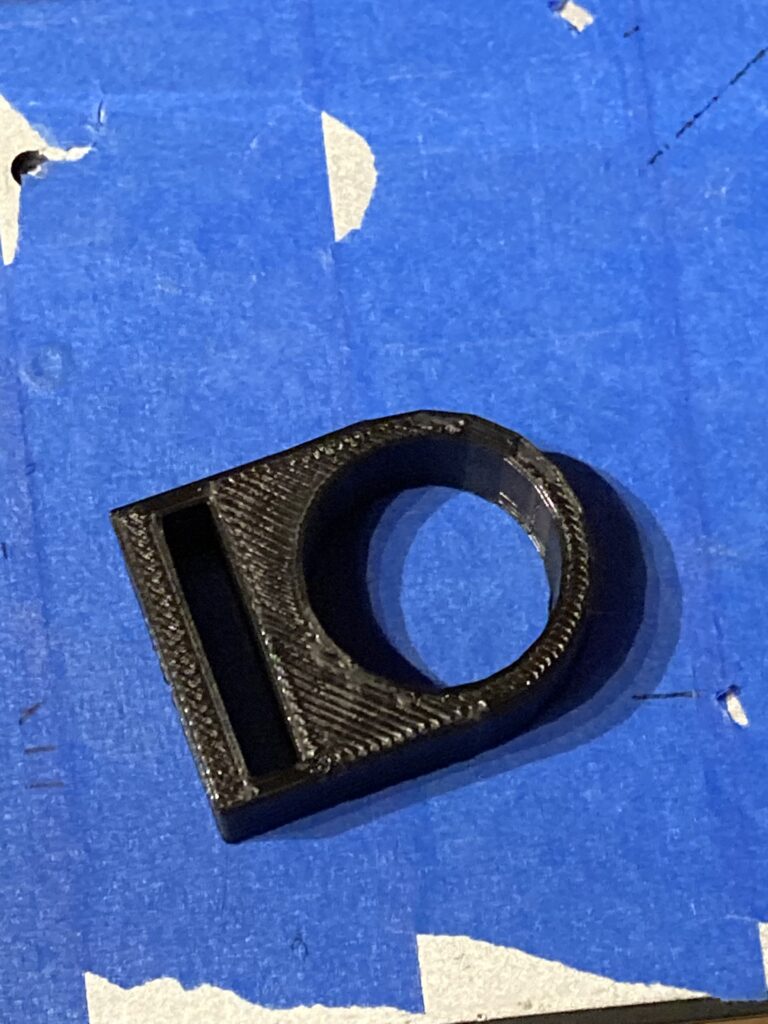
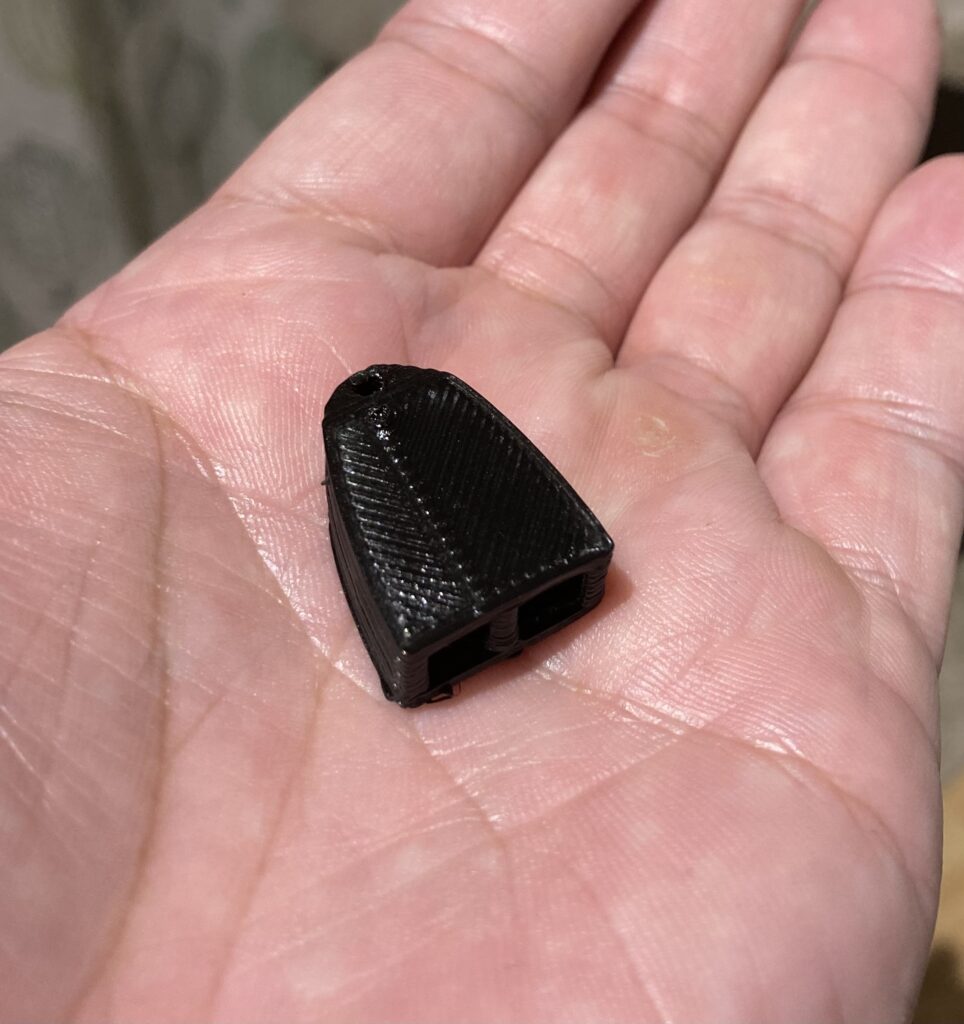
And here’s what the initial print looks like:
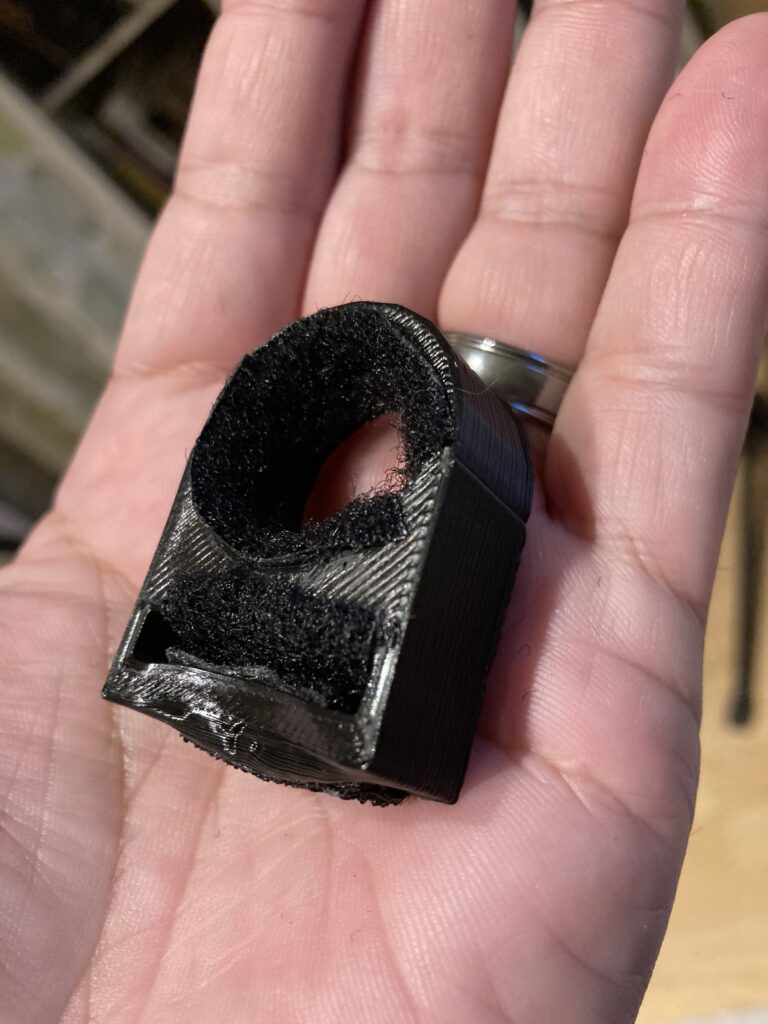
I made it a little bit bigger than it needed to be, so to tighten the gaps, I put the furry side of velcro inside of the holes. I also noticed that the flat end where the tape measure will sit shouldn’t be flat on the top, but concave. I didn’t want print another one, so I hit it with a heat gun, then pressed the tape measure down on it to make it concave. Here’s what the final thing looks like:
That just slips onto a mic stand and I’m good to go.
It holds the end of the tape measure very securely and low, so the audience hopefully can’t really see the backside of it. As a bonus the action of putting it into the holder hides the secret move that needs to take place at the beginning of the trick.
I’ve always said that most of magic is problem solving. Making this little holder took me about 10 mins to design another 10 minutes to alter and solves the big problem with actually doing the trick!
For some reason I’ve been thinking of the “double action” birdcage pull lately. I’ve used one a long time ago, and never really felt it contributed much to the vanish. Essentially what a double action pull does is give you more pulling power with less motion. It converts your motion 2 to 1, so you move one inch and the line moves two inches! It’s a great way to reduce arm motion for the vanishing birdcage, but adds complexity to the setup. Every bit of complexity you add, it’s another thing that can potentially go wrong. This may be the issue I have with it, the gain of having reduced motion isn’t worth the risk.
I haven’t used one in 15+years. Tonight I decided to make one, so I designed this one to be 3d printed:
Here’s what the insides look like:
There’s not really too much to it, it was a simple design and a quick print. Here’s the printed version:
There are a couple of things I want to change after printing the first one. The big change is that I want it just a little bit larger, so that I can fit a bearing inside for the pulley.
I’ll do a new design later today and hopefully I’ll nail it the second time!
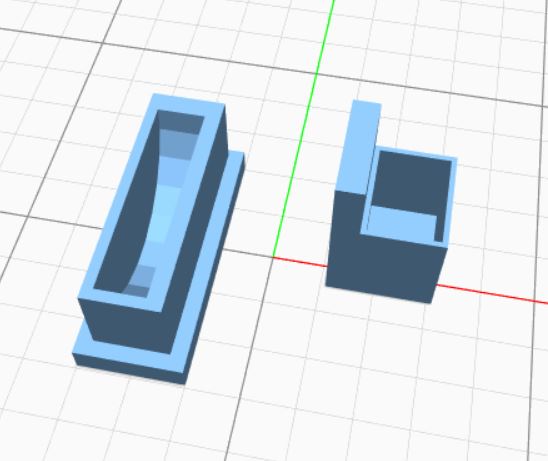
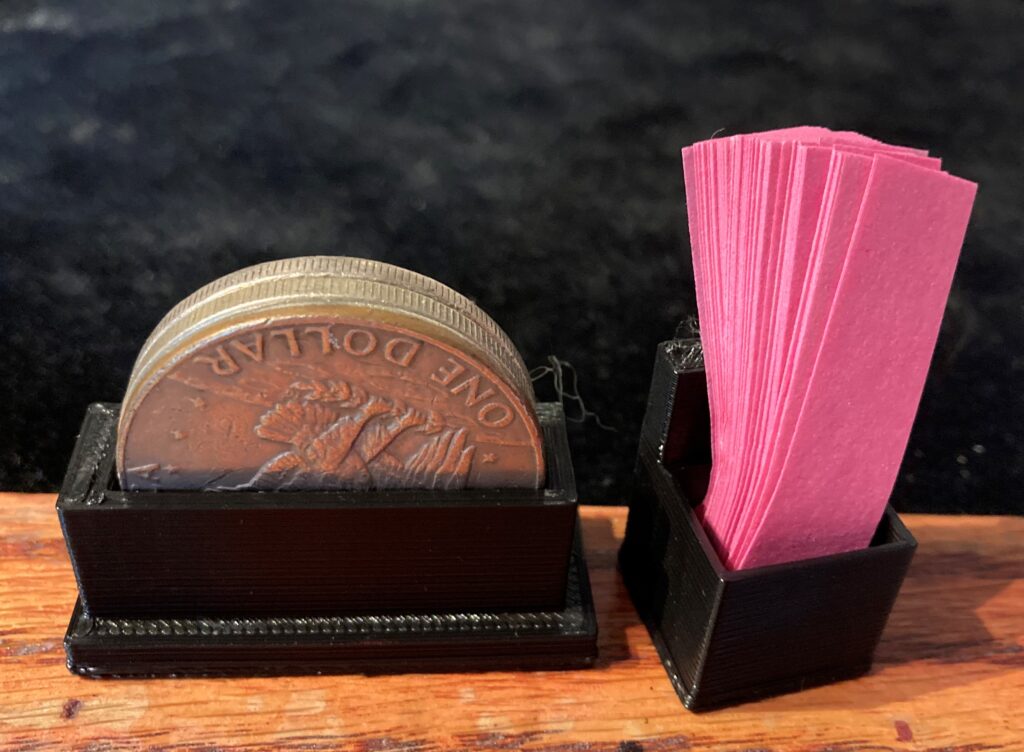
At my gig this month, I’m really trying to streamline my show and what props I’m lugging around. I have way more stuff than I need in my table. However I also noticed that for the coin trick that I do, the coins right now lay in a stack on my table bin. I think it would be easier to have them in a vertical stack. They’ll take up less space and be easier to grab. I also am playing with a bit where I need to grab some confetti from my case. An easy way would be to have a little holder that attaches to the side of the case.
This is where 3D printing comes in handy. It took me about 5 minutes to design the two holders:
It took about an hour for the two holders to print, and I’m good to go! 5 minutes of active work and here’s what I ended up with:
It’s little things like this, that if I had to make from “found materials” it would have taken me more that five minutes to make. This is why I’m such a fan and suggest to everyone that they learn to 3D print!
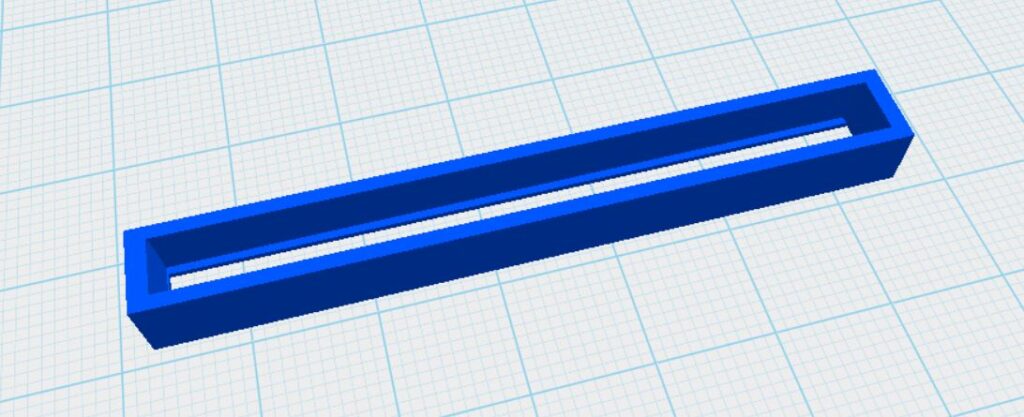
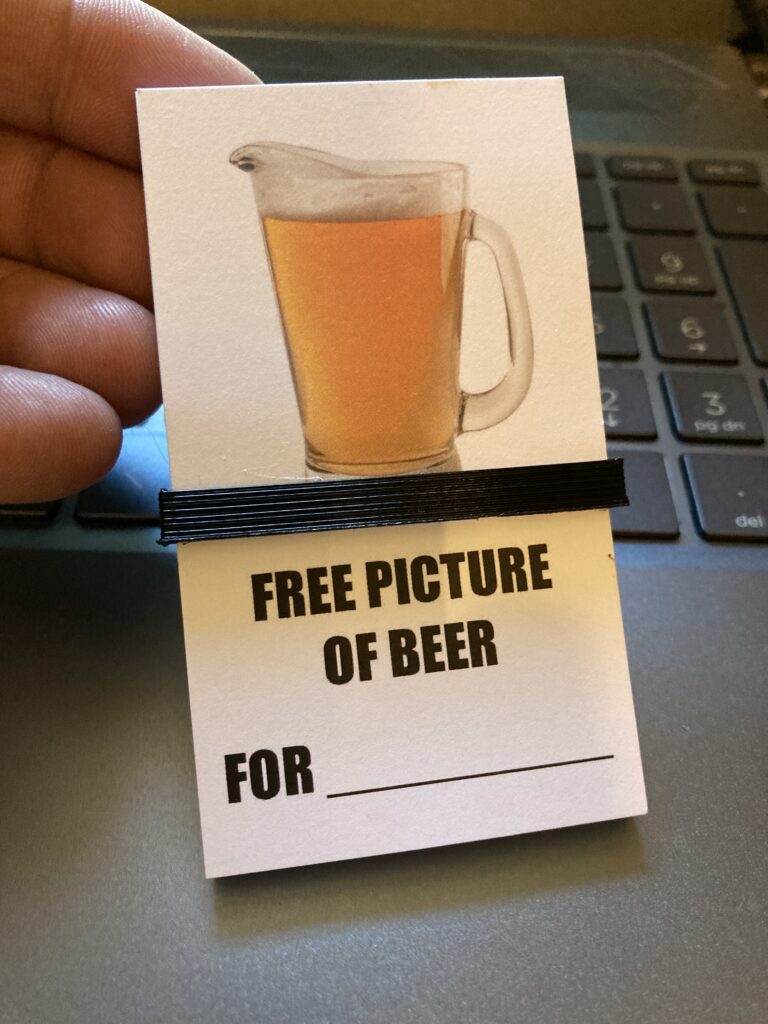
One of the tricks I’ve been doing a lot lately is my “Free Pitcher of Beer” trick that’s based on the out to lunch magic trick principle. I’m packing for a show and realized I didn’t have any thick rubberbands to hold the cards together. I quickly made a 3d model of a business card holder and printed it out!
His holder has a little recess in it to hold the half card. The half card is actually taped in place, so it can’t come out. In the traditional method, friction holds it in place.
We’ll see how well this actually plays out for real people tomorrow!
Not too long ago I added the remote control chattering teeth bit from my in person shows to my virtual shows and to my surprise, it was a hit! Honestly I didn’t think it would play as well over the screen. After trying it, it’s staying in the family virtual show!
One thing that I didn’t like is that my hand had to drop out of frame to push the button. Honestly, this really isn’t a big deal, and I don’t think that anyone notices it and this isn’t really a magic trick, but a comedy bit. I was going to build the remote transmitter into a foot pedal, then noticed I an old telegraph key kicking around. Here’s what I built:
I had to 3d print the base under the telegraph key to hold the remote transmitter and battery. The telegraphy key simply sits on the floor and I push it with my foot.
I’m a huge fan of props with things that no one sees but you, and there’s some embellishment that only you know about. I know I just built thing, but whenever I look at it, it makes me smile!
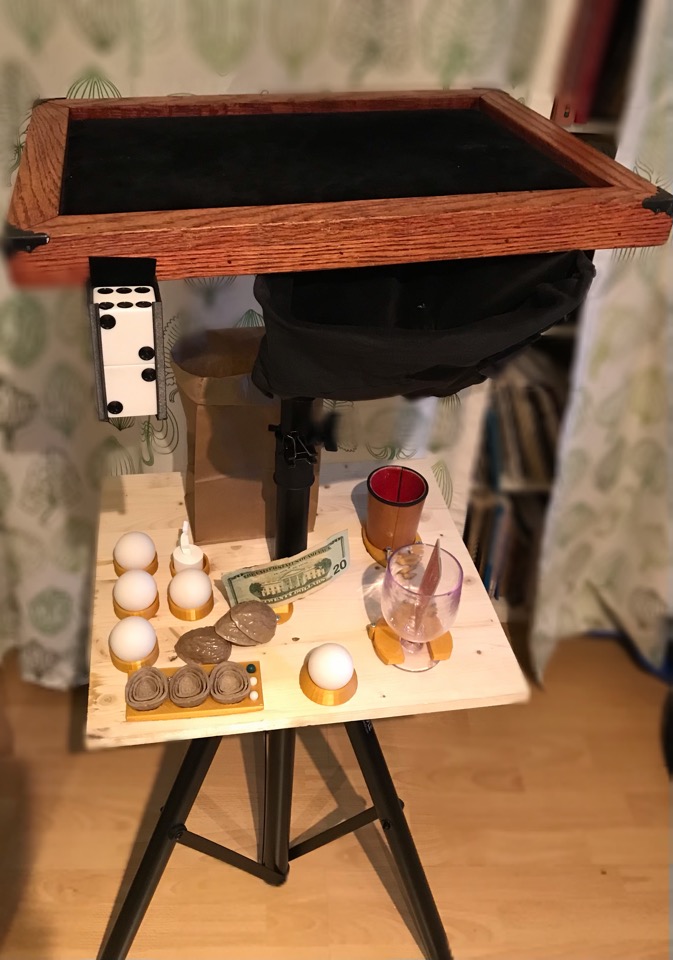
In a continuing effort to use my virtual performing space wisely, I added a little bit more to the shelf below my working surface.
The four ball holders on the left are new, along with the coil holder. This also eliminates a couple of body loads that would have been in my in person show. There are still a few prop holders that need to be added, however it’s just a matter of time to design and print them.